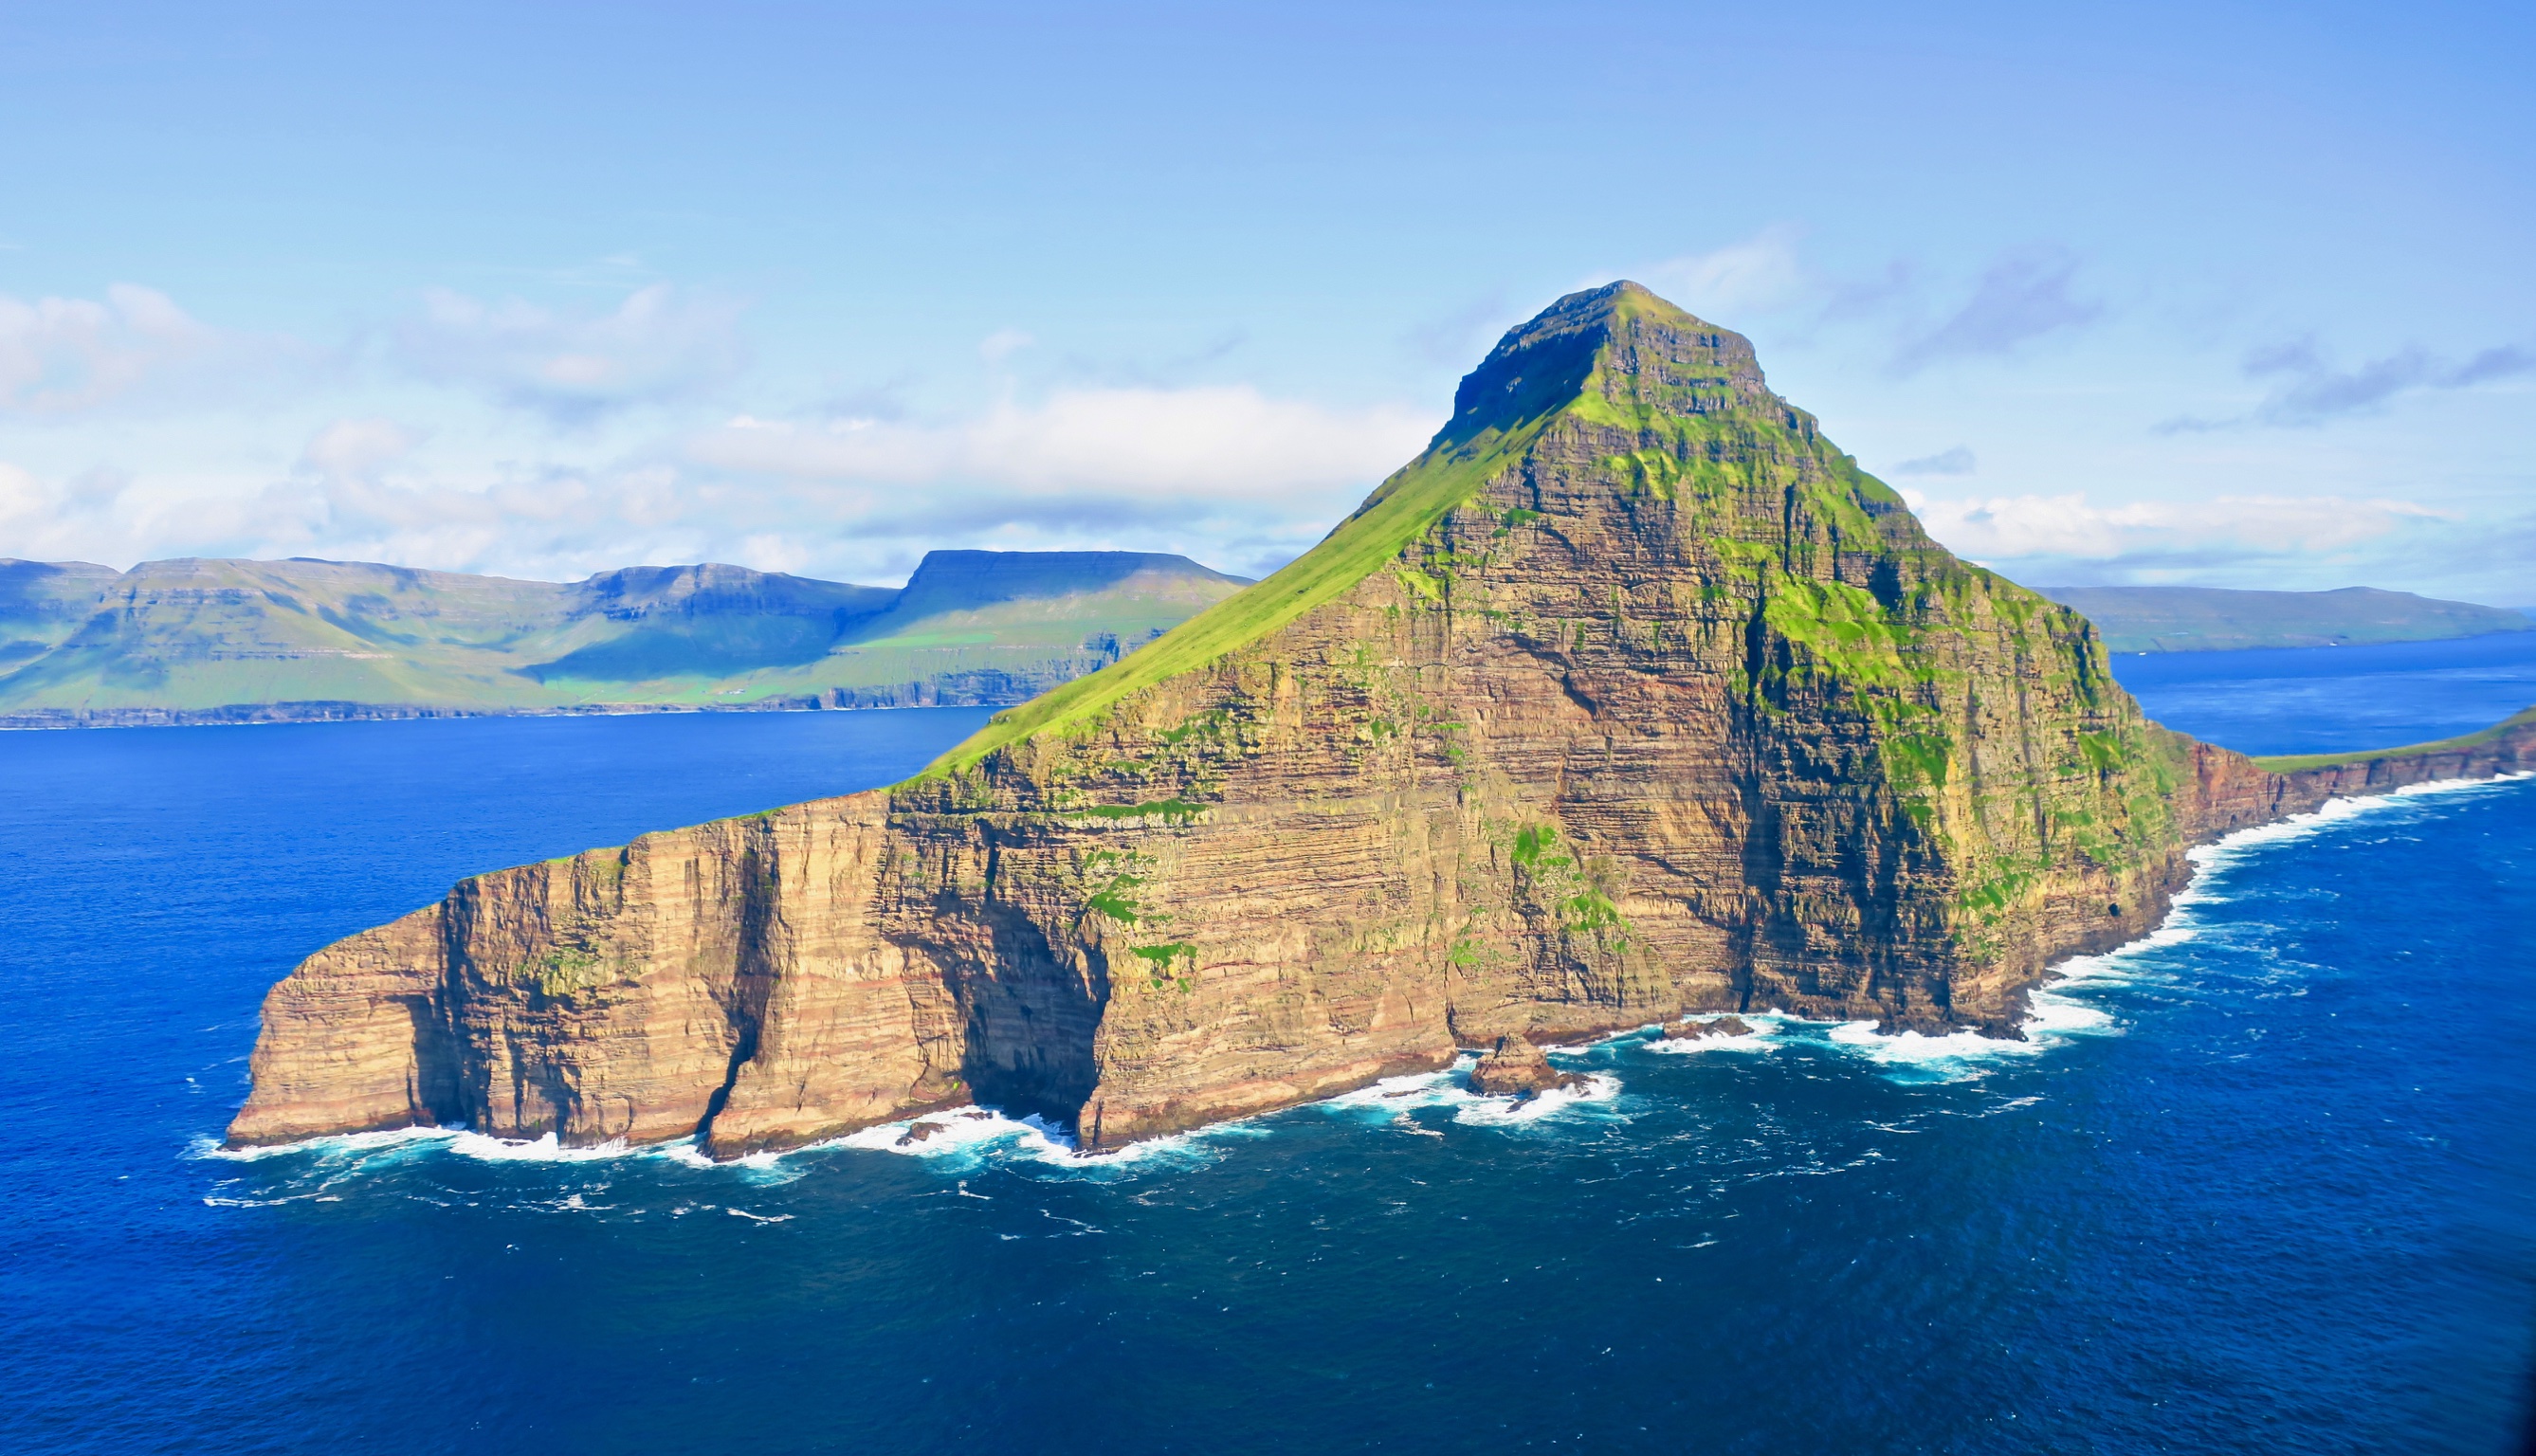
If you’re drawing a blank when you read ‘Faroe Islands’, you’re likely not alone. I drew a near-complete blank when the email rolled in notifying me that airfare had plummeted. It didn’t take more than ten minutes of research to know that I wanted to go, and an hour of high-level planning to believe it was feasible to do economically. In the subsequent three months I had to plan, I went through countless websites, blogs and resources to pull together everything I’d need to do a broke-person-backpacking trip through the Islands. I’ve compiled all that here with the most up-to-date information, tips and intel; no other page I’ve come across has put together a complete guide that could be used as a stand-alone resource for backpacking.
The Faroes have long been left off the map, literally… but year after year tourism (for better or for worse) continues to skyrocket. Someone wrote “the best time to visit the Faroe Islands was five years ago, the second best time is now”. I disagree though; during the last five years the infrastructure that caters to tourists has developed greatly, making it more accessible to those who can’t afford to spend thousands of dollars. On the other hand, I wholeheartedly agree that if you’d like to visit, it should be done sooner than later!
There are options!
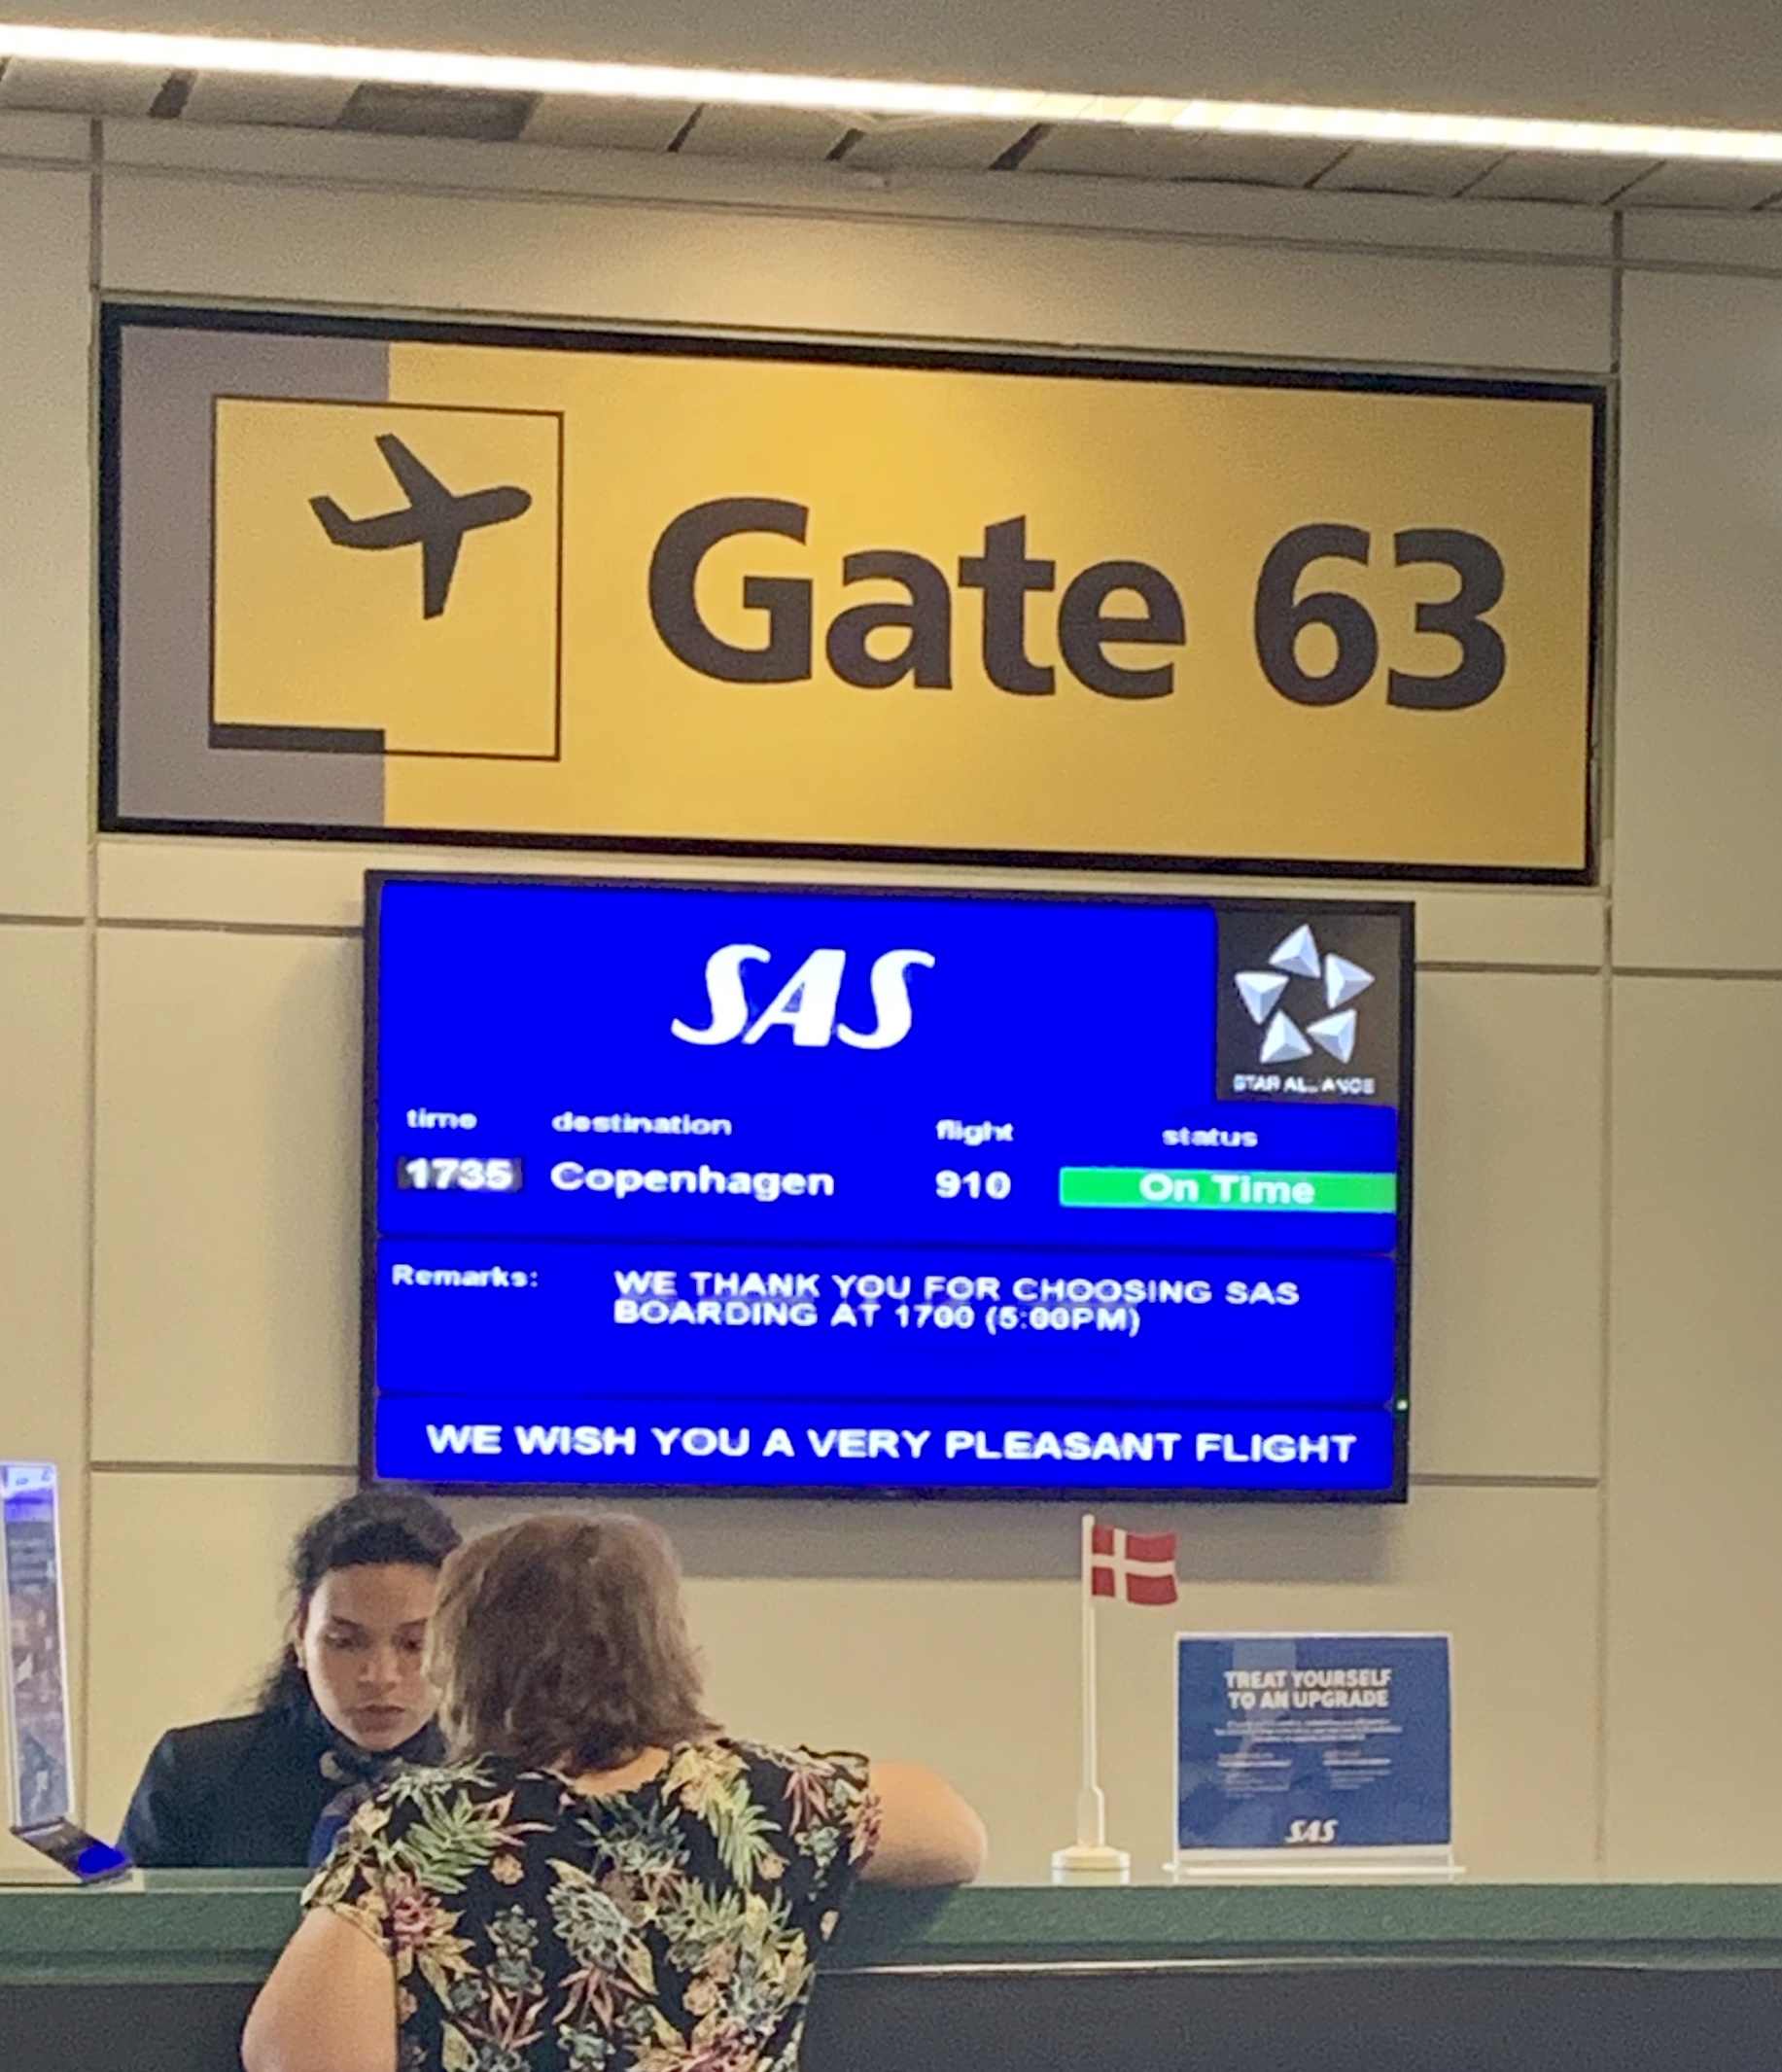
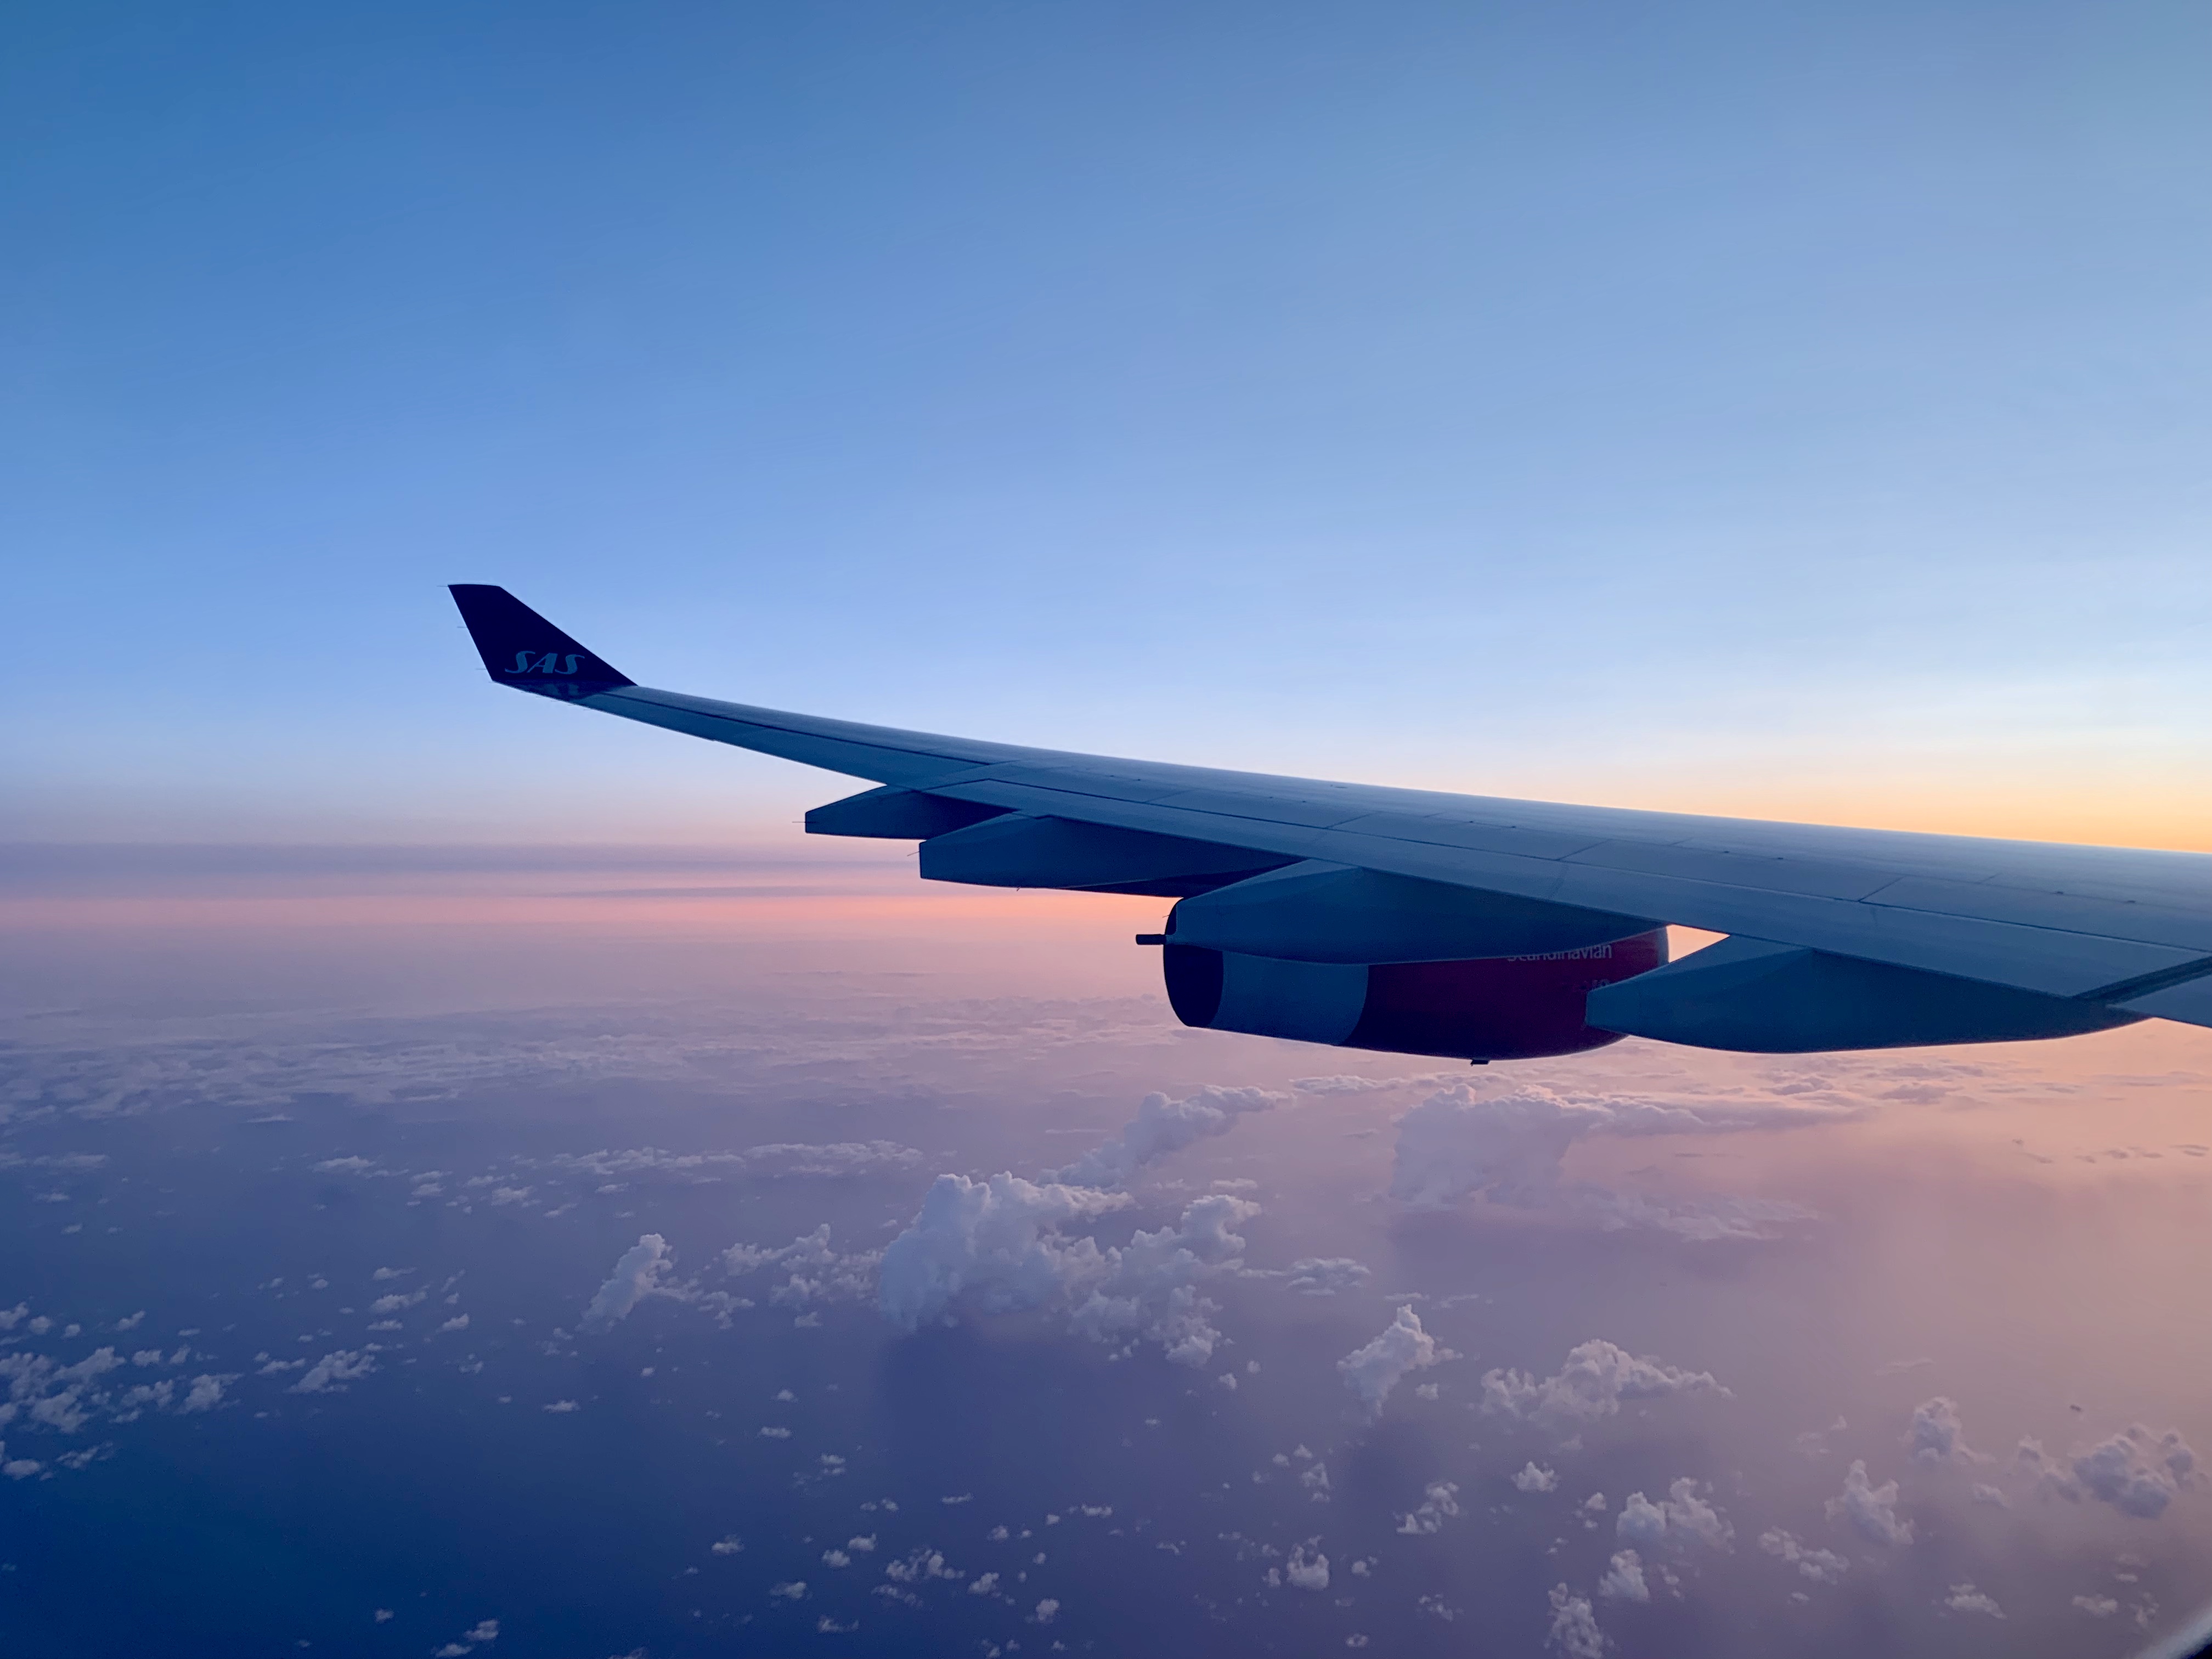
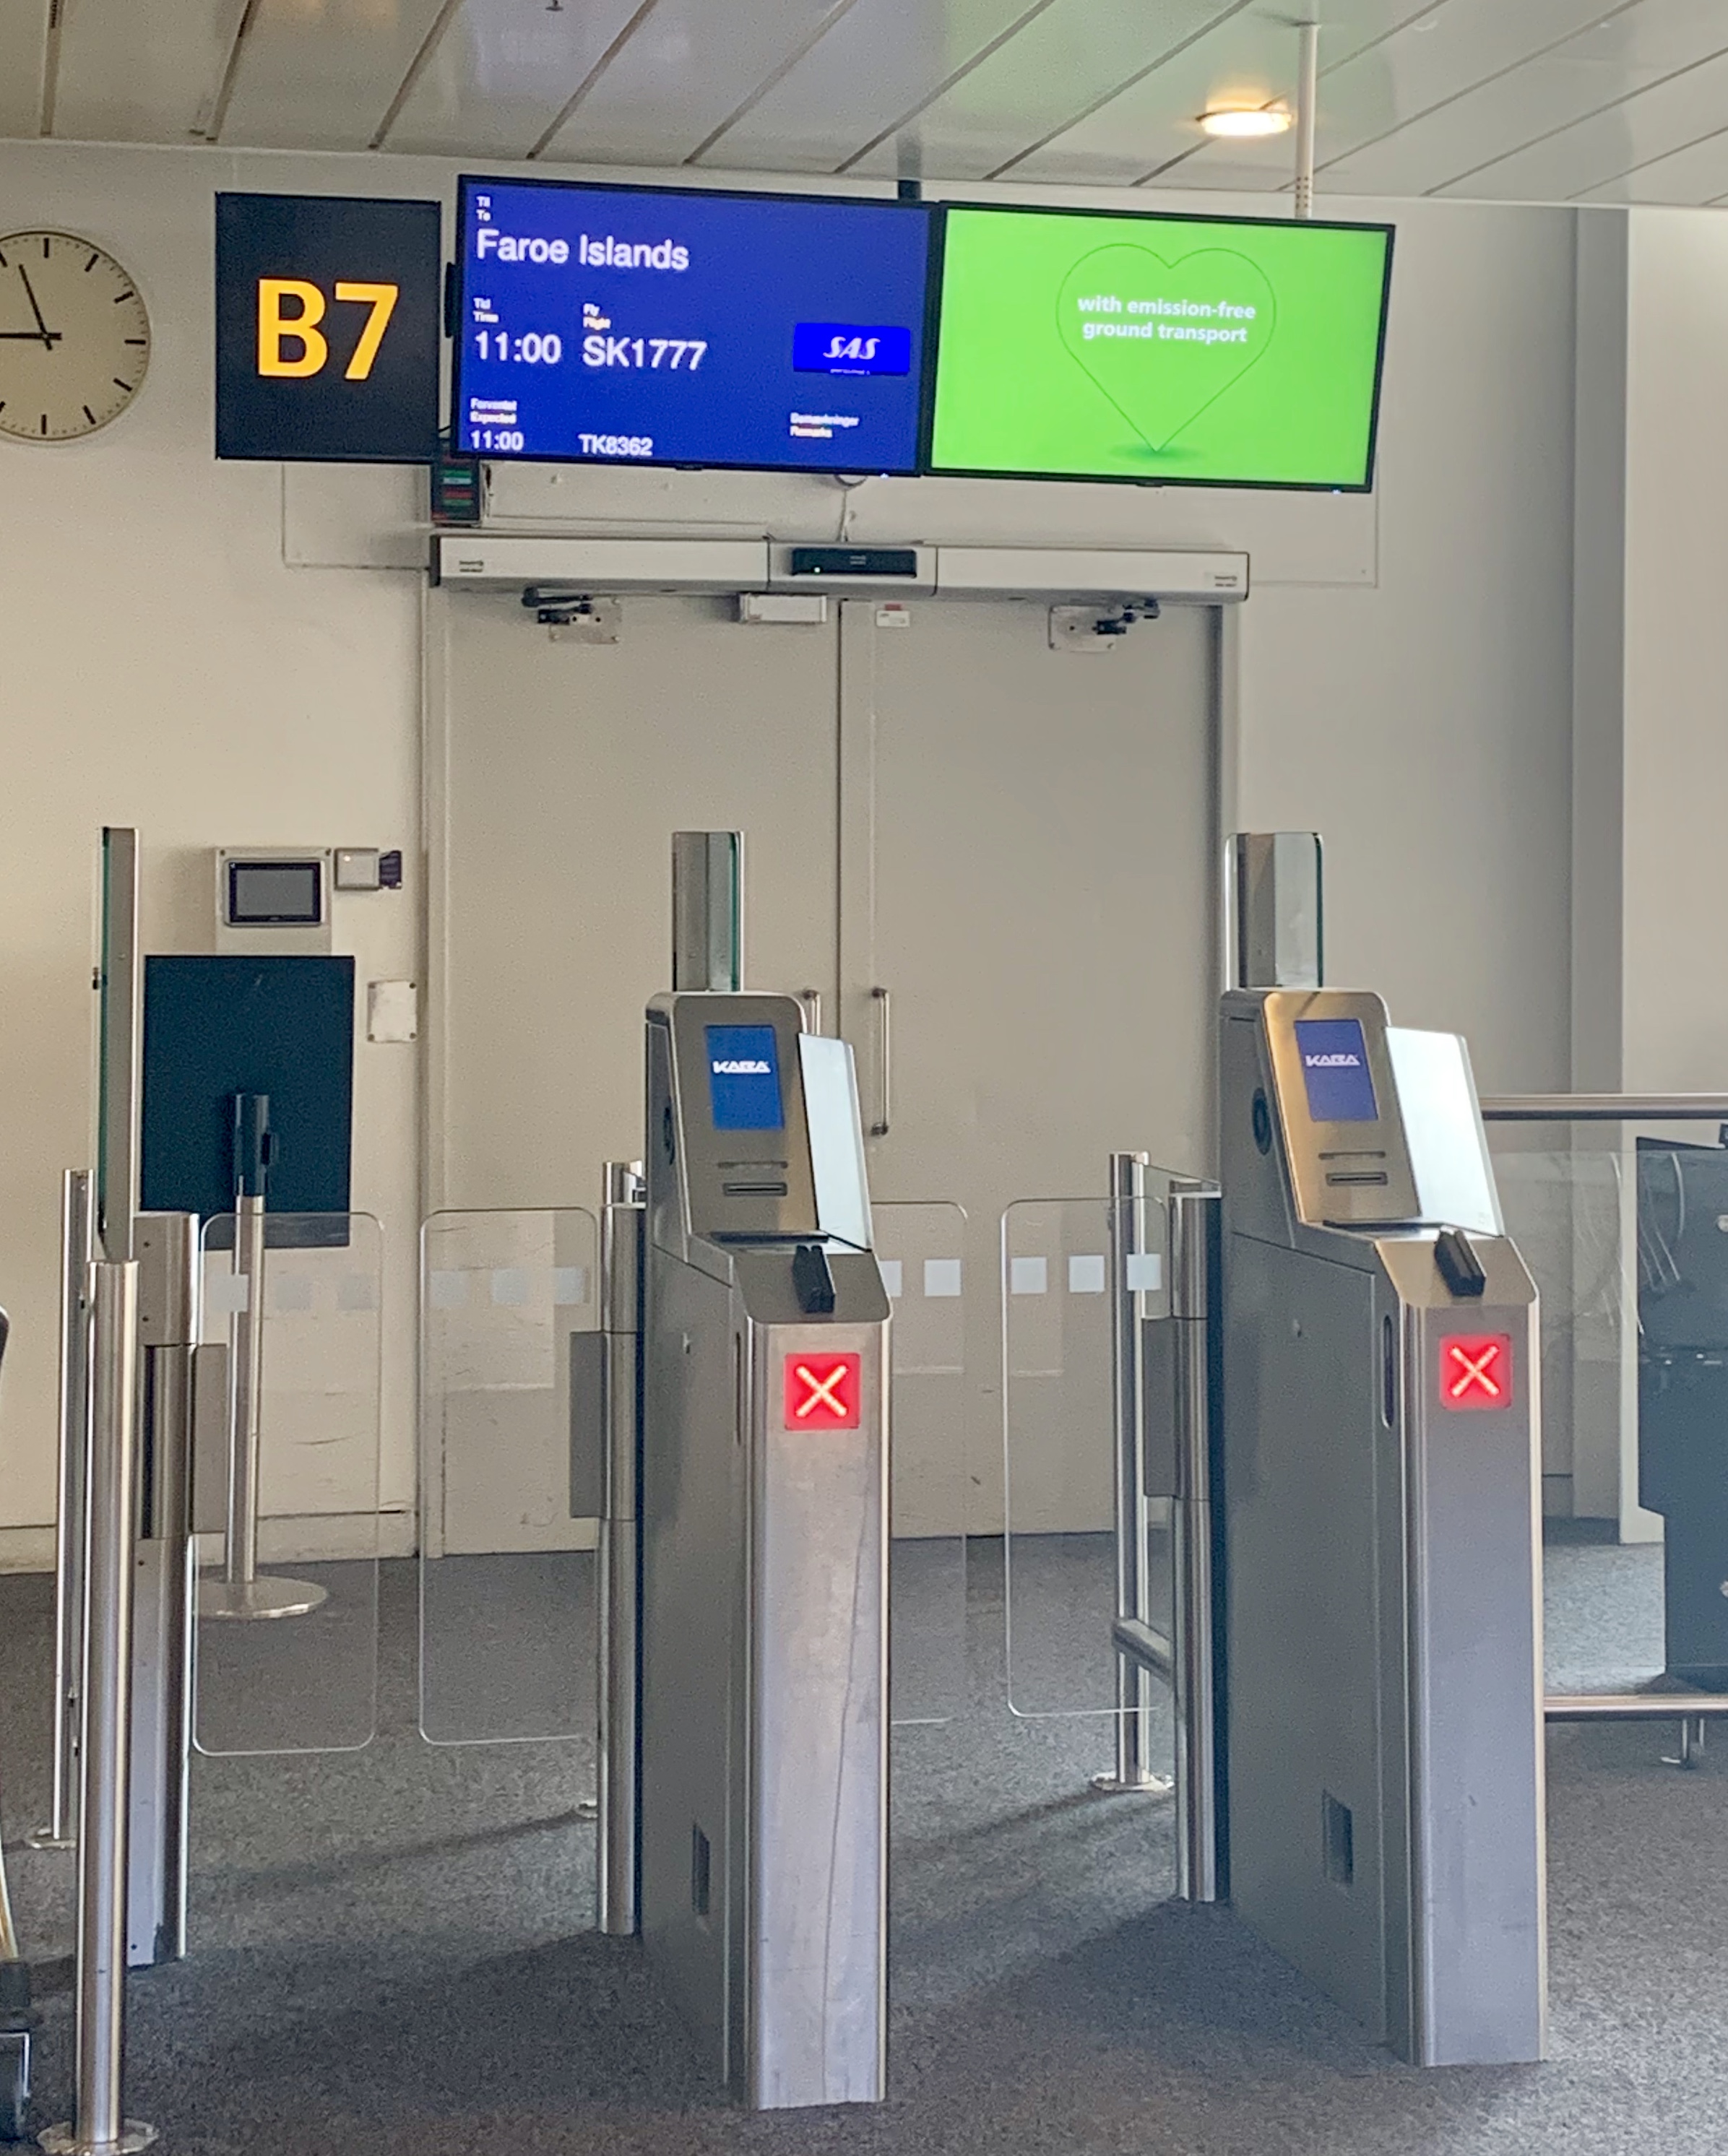
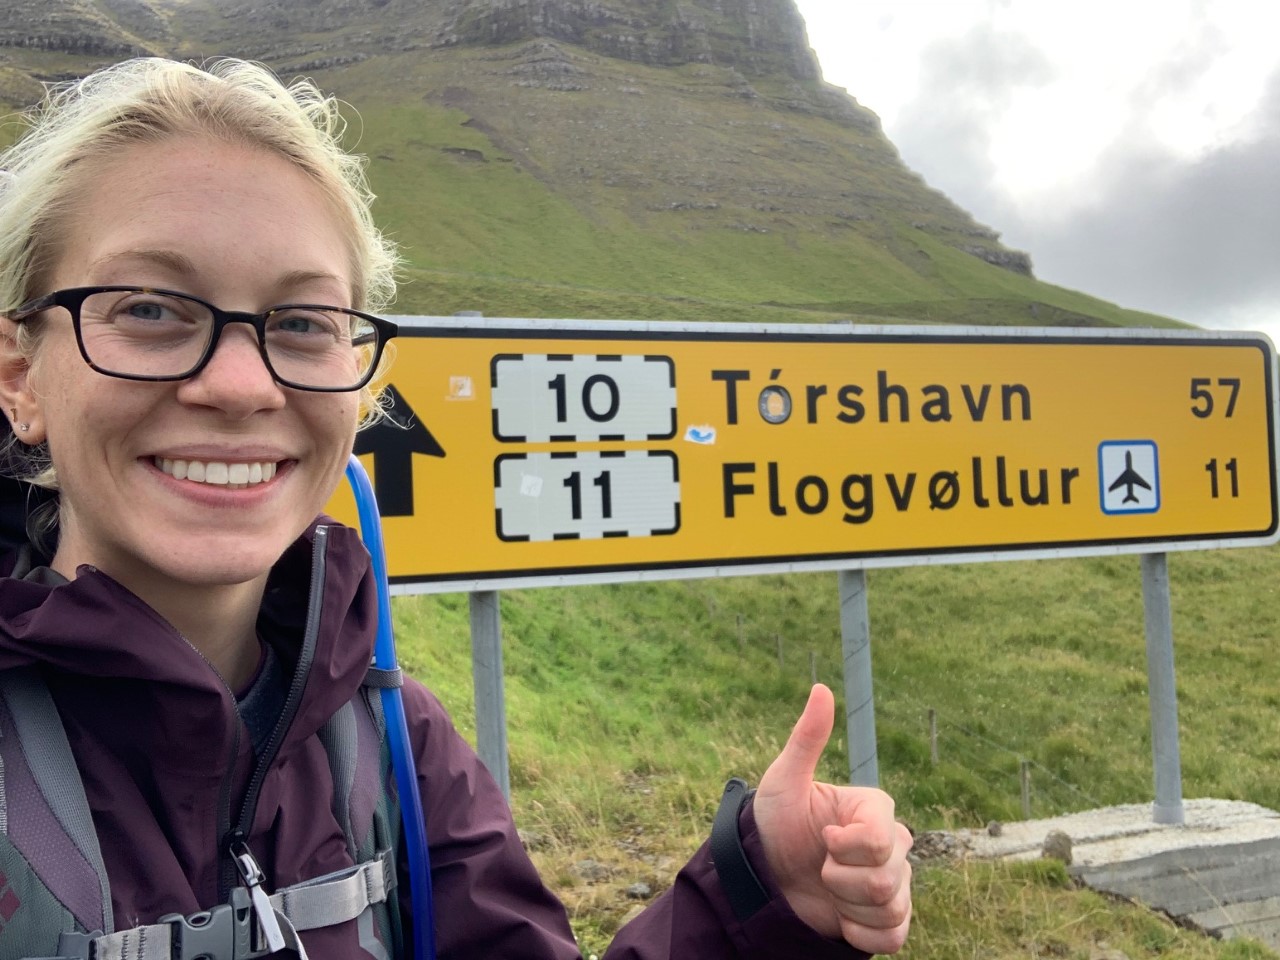
- By plane: Most routes will require (at least) one layover and will terminate at the only Faroese airport on the island of Vágar. Vágar Airport is serviced by SAS Airlines and Atlantic Airways. Atlantic Airways announced earlier this summer that they are working on nonstop service from New York to the Faroe Islands, but it’s unclear when this route will launch. From the east coast of the US I flew EWR -> CPH -> FAE on SAS airlines, a roughly twelve hour journey.
- By boat: M/S Norröna is a full service ship operated by the Faroese company, Smyril Line. Norröna sails between Iceland, the Faroes, and Denmark with the option to bring a vehicle. On board accommodation ranges from full suites to hostel-style dorms. Schedules and prices can be found here
- From Iceland: 19 hours
- From Denmark: 36 hours
- From Iceland: 19 hours
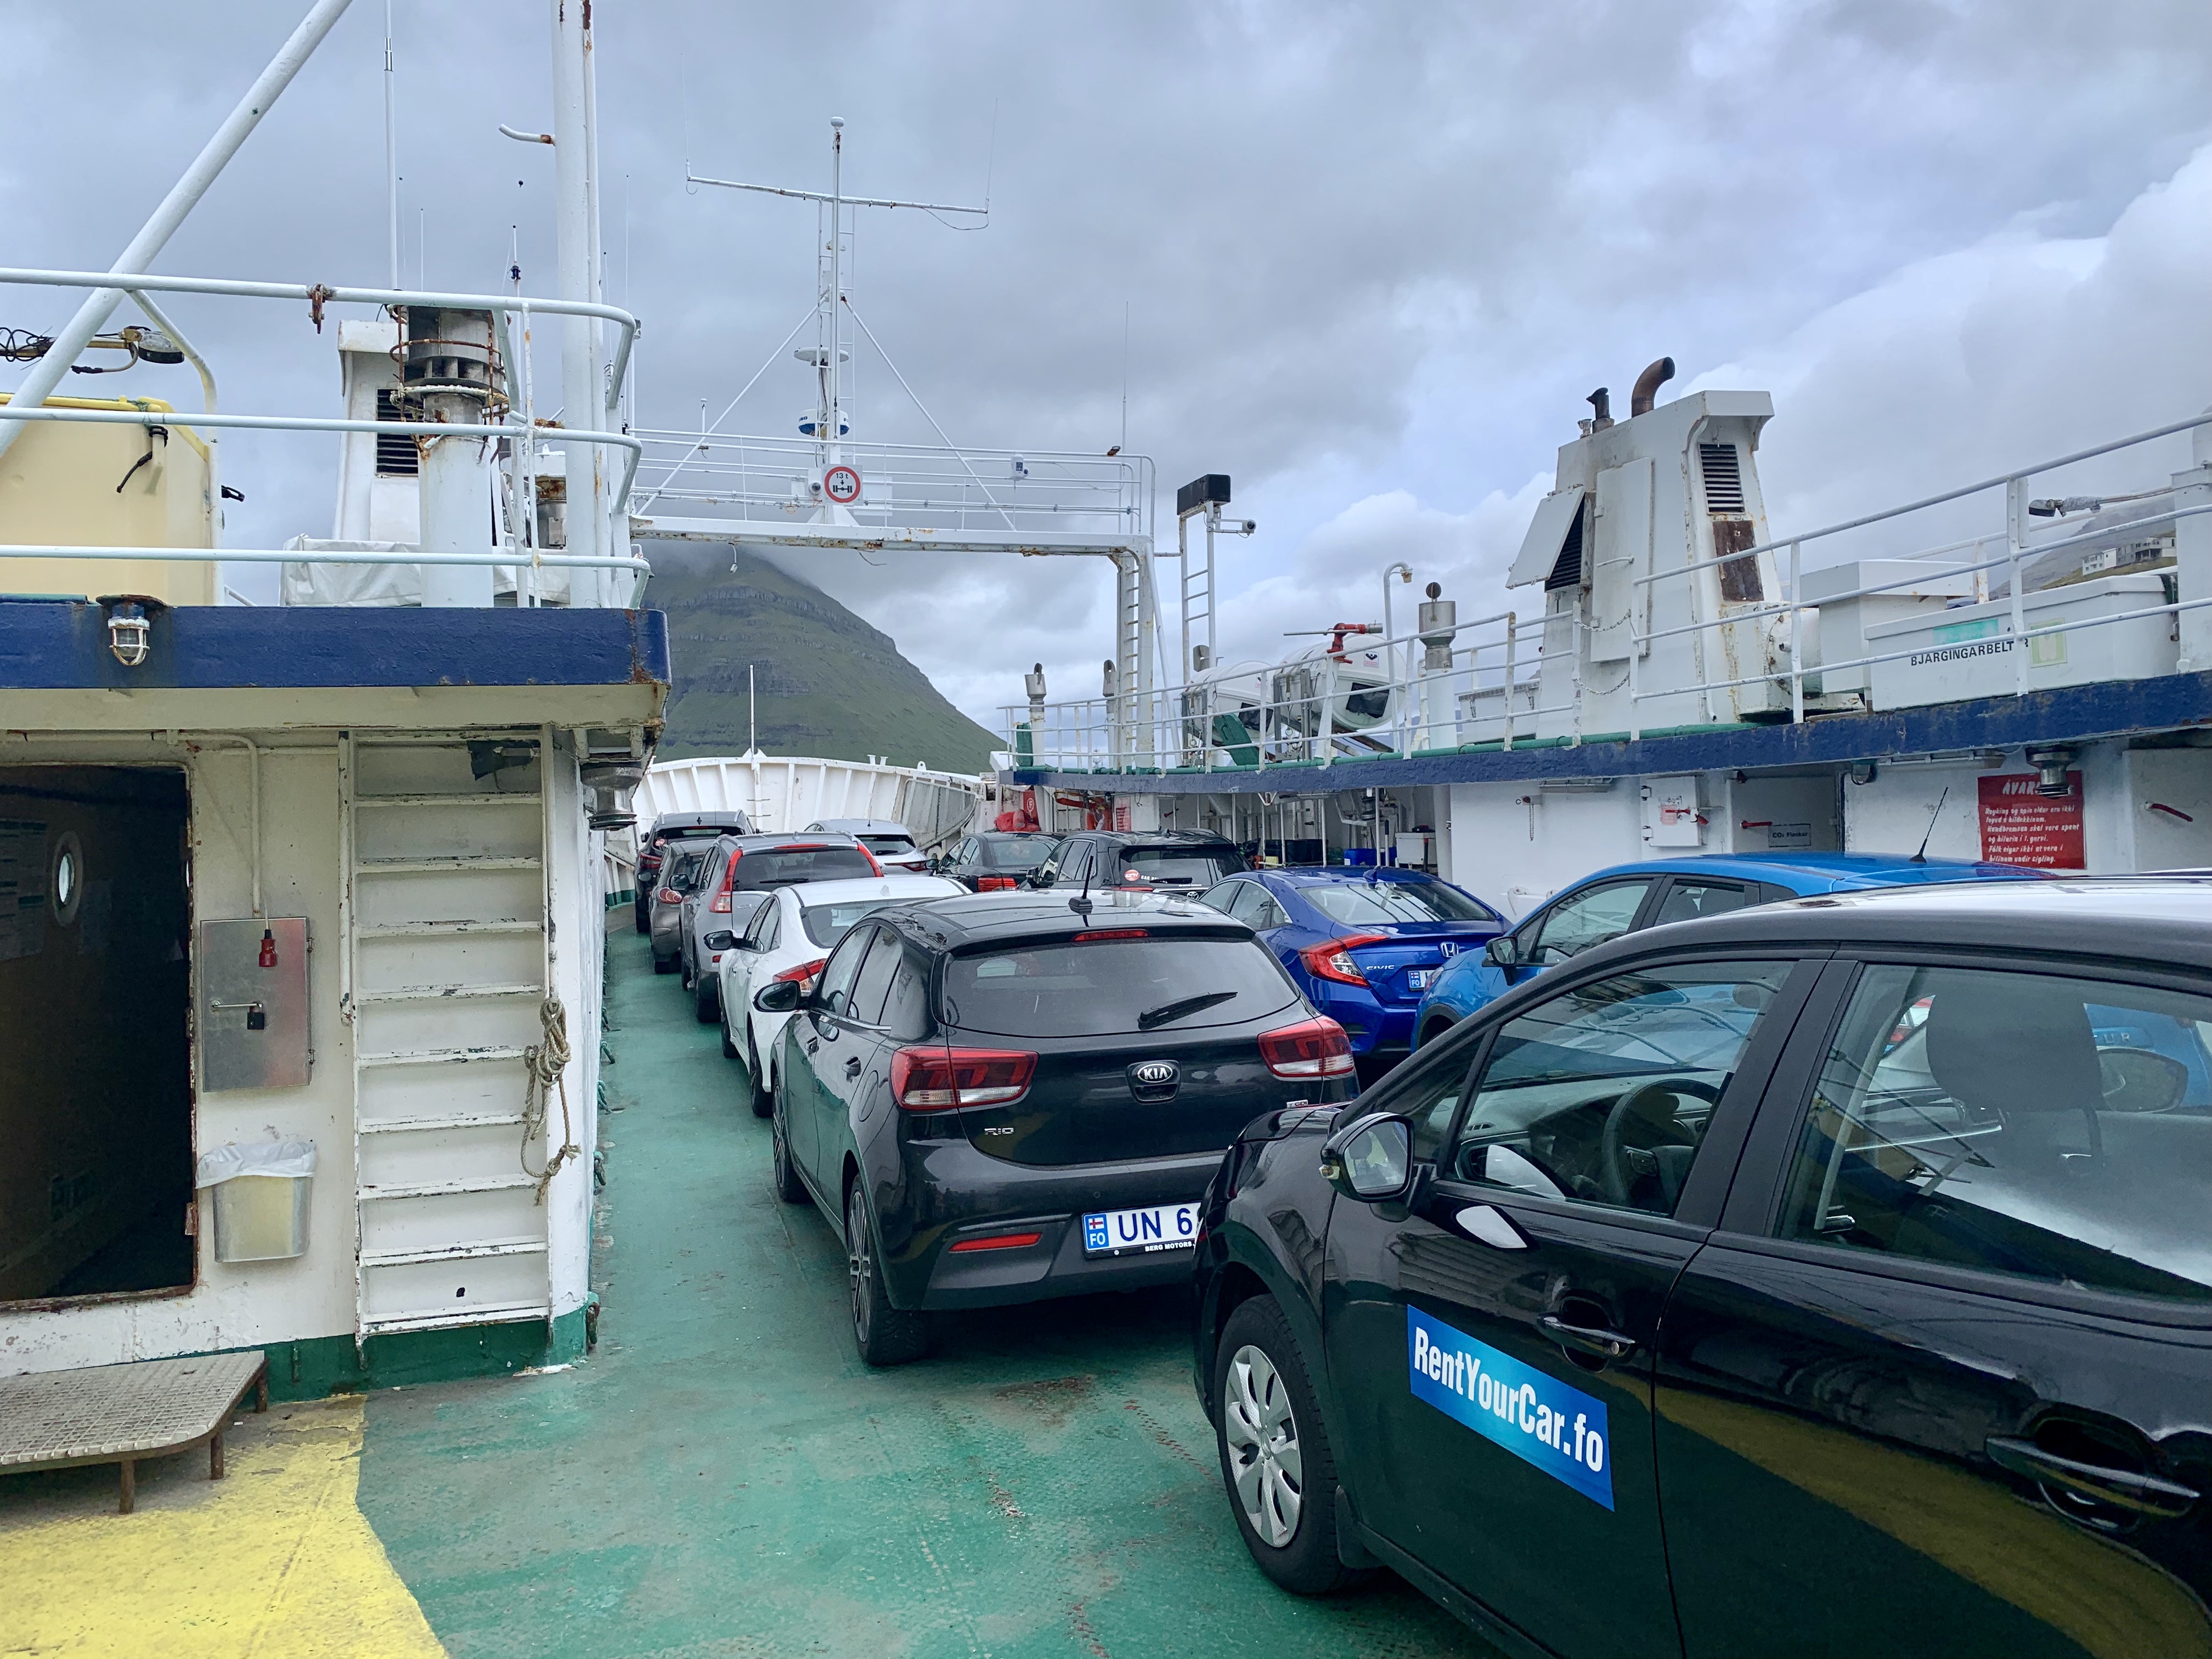
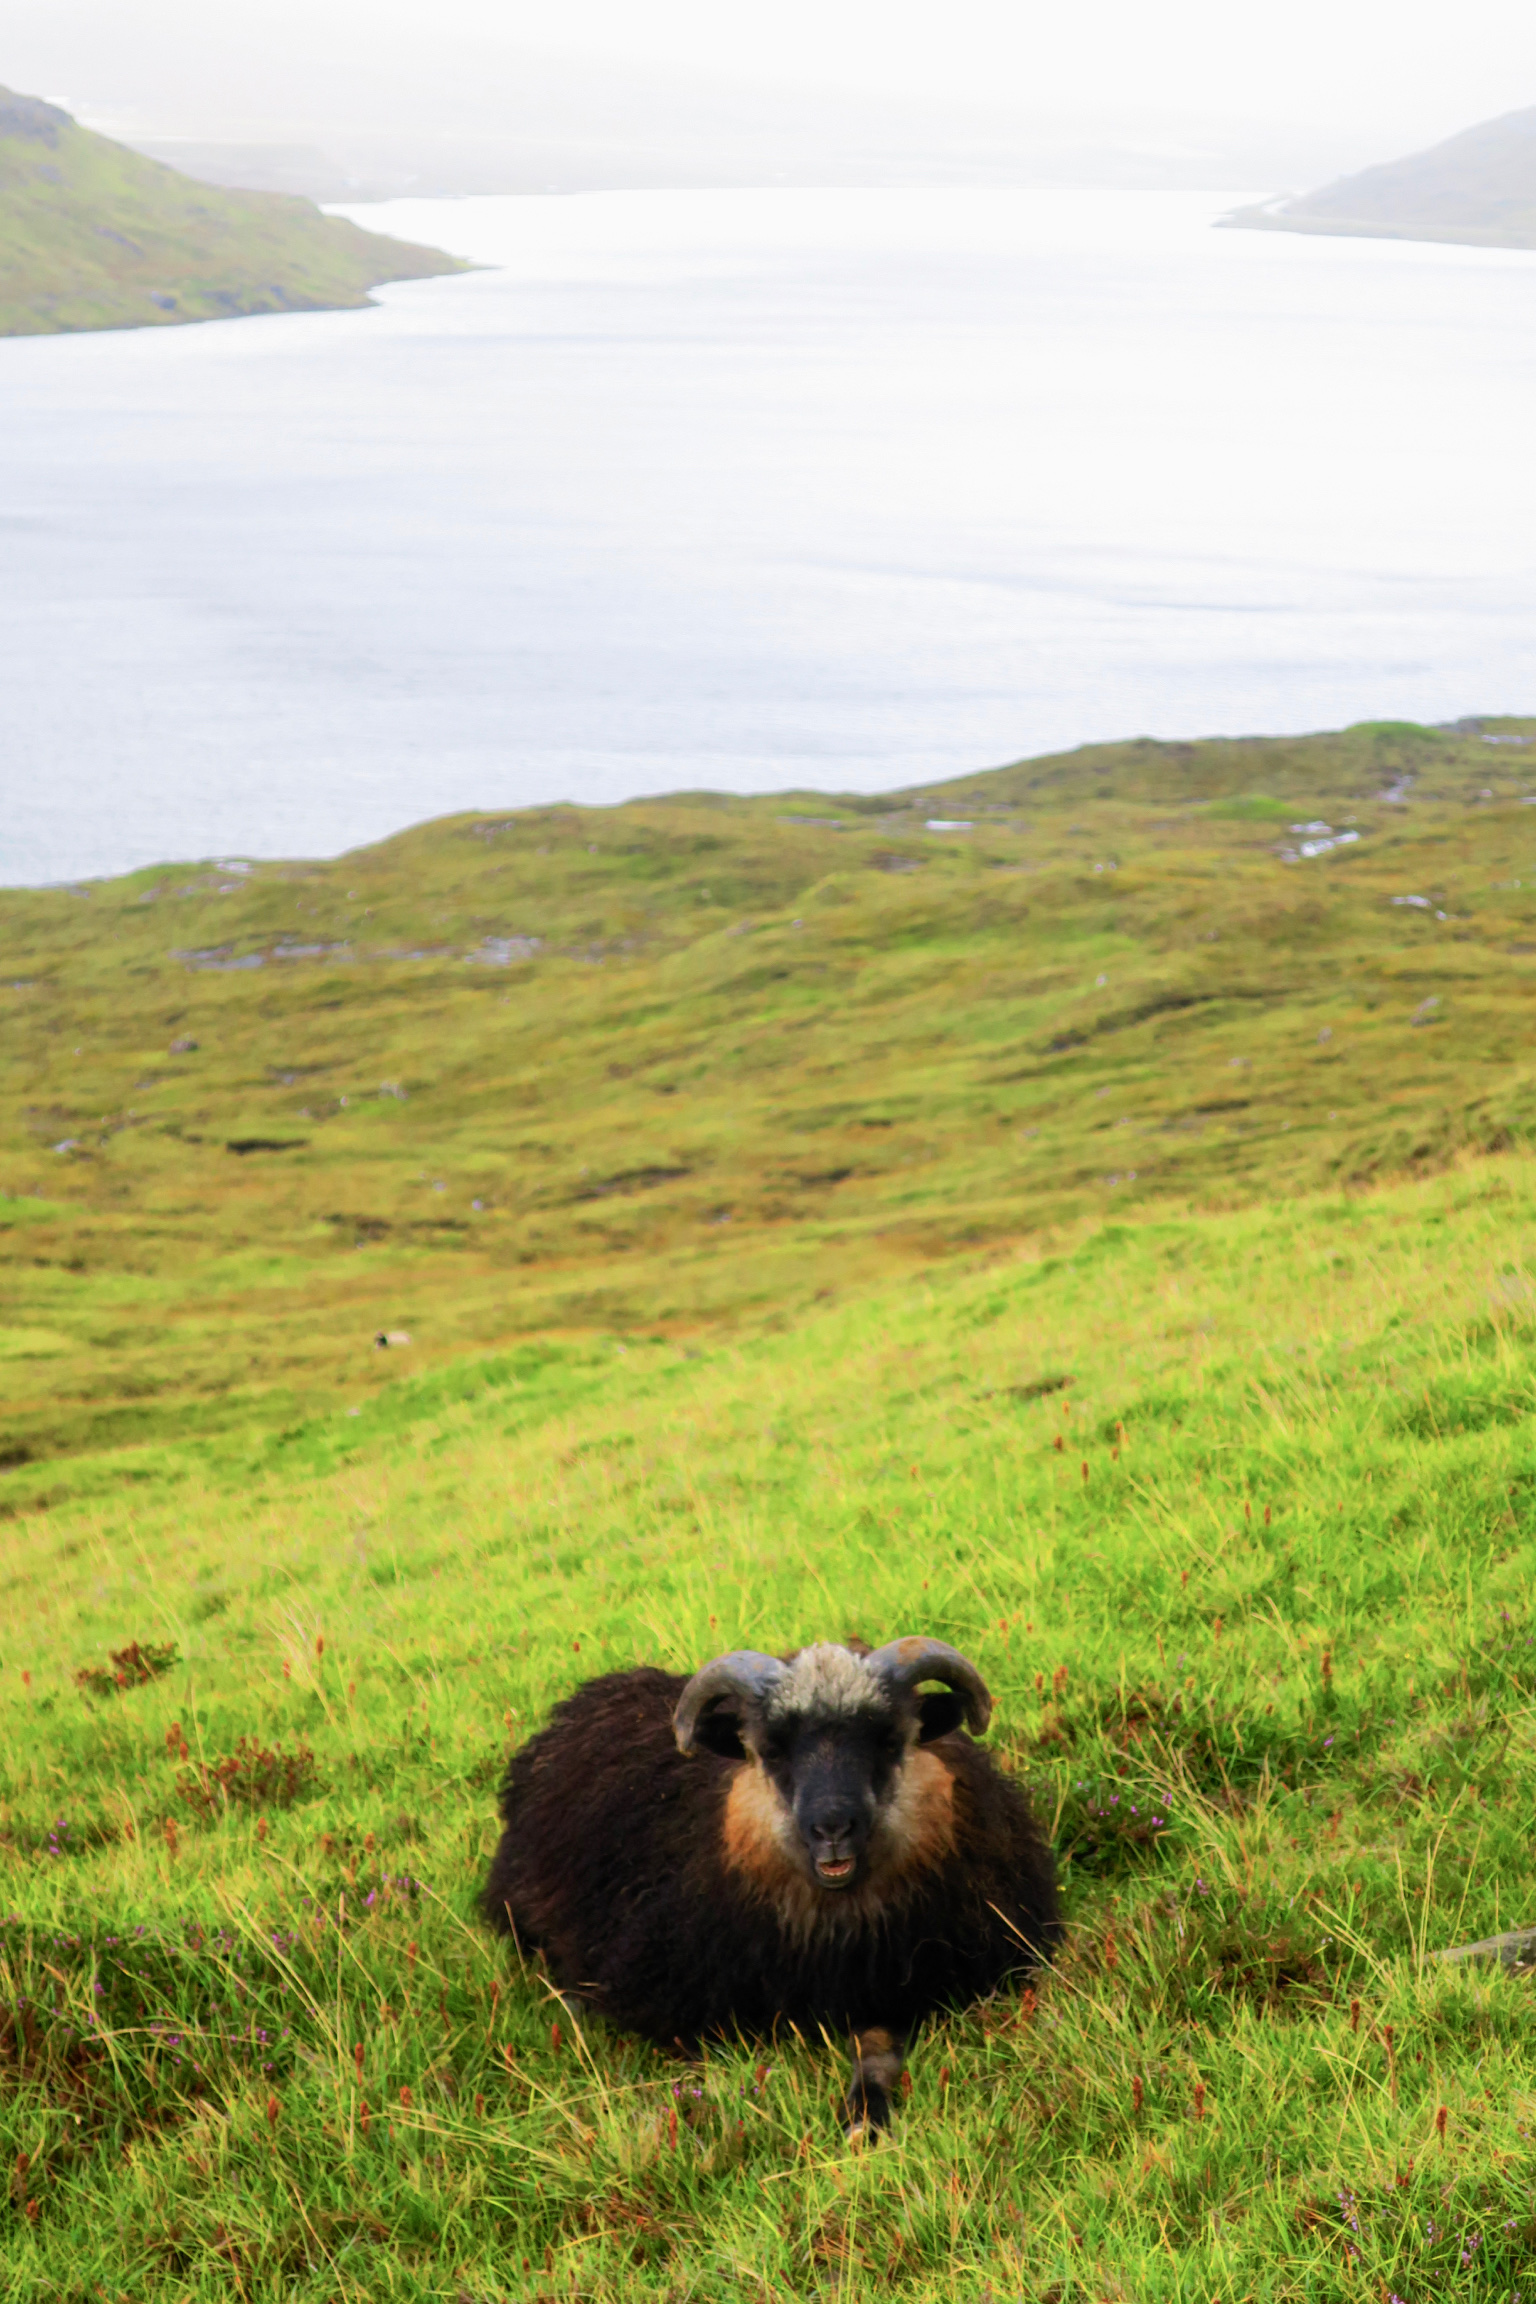
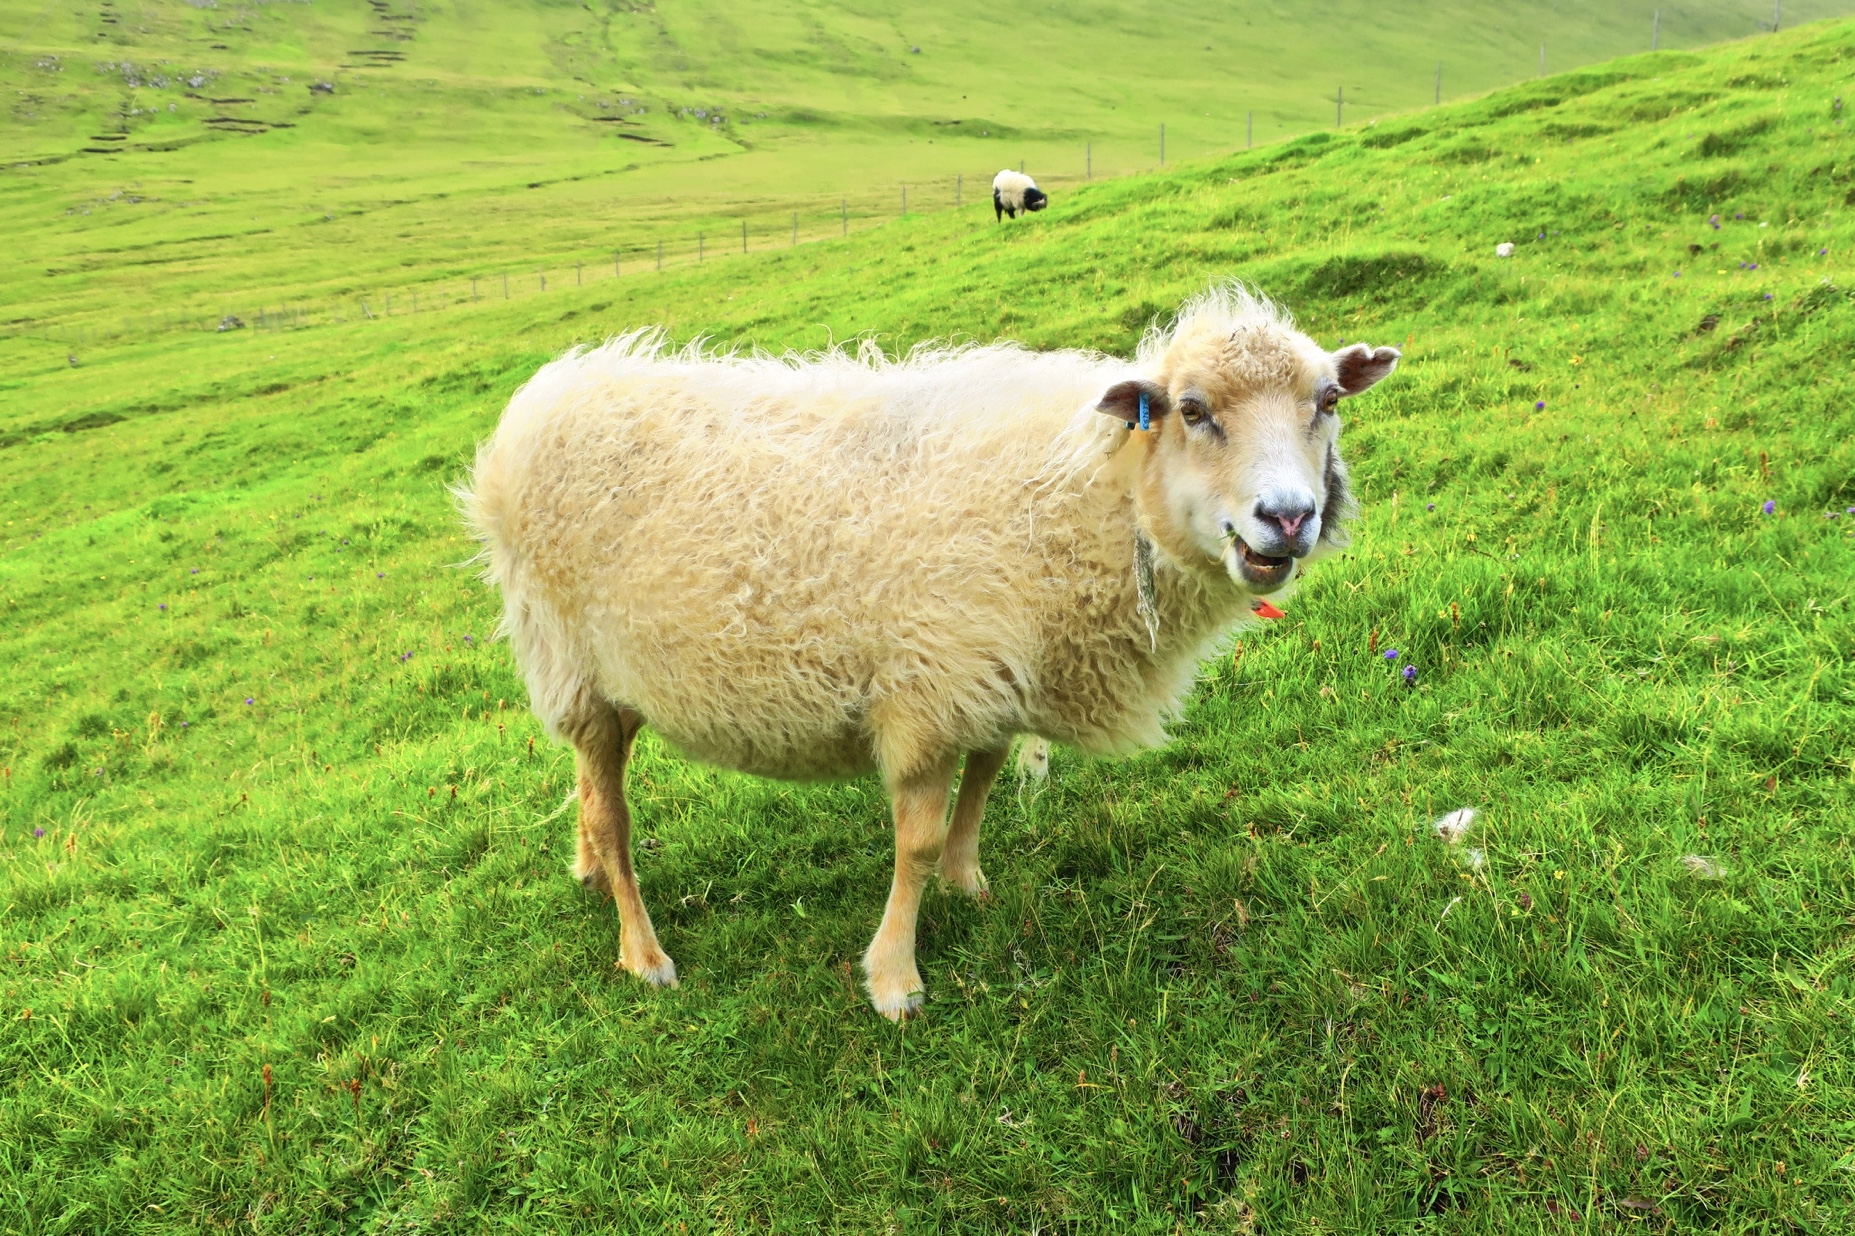
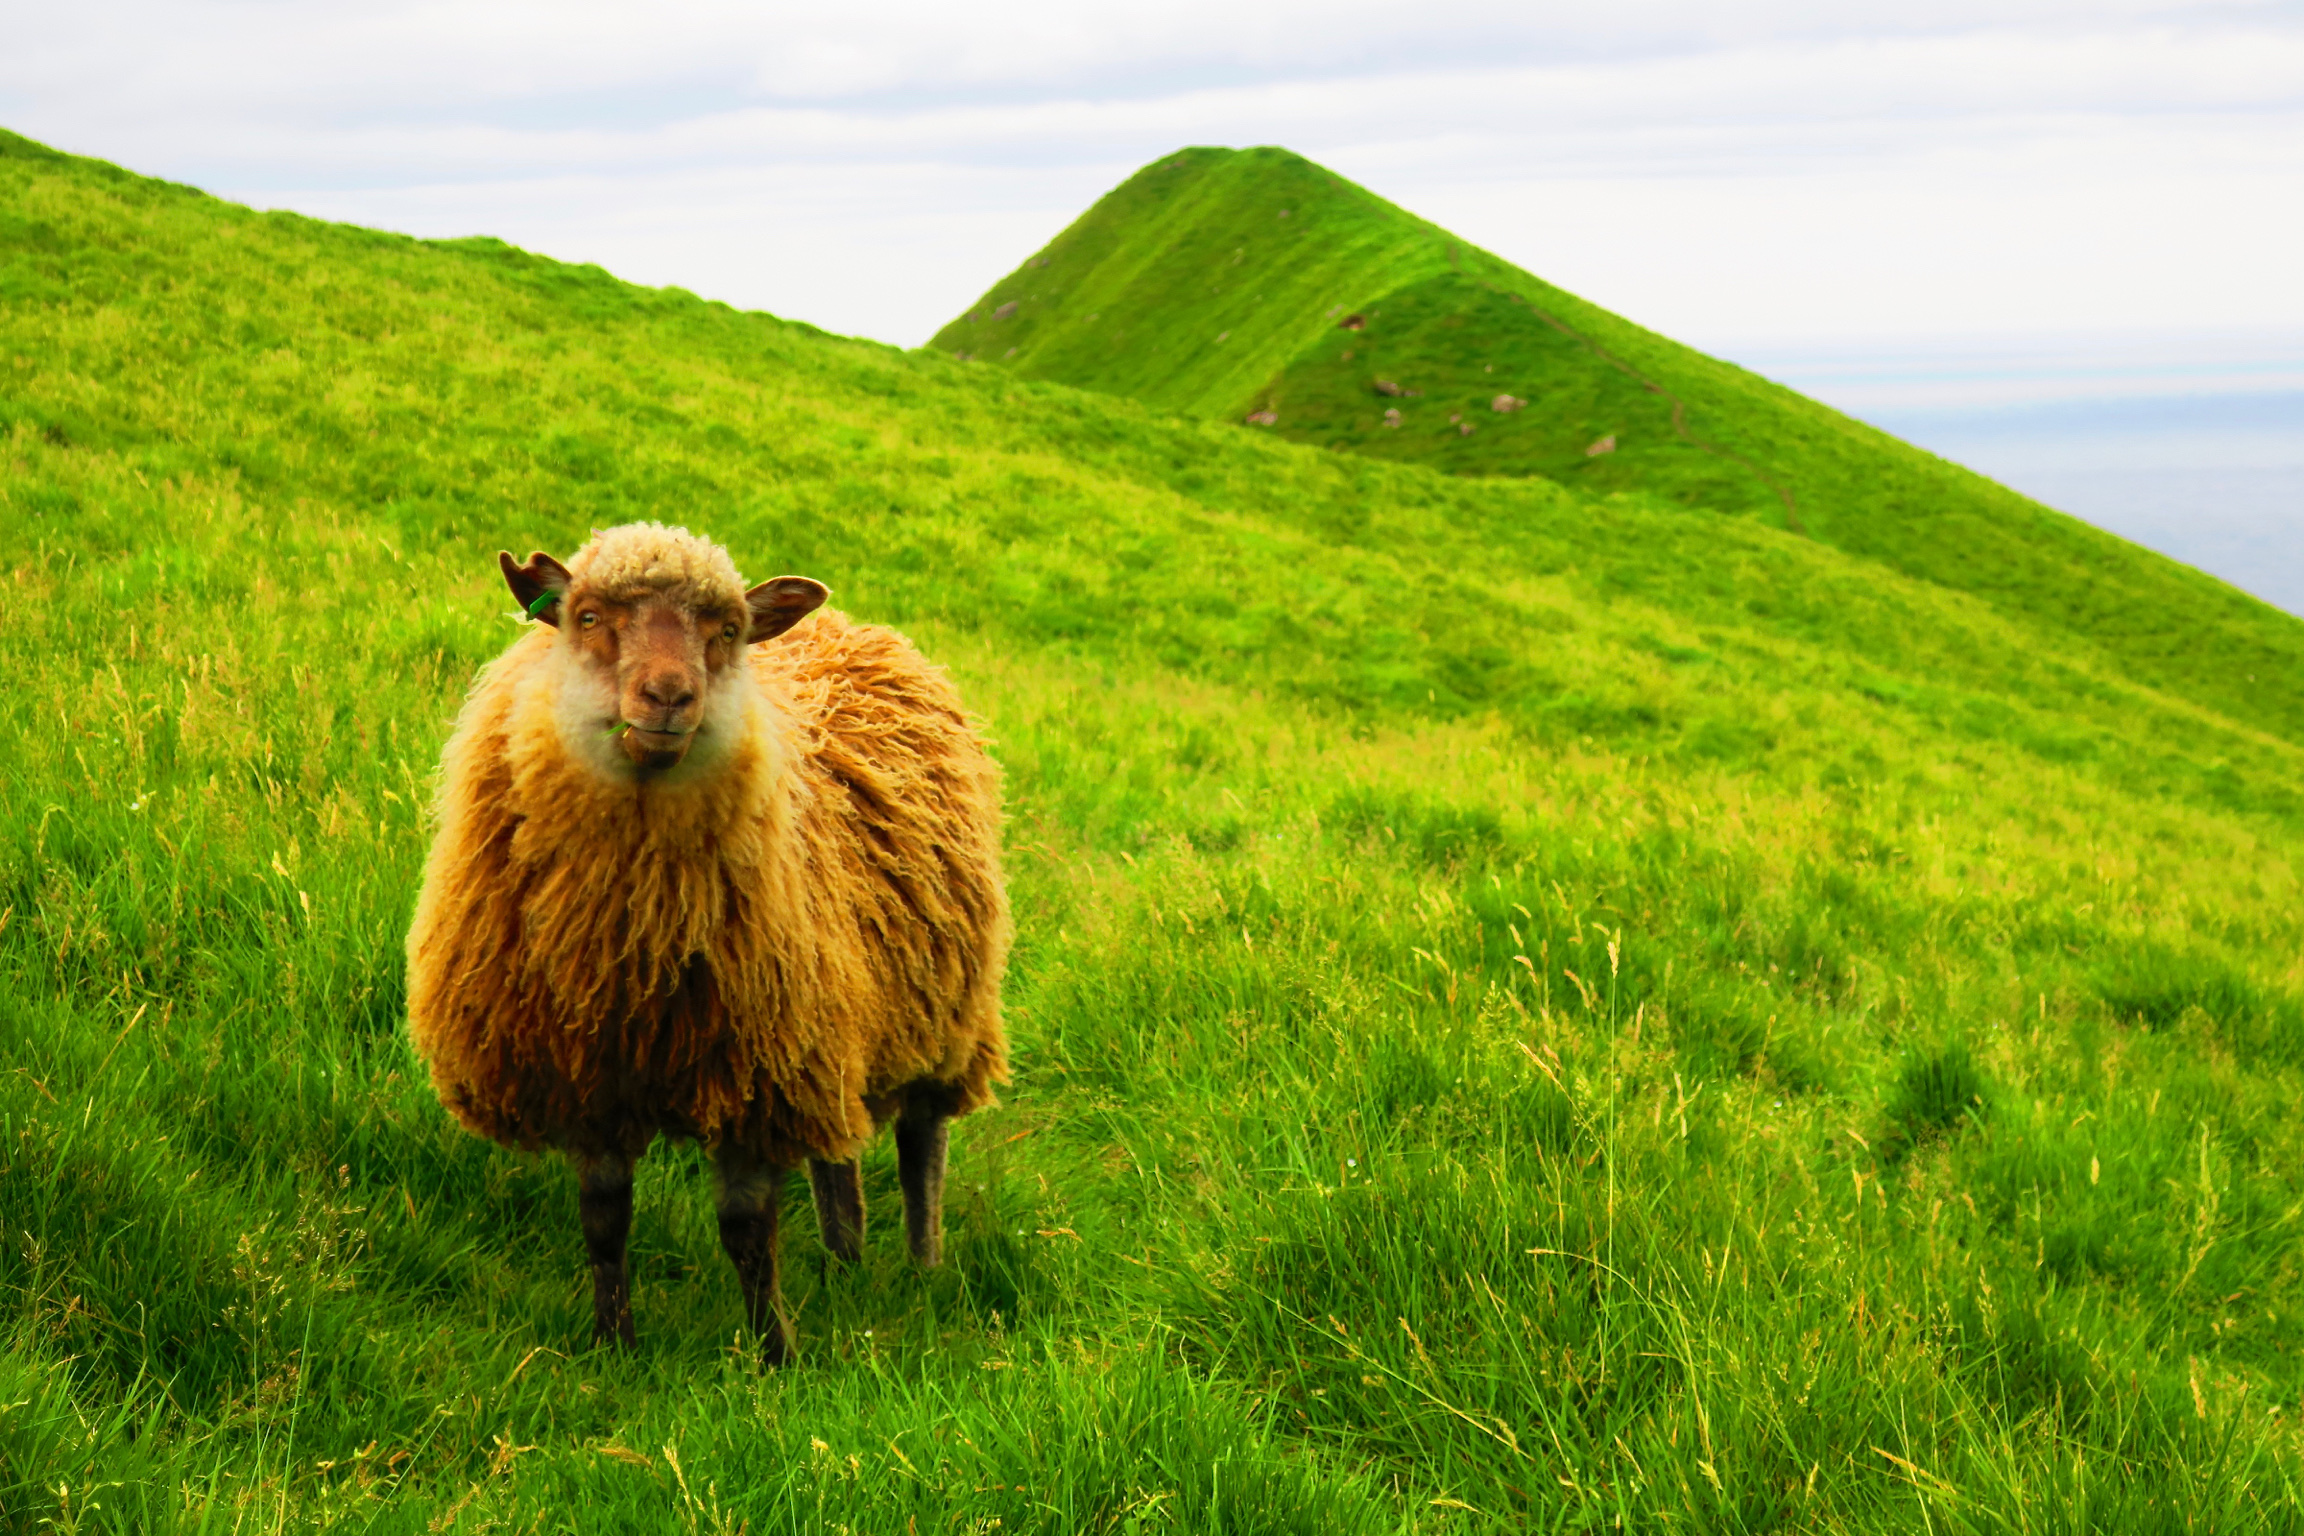
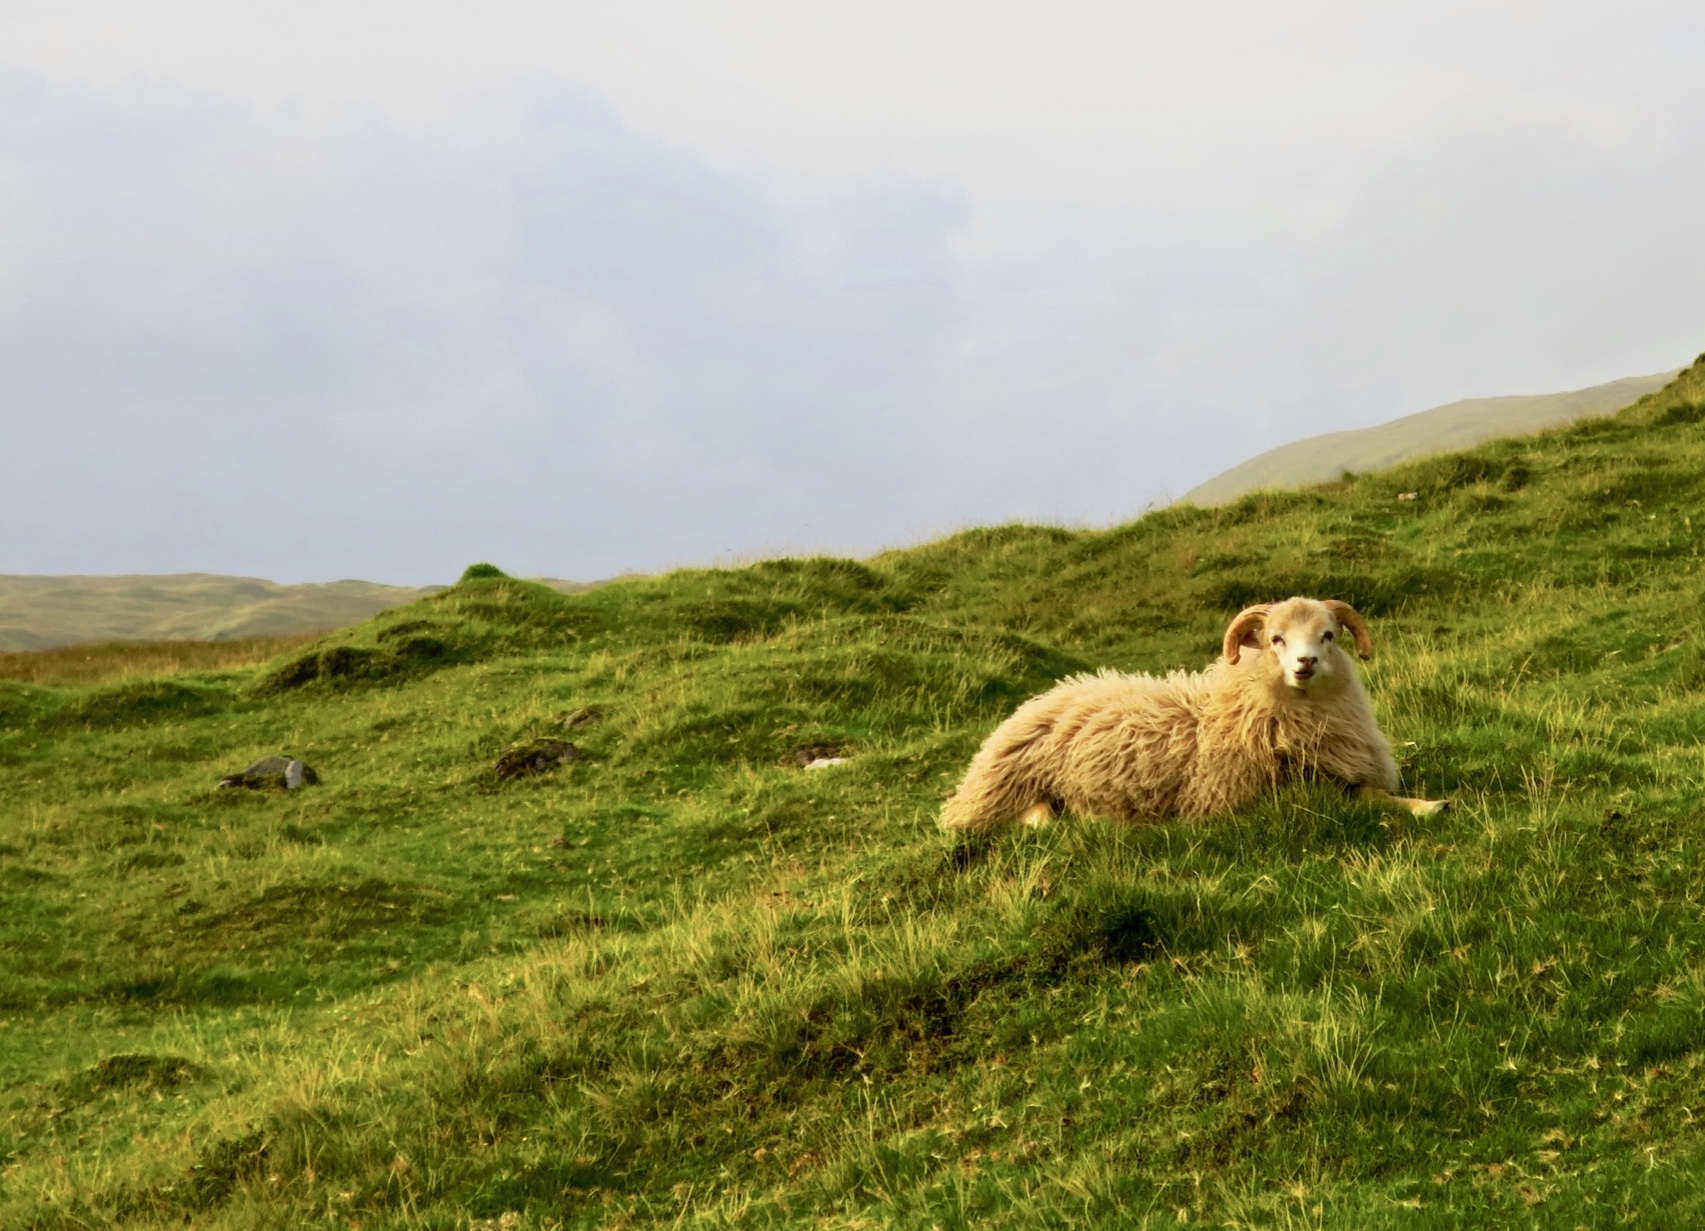
Driving in the Faroes has its quirks. There are two sub-sea toll tunnels connecting the more populated islands (toll 100 DKK, ~$15 USD). These tolls are only collected in one direction of travel and can be paid at the end of the tunnel at the Effo gas station within three days. In addition, there are numerous mountain tunnels throughout the country. The older ones require some caution as they are only wide enough for traffic to flow in one direction, so use the shoulder if available, otherwise pull into turnouts if you don’t have the right of way. Most importantly, watch out for sheep!! You are required to call the police if sheep meets car. Check out the full driving guide. As much as it is convenient, it is also expensive (AF)…

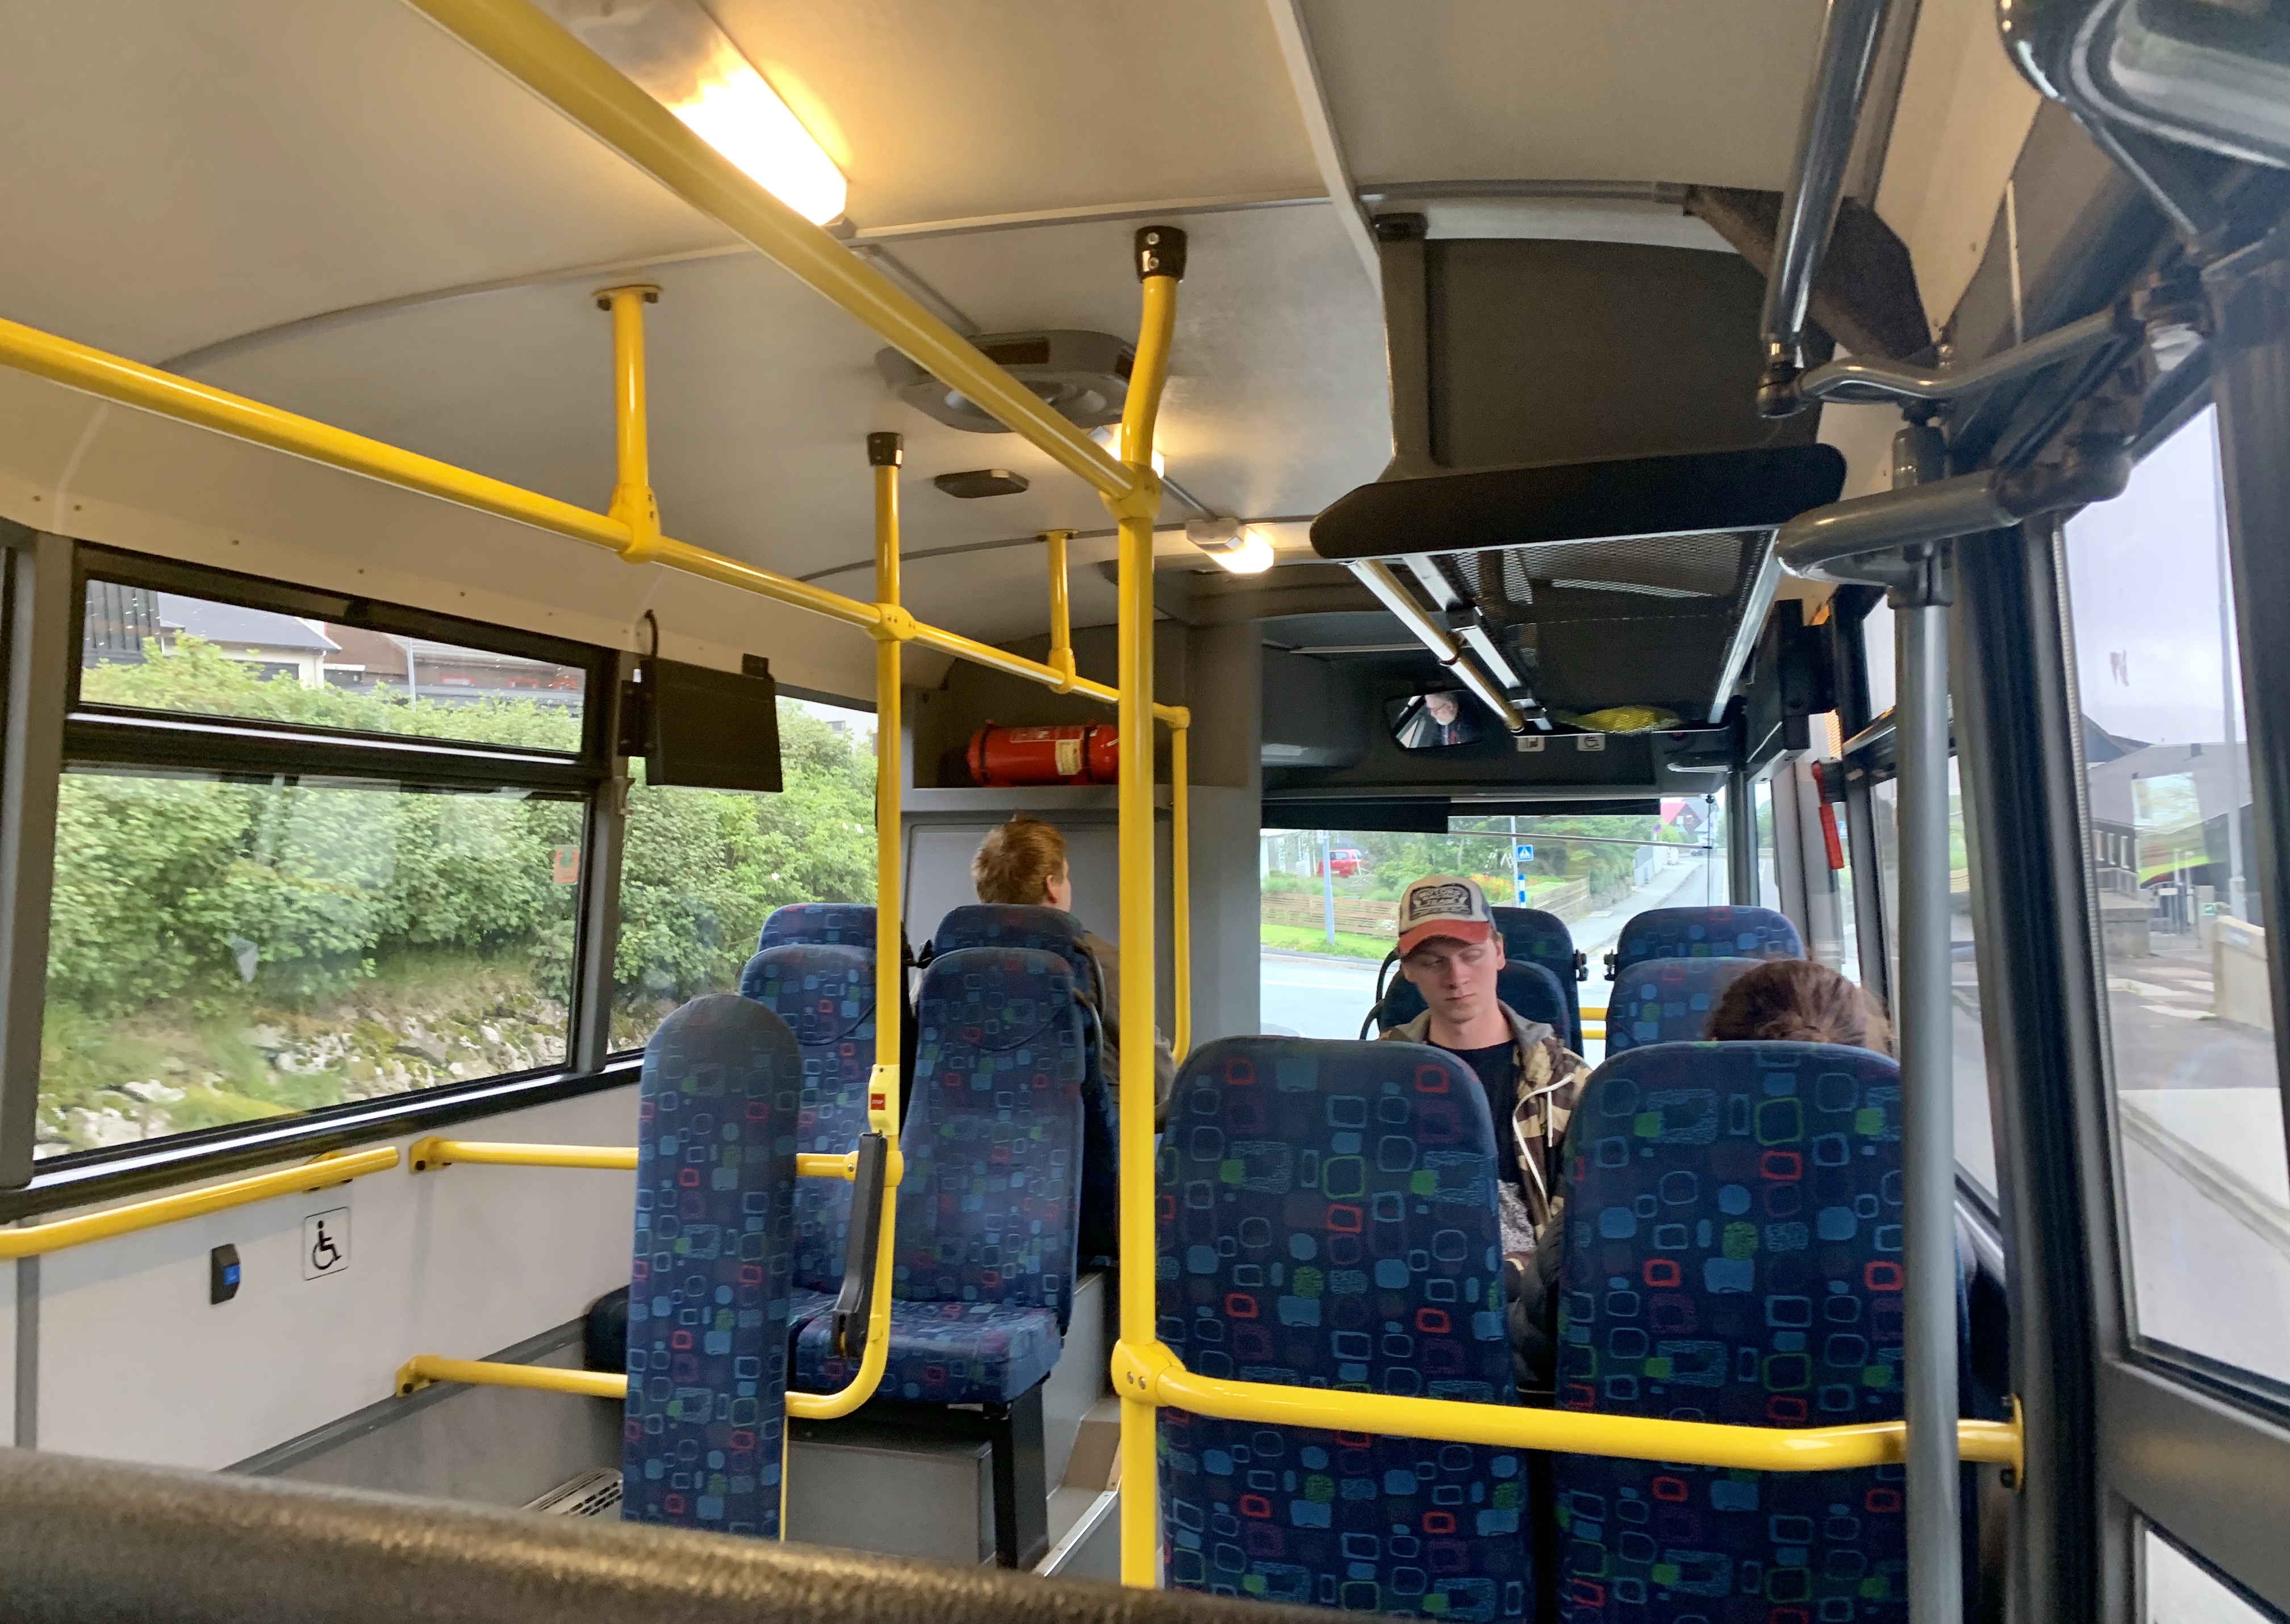
Strandfaraskip Landsins operates the bus and ferry system. First, consider how much you plan to use the bus and ferry systems because there are fare options: individual fare, 4-day unlimited, and 7-day unlimited. The unlimited options run 500 DKK (~$74 USD) and 700 DKK (~$103 USD) respectively. This may seem expensive but remember this includes passenger-only ferry fare (except to Mykines). Travel cards can be purchased at the airport information booth or on any of the buses that stop at the Tórshavn bus terminal. Individual fares are route/distance based, and theoretically can be calculated online except the app seems broken…
A transit map can be found here, and the timetables here. Regarding bus stops, they are easily located as most have a small bus shelter, or a yellow bus sign at the very least. It can be a little confusing in Tórshavn because the bus stops are numerous thanks to the (free) Tórshavn bus service. For an SSL bus, you can always get on and off at the Tórshavn bus termial, though you can also request to get off elsewhere in Tórshavn. If you’re planning with the time tables and notice that a ferry arrives in a village the same time a bus leaves that village, know they do this on purpose and they will wait for folks coming off the ferry. Info on the Tórshavn city bus here. Additionally there is a free city bus in the next largest city, Klaksvik.
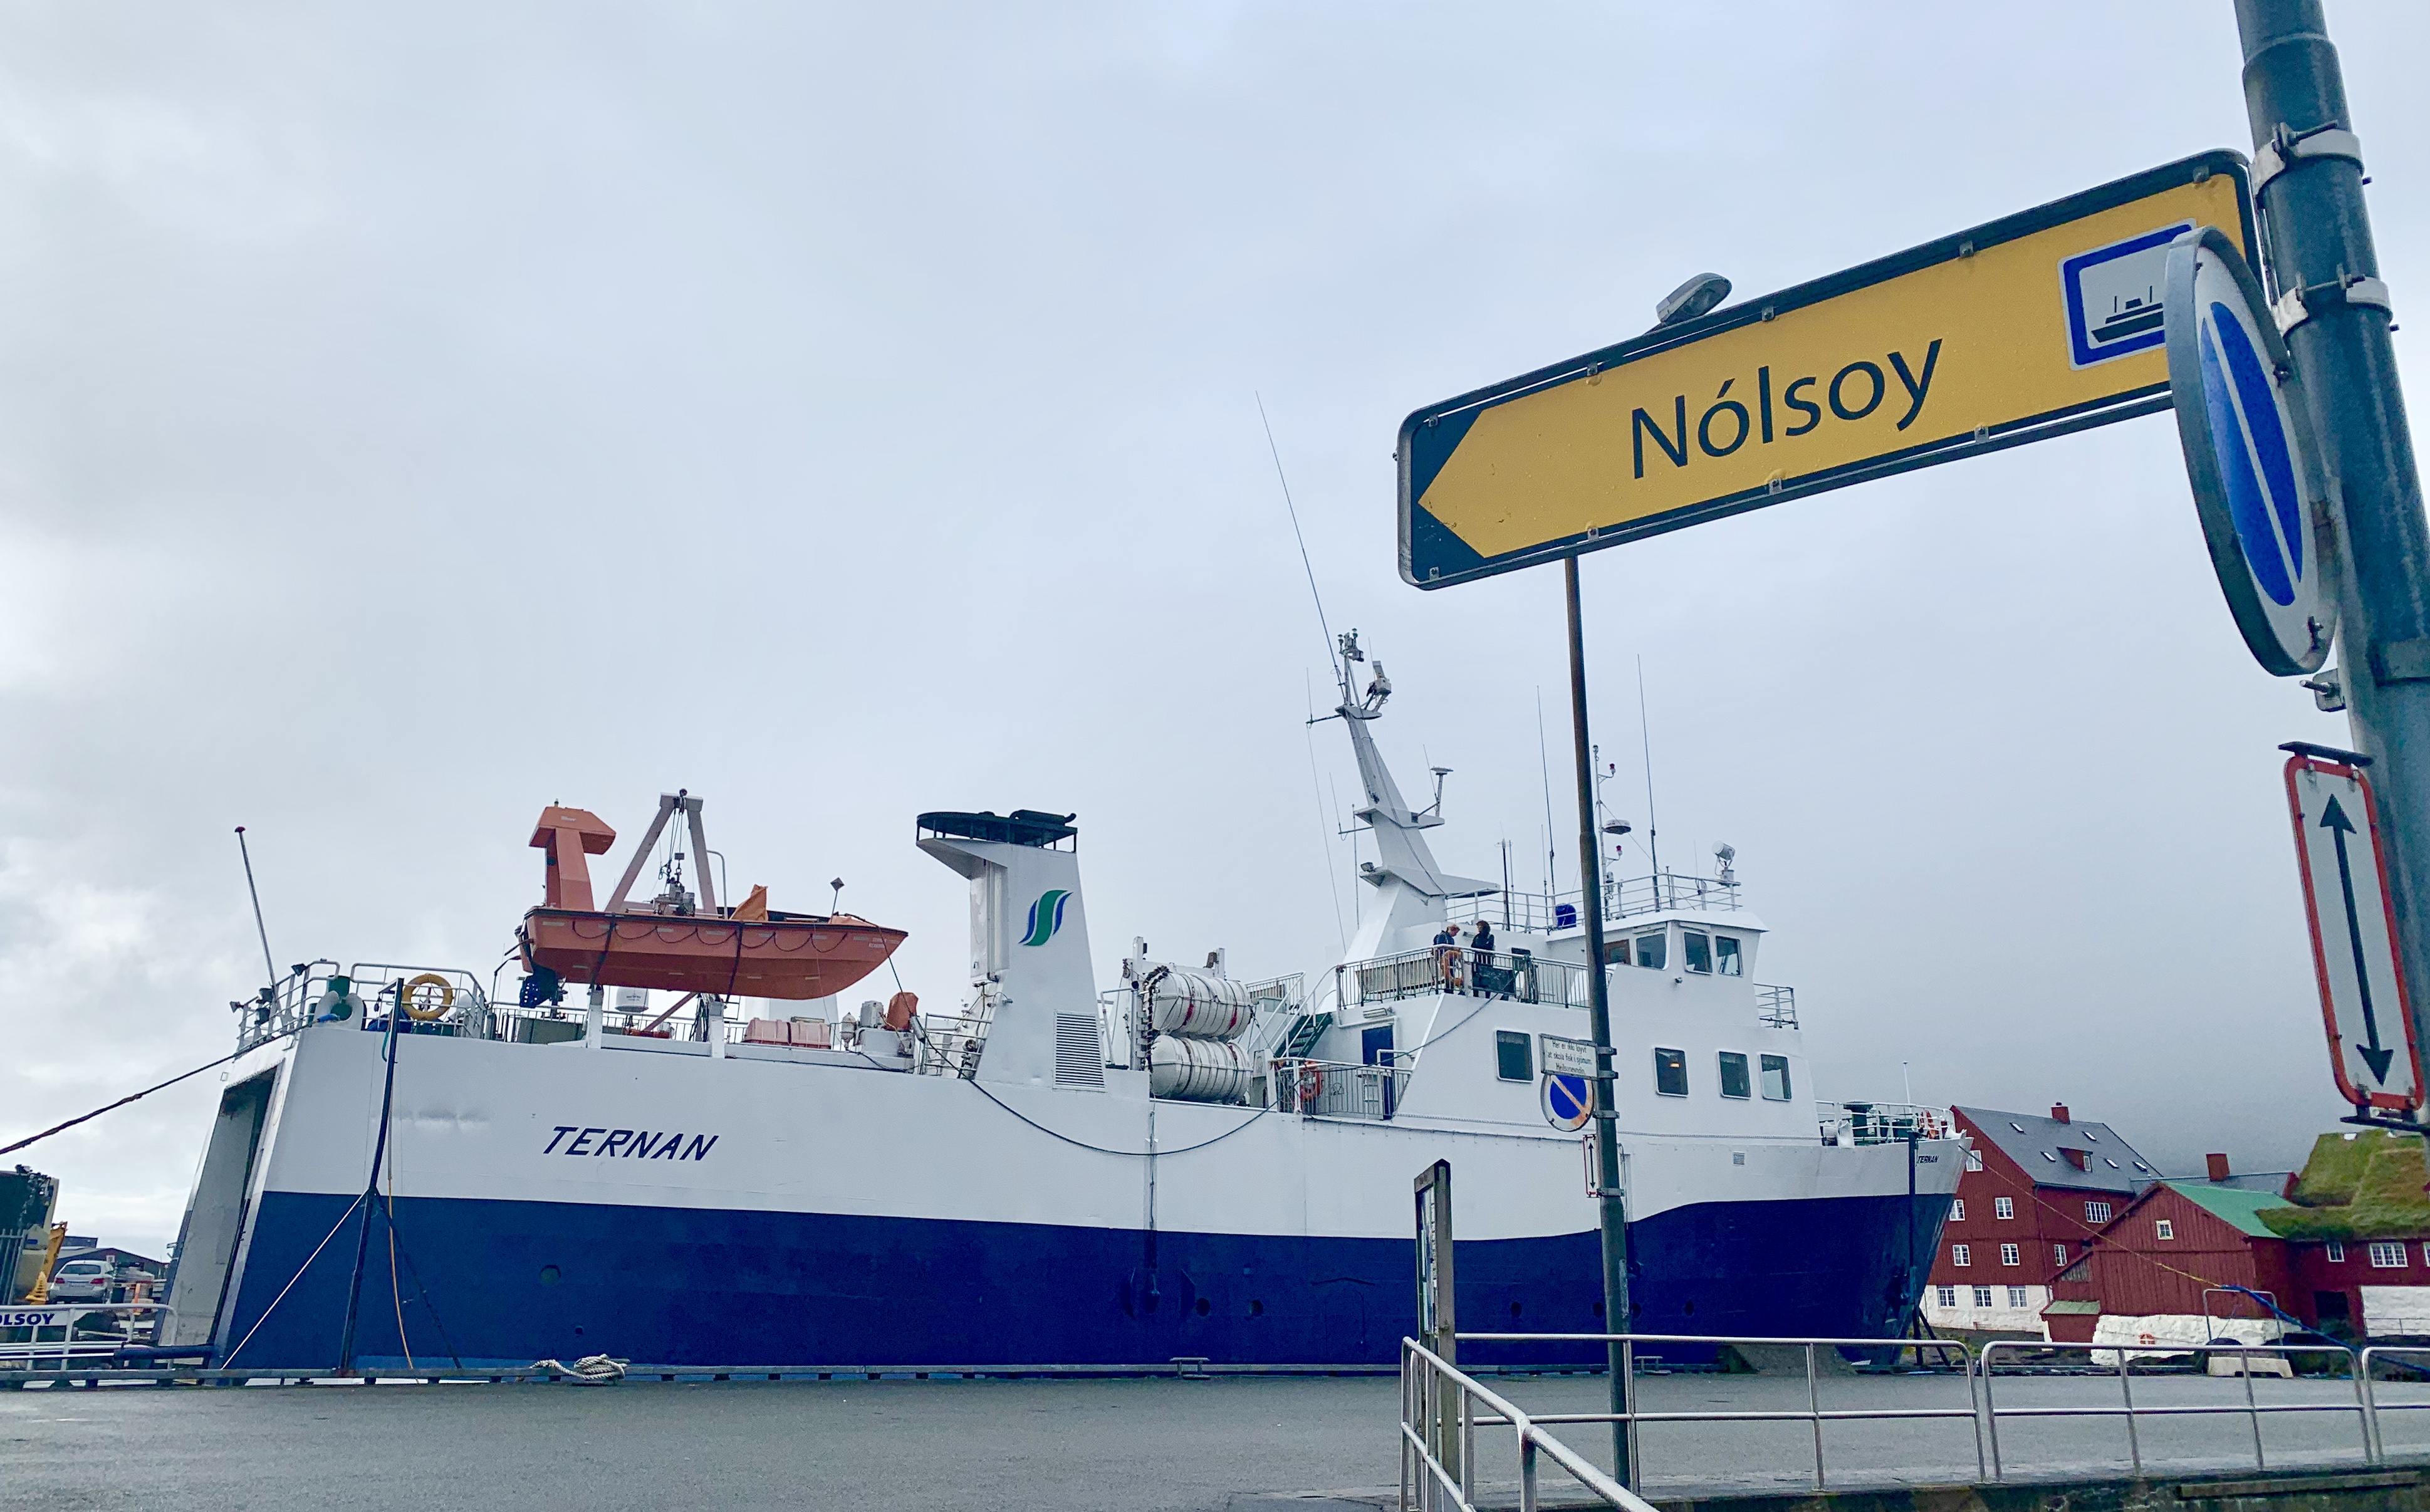
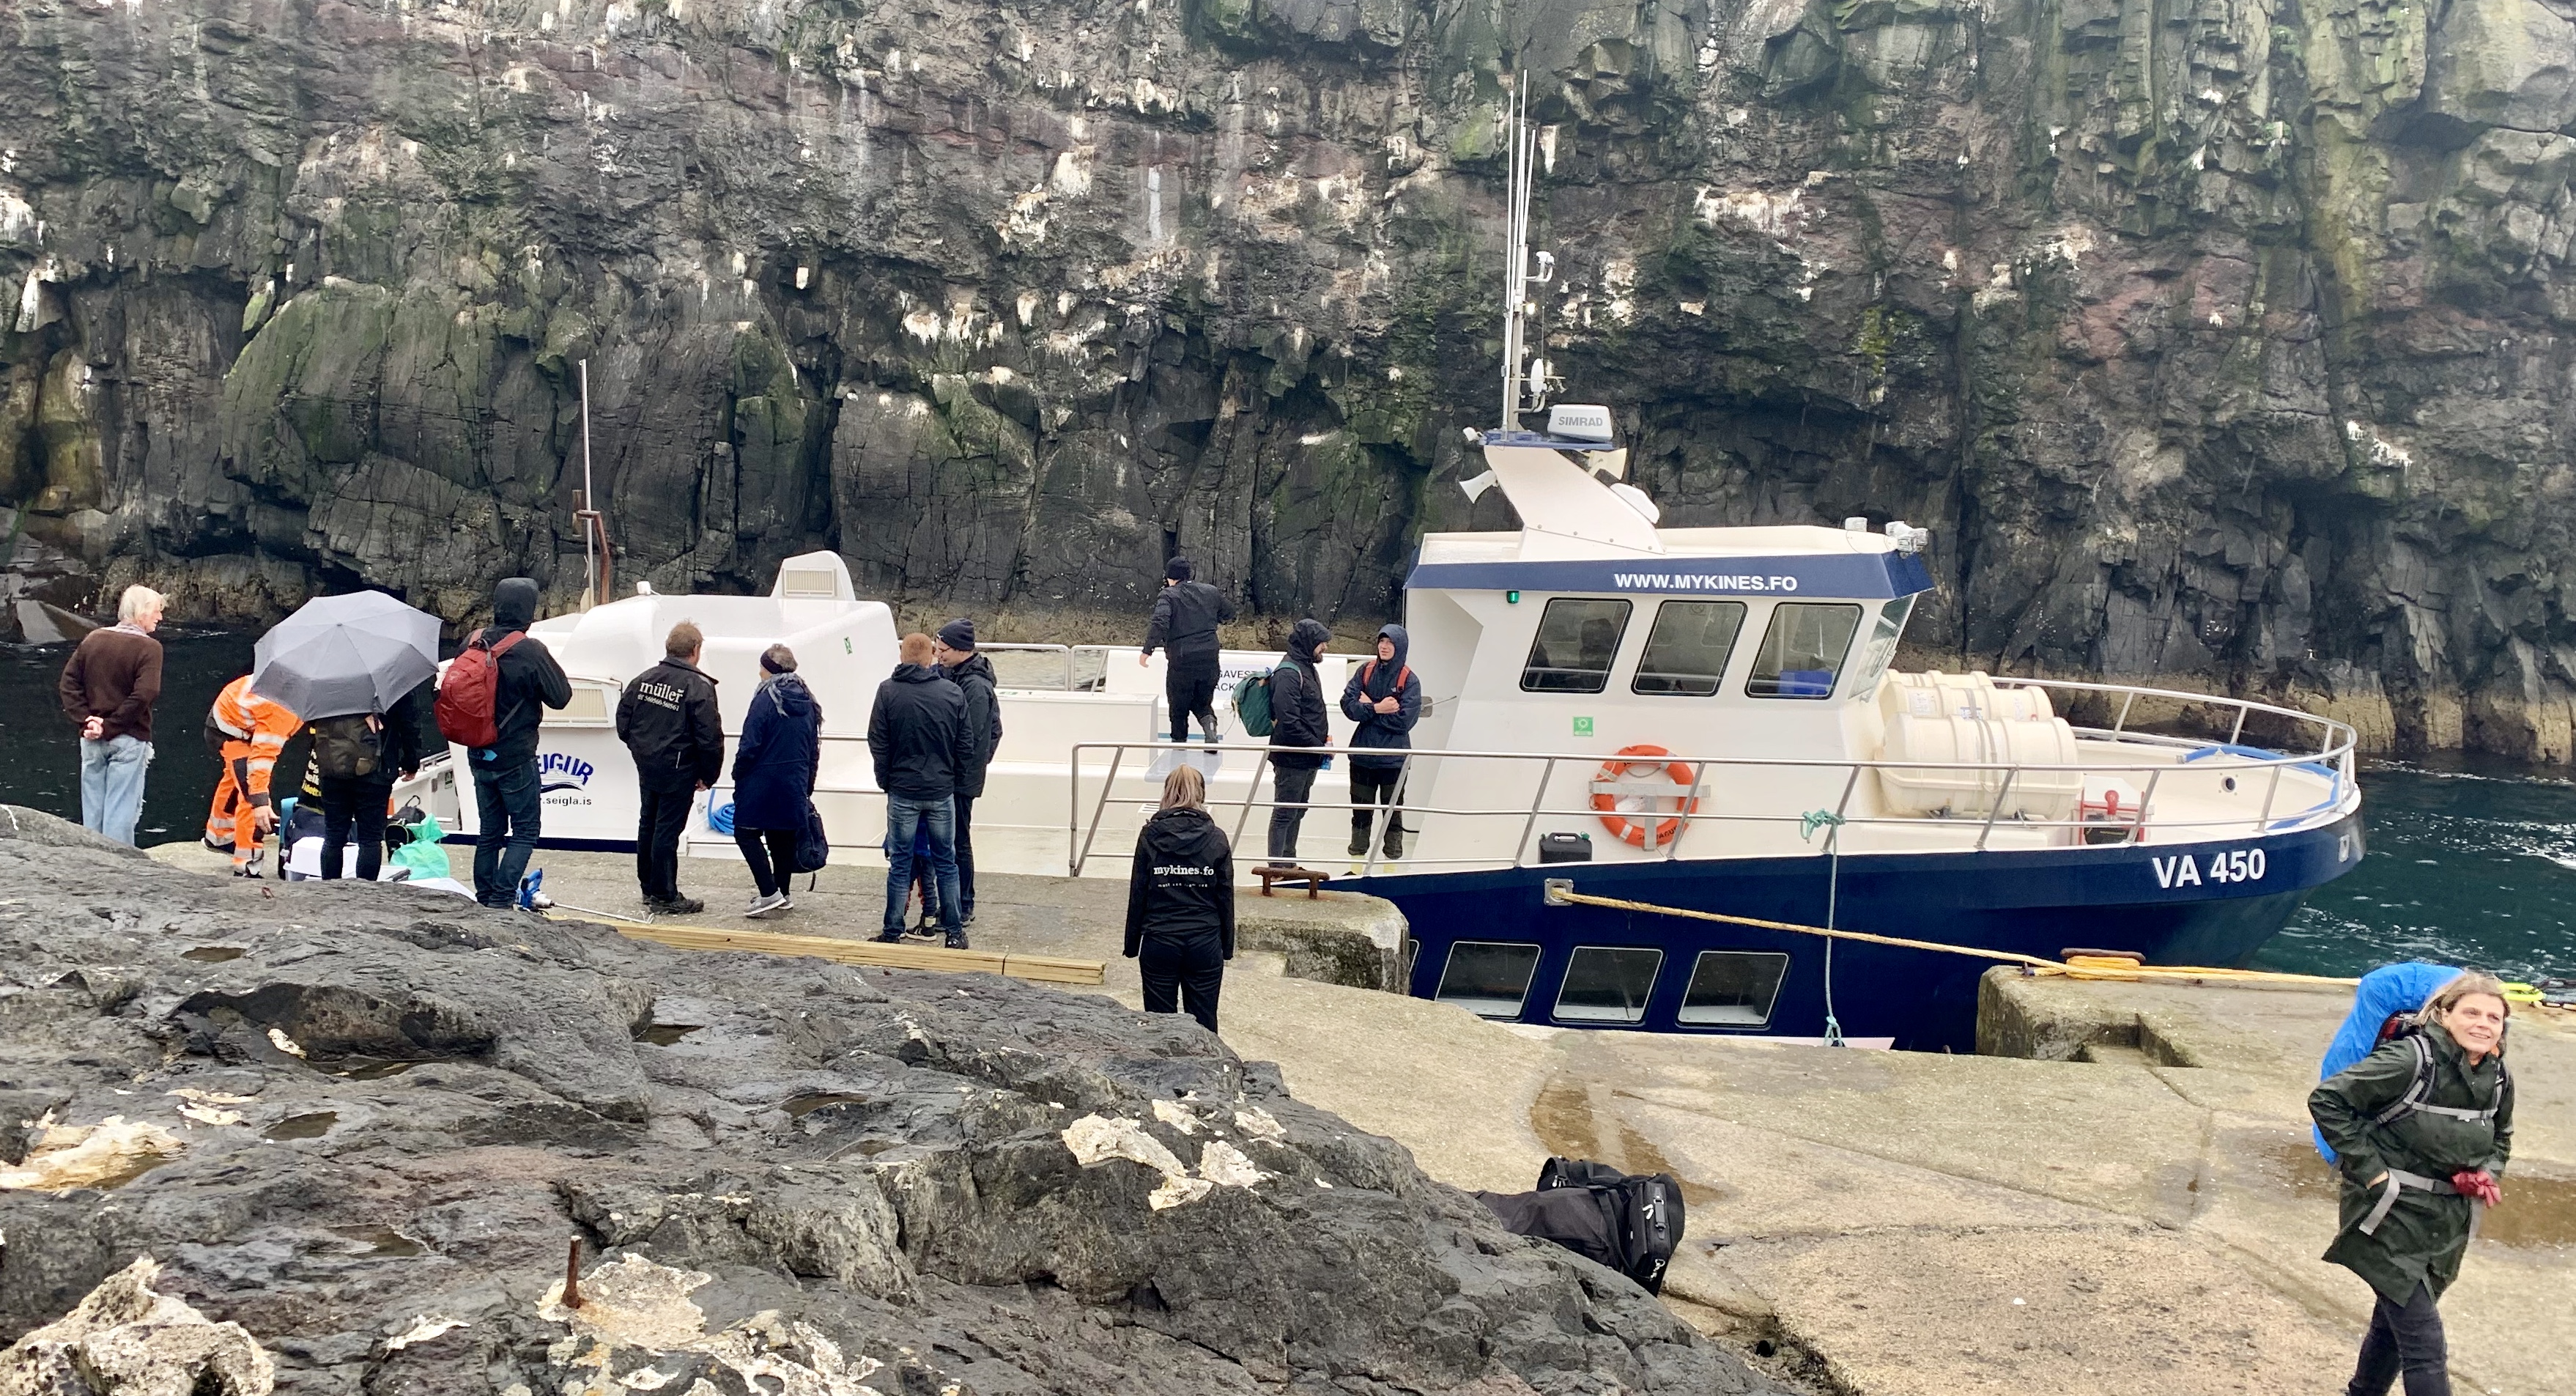
Using the ferry system is relatively straightforward: locate the ferry terminal, walk on, pay (on the outbound journey only) and make yourself comfortable. If you are bringing your vehicle, the only difference is you will want to show up a bit earlier to join the car queue to drive your vehicle on board. Depending on the route, the size of the ferries and their vehicle capacity differ greatly. The longest ferry ride is a two hour journey from Tórshavn to the southern most island of Suðuroy. This ferry has 7 decks and a full cafeteria. On the other end of the spectrum is the ferry to Mykines, which necessitates comment.
The last option for getting around is to hitchhike. There aren’t a ton of places around the world where I’d rely on hitchhiking as a sole means of transit but the Faroes are special! This is easiest in the smaller villages versus in Tórshavn and Klaksvik. There were a small handful of times when the bus didn’t go quite where I needed to start a hike, or I didn’t want to wait around for the bus so I’d opt for hitchhiking. The longest I waited was maybe ten minutes, and it was a great way to authentically see the Faroes; with the knowledge of a local! Some villages are so small that traffic is really limited - keep this is mind if you’re on a schedule.
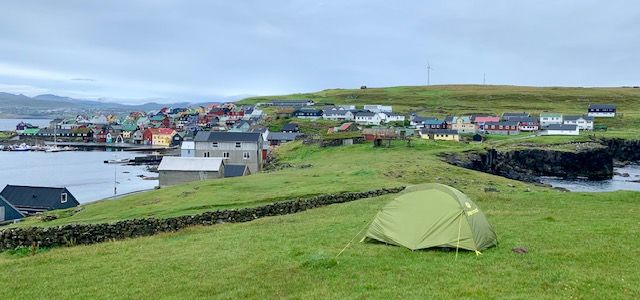
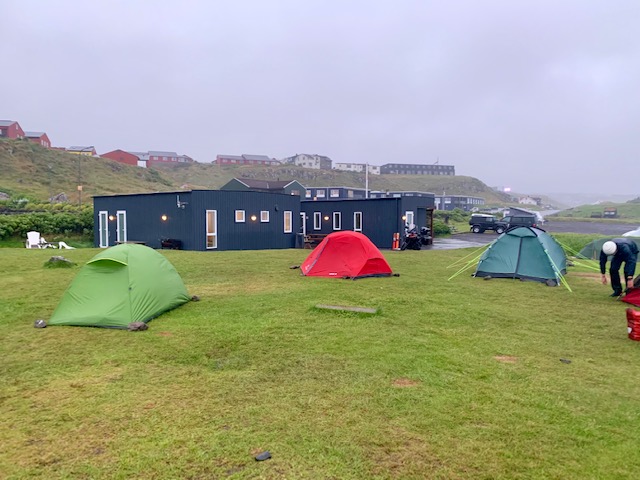
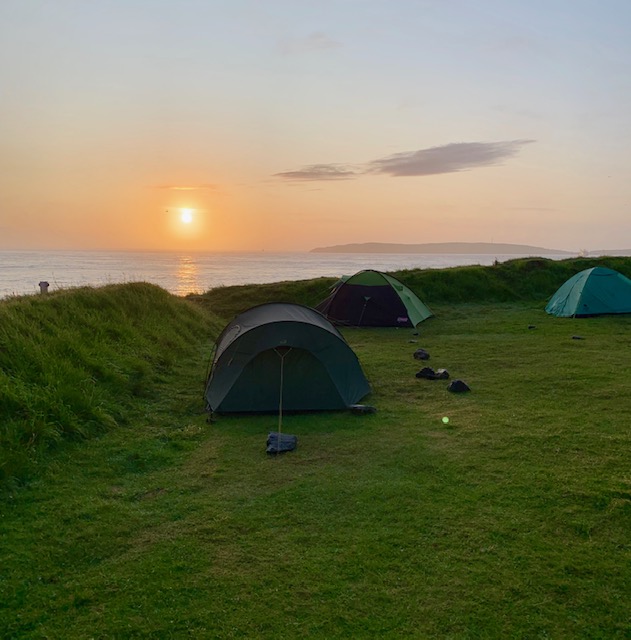
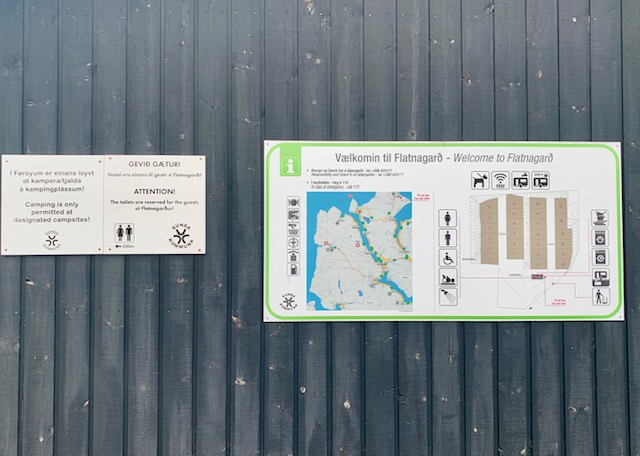
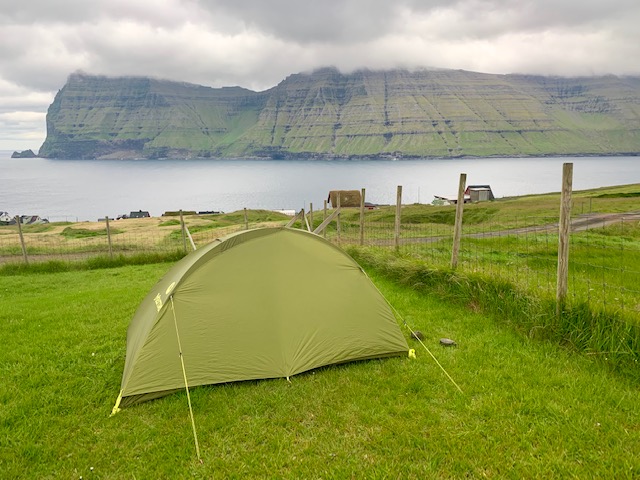
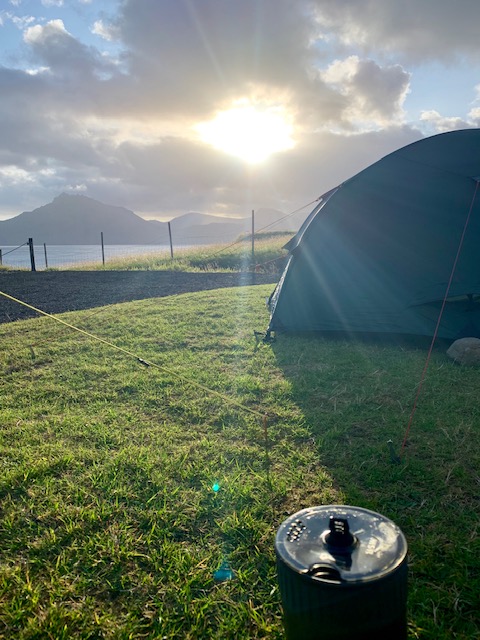
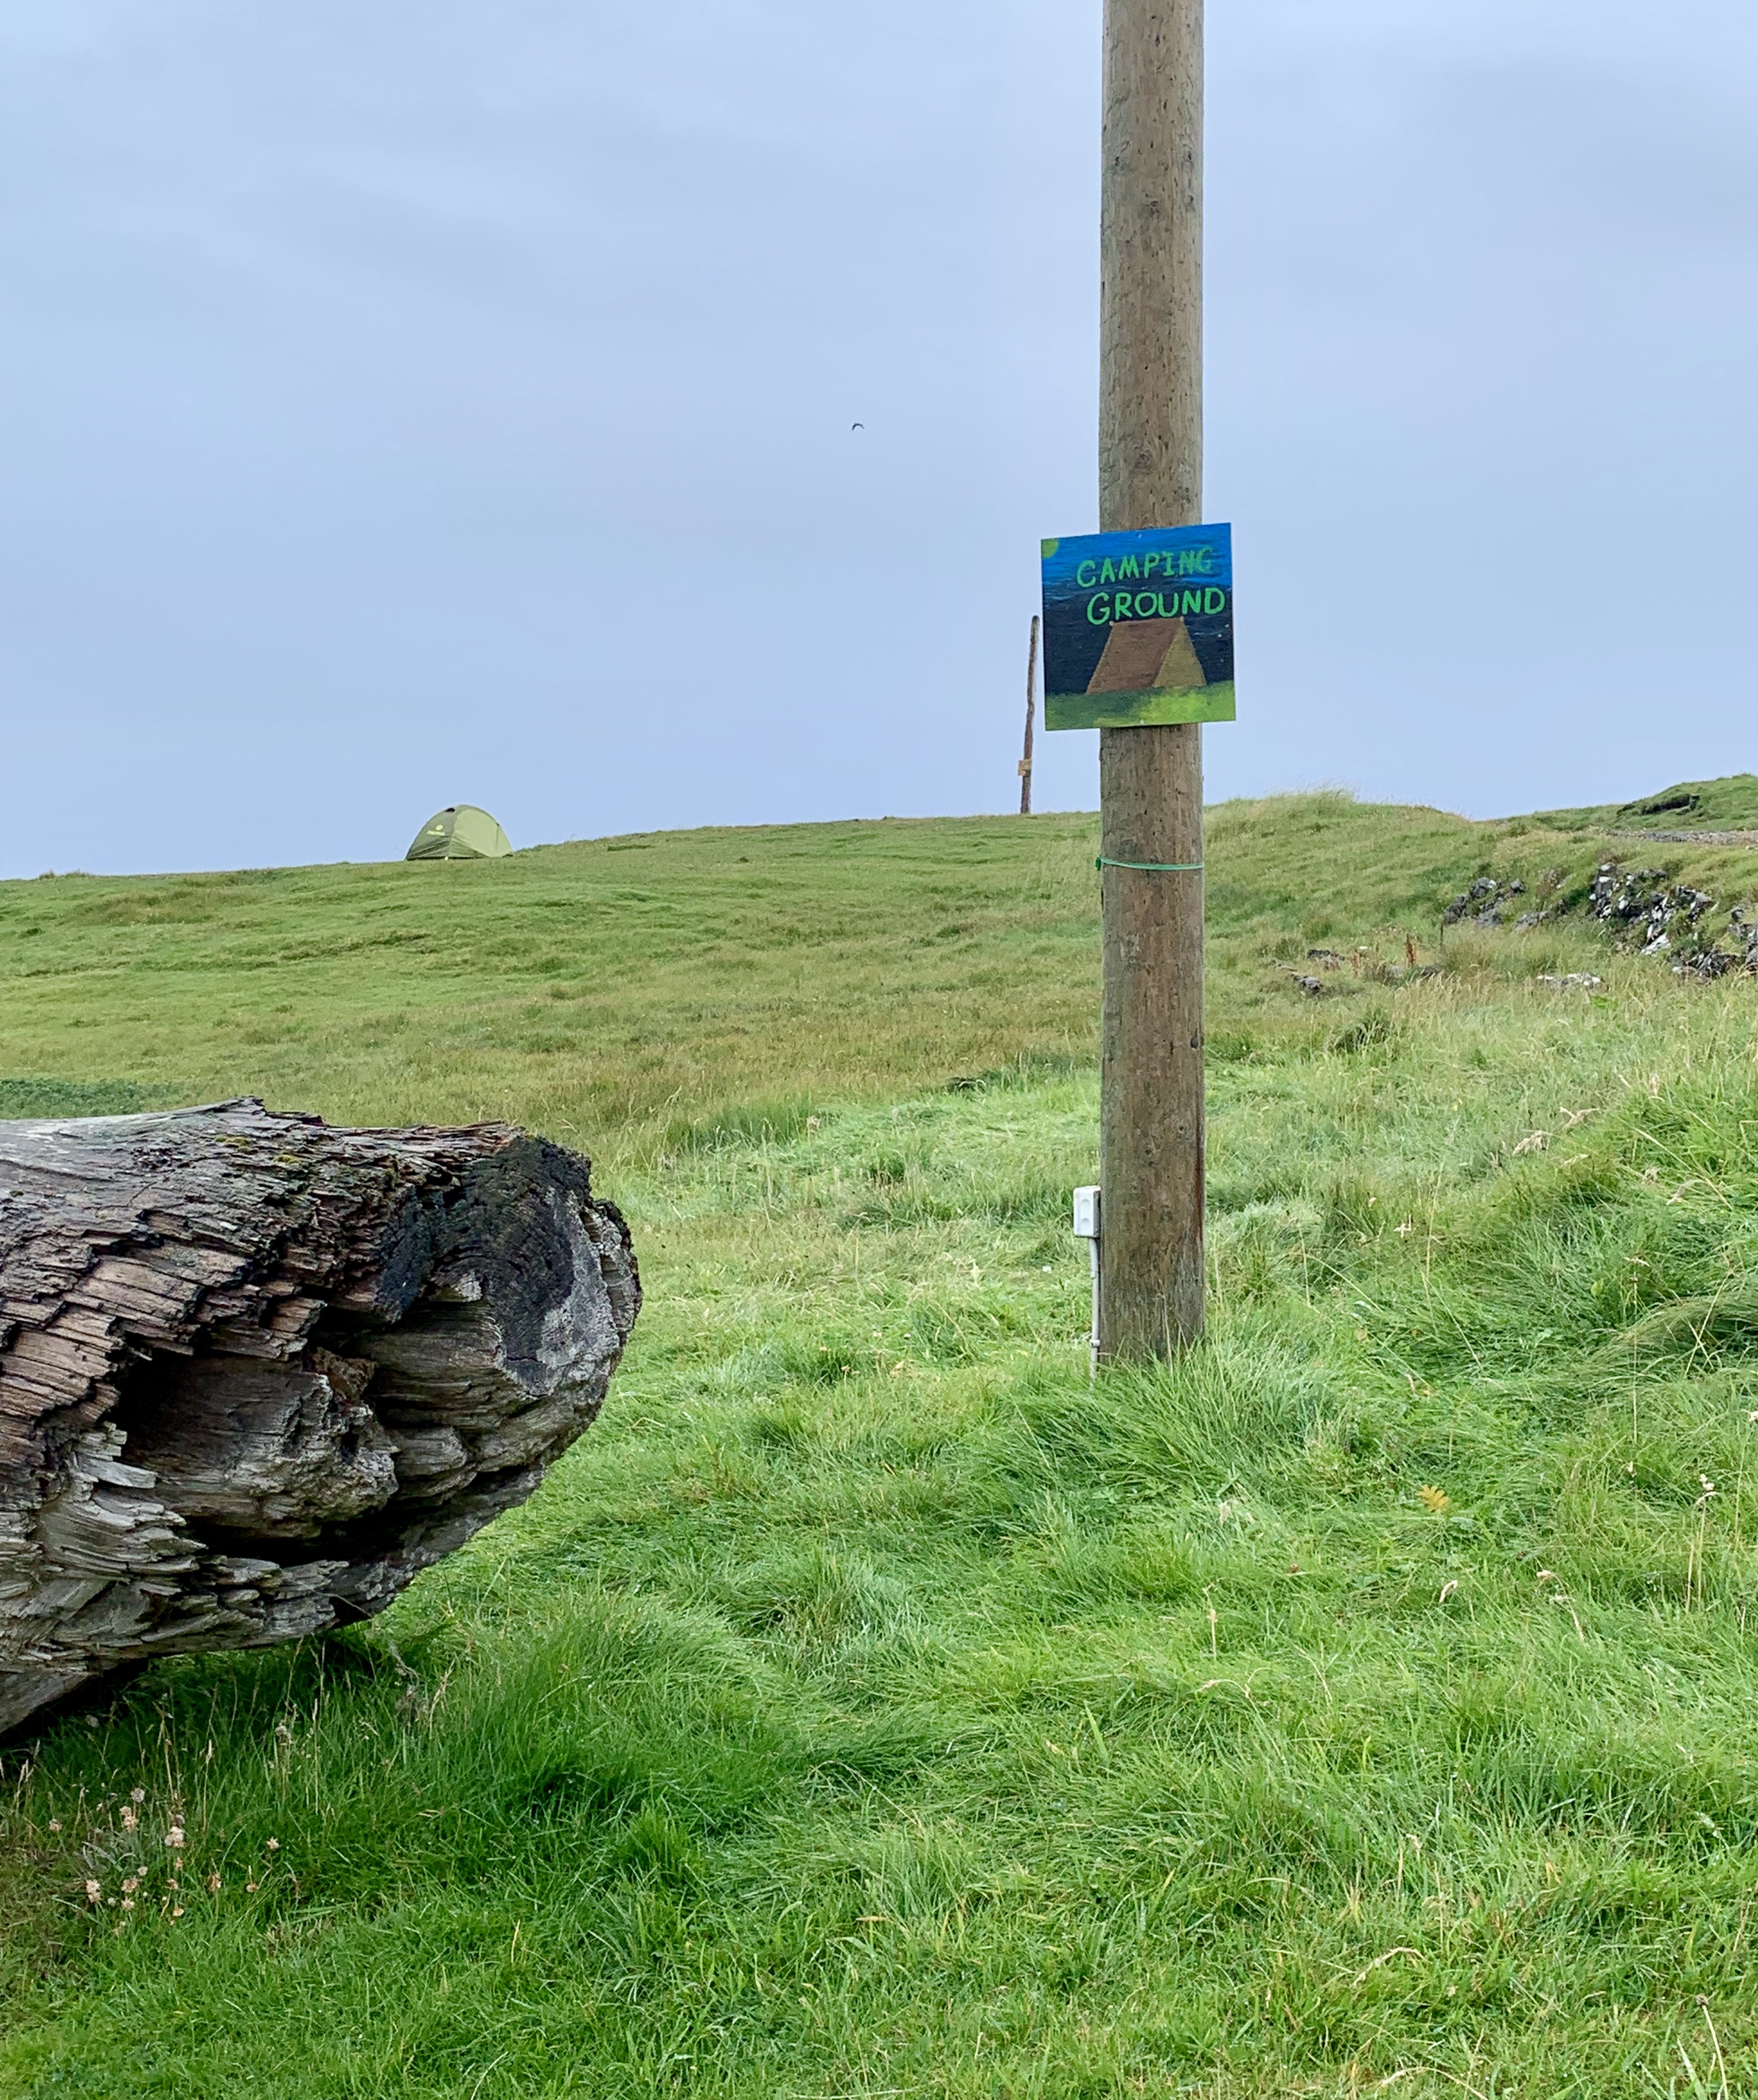
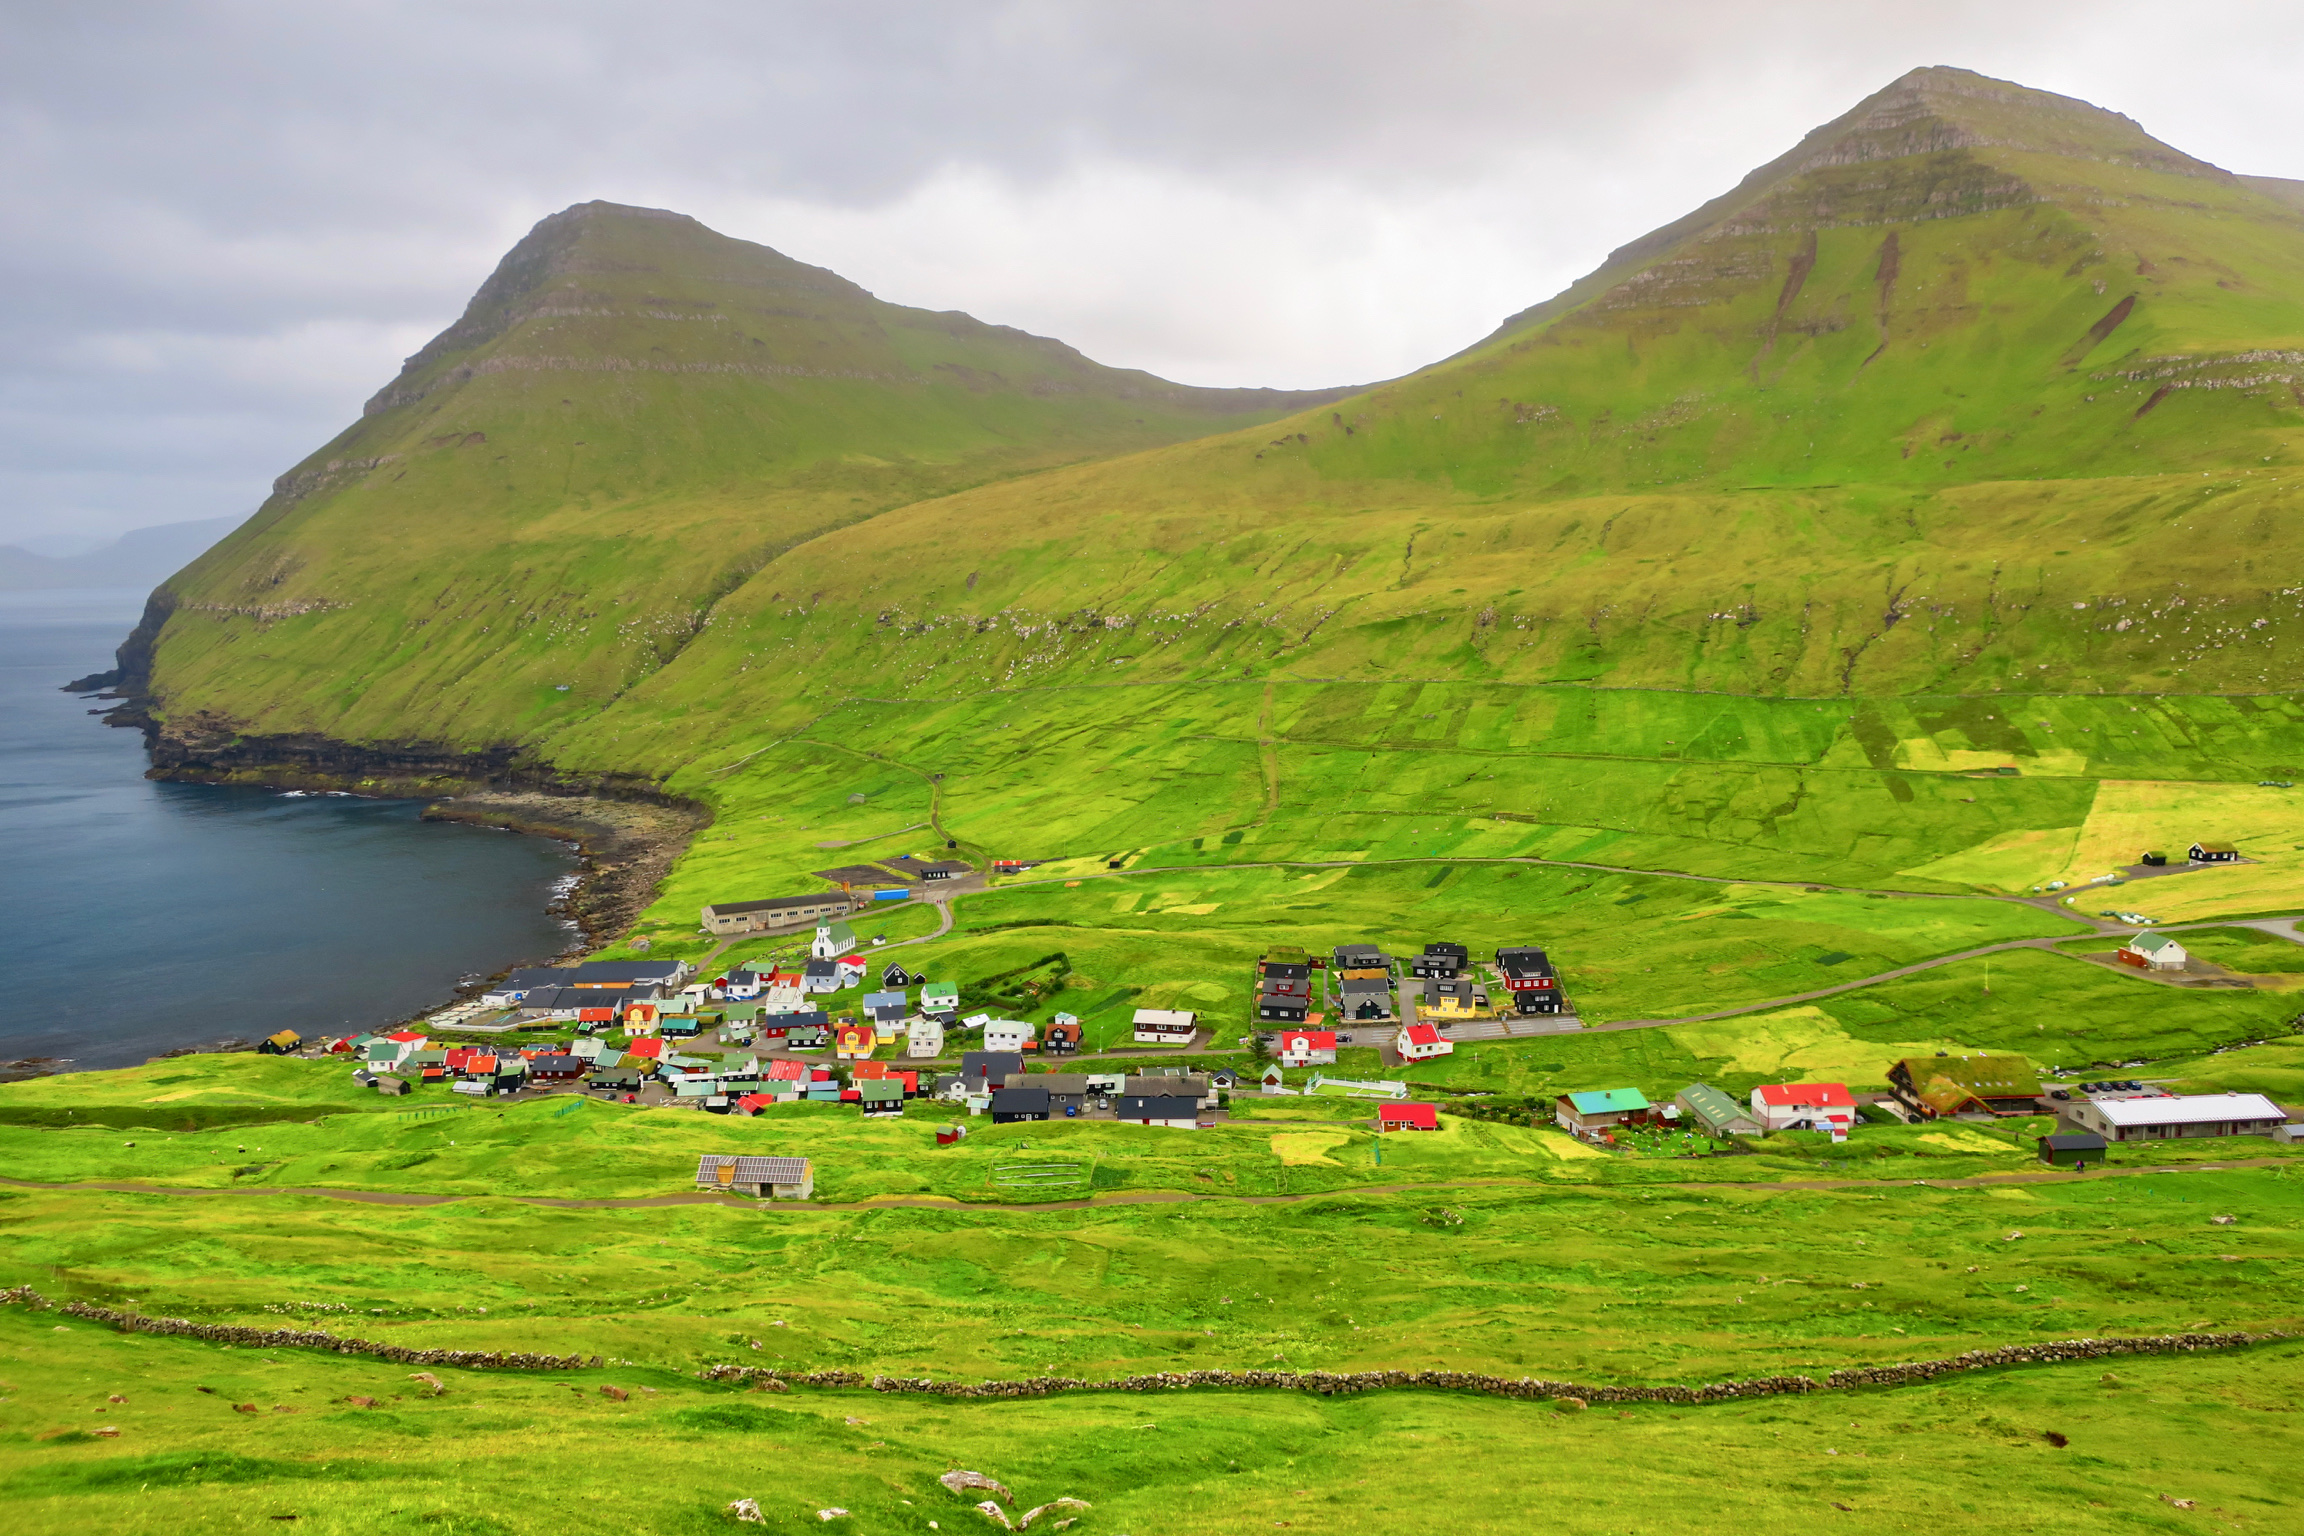
Because much of the land in the Faroes is privately owned, there is no option to wild camp and you must make do with the 22 designated locations scattered throughout the islands. Most of the info can be found through the camping website, but this isn’t always up to date and certain sites lack details especially when it comes to booking and payments. The camps located in small villages typically work in conjunction with a hostel, guest house, or visitor center to deal with payment. Price varies based on facilities offered at the site but range from 90 DKK to 200 DKK (~$14 - ~$30 USD). The following are sites I stayed at along with my experience and tips.
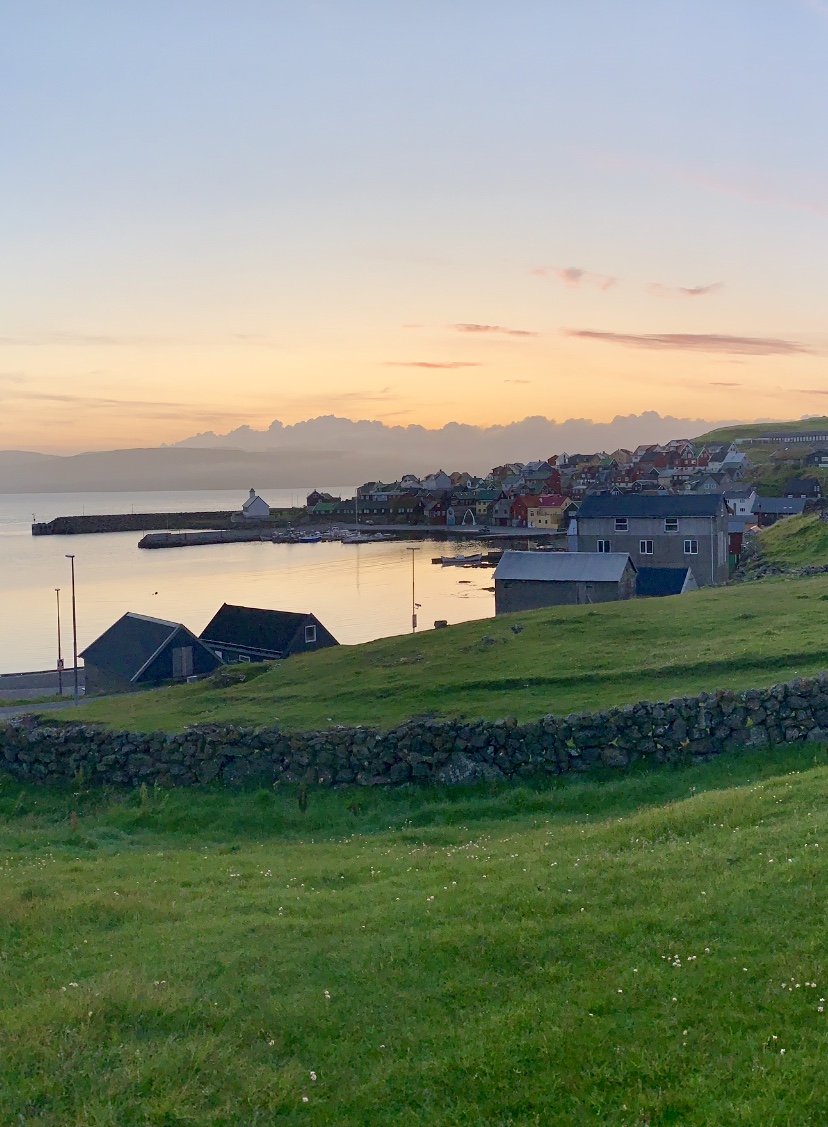
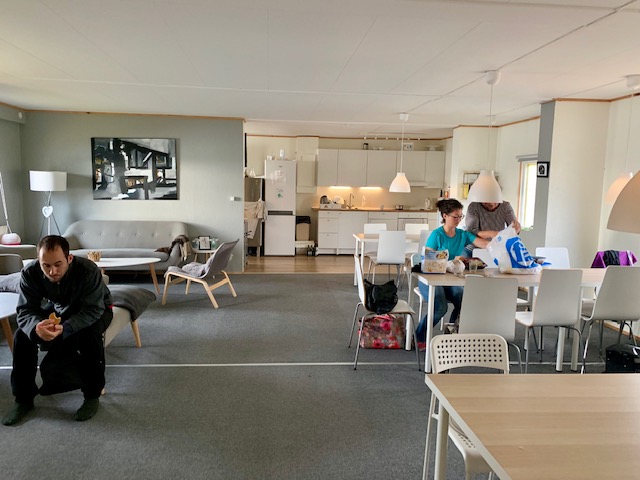
- Streymoy - Tórshavn: Definitely the least scenic/relaxing but the most convenient, as Tórshavn serves as a central location for supplies and transit. One should absolutely book in advance if possible during high season. By the end of August when I visited, it wasn’t necessary to do so. Simply show up and pay inside the hostel (95 DKK, ~$14 USD). Camping here shares facilities with the hostel including kitchen, common space, showers, toilets, laundry, and wifi. The camping space itself is small, and is adjacent to a main road, so bring ear plugs!


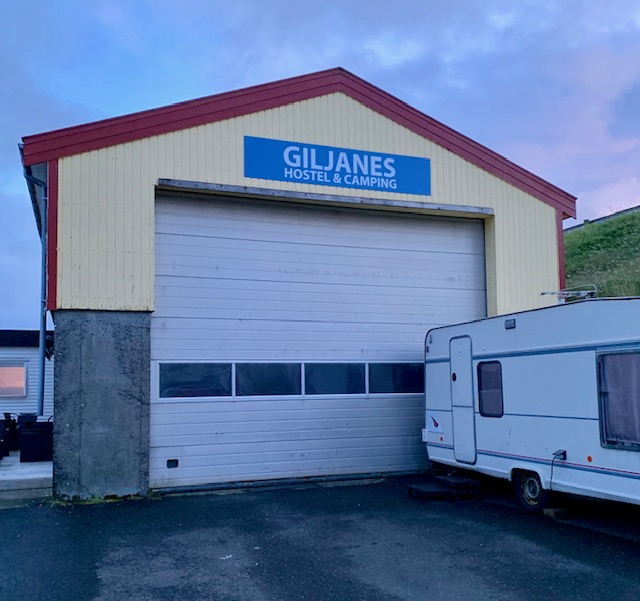
- Vágar - Giljanes: Located in between the villages of Miðvágur and Sandavágur, the Giljanes campsite is probably the next most popular after Tórshavn, and also merits booking in advance if possible during high season. The set up is very similar to that of Tórshavn, except there is no front desk. Rather, there’s a woman that hangs around the premise to accept payment. (Try to bring cash here if only staying one night - there is a minimum card payment and it is more than a single night’s stay). It is possible to walk to this site from either of the neighboring villages.

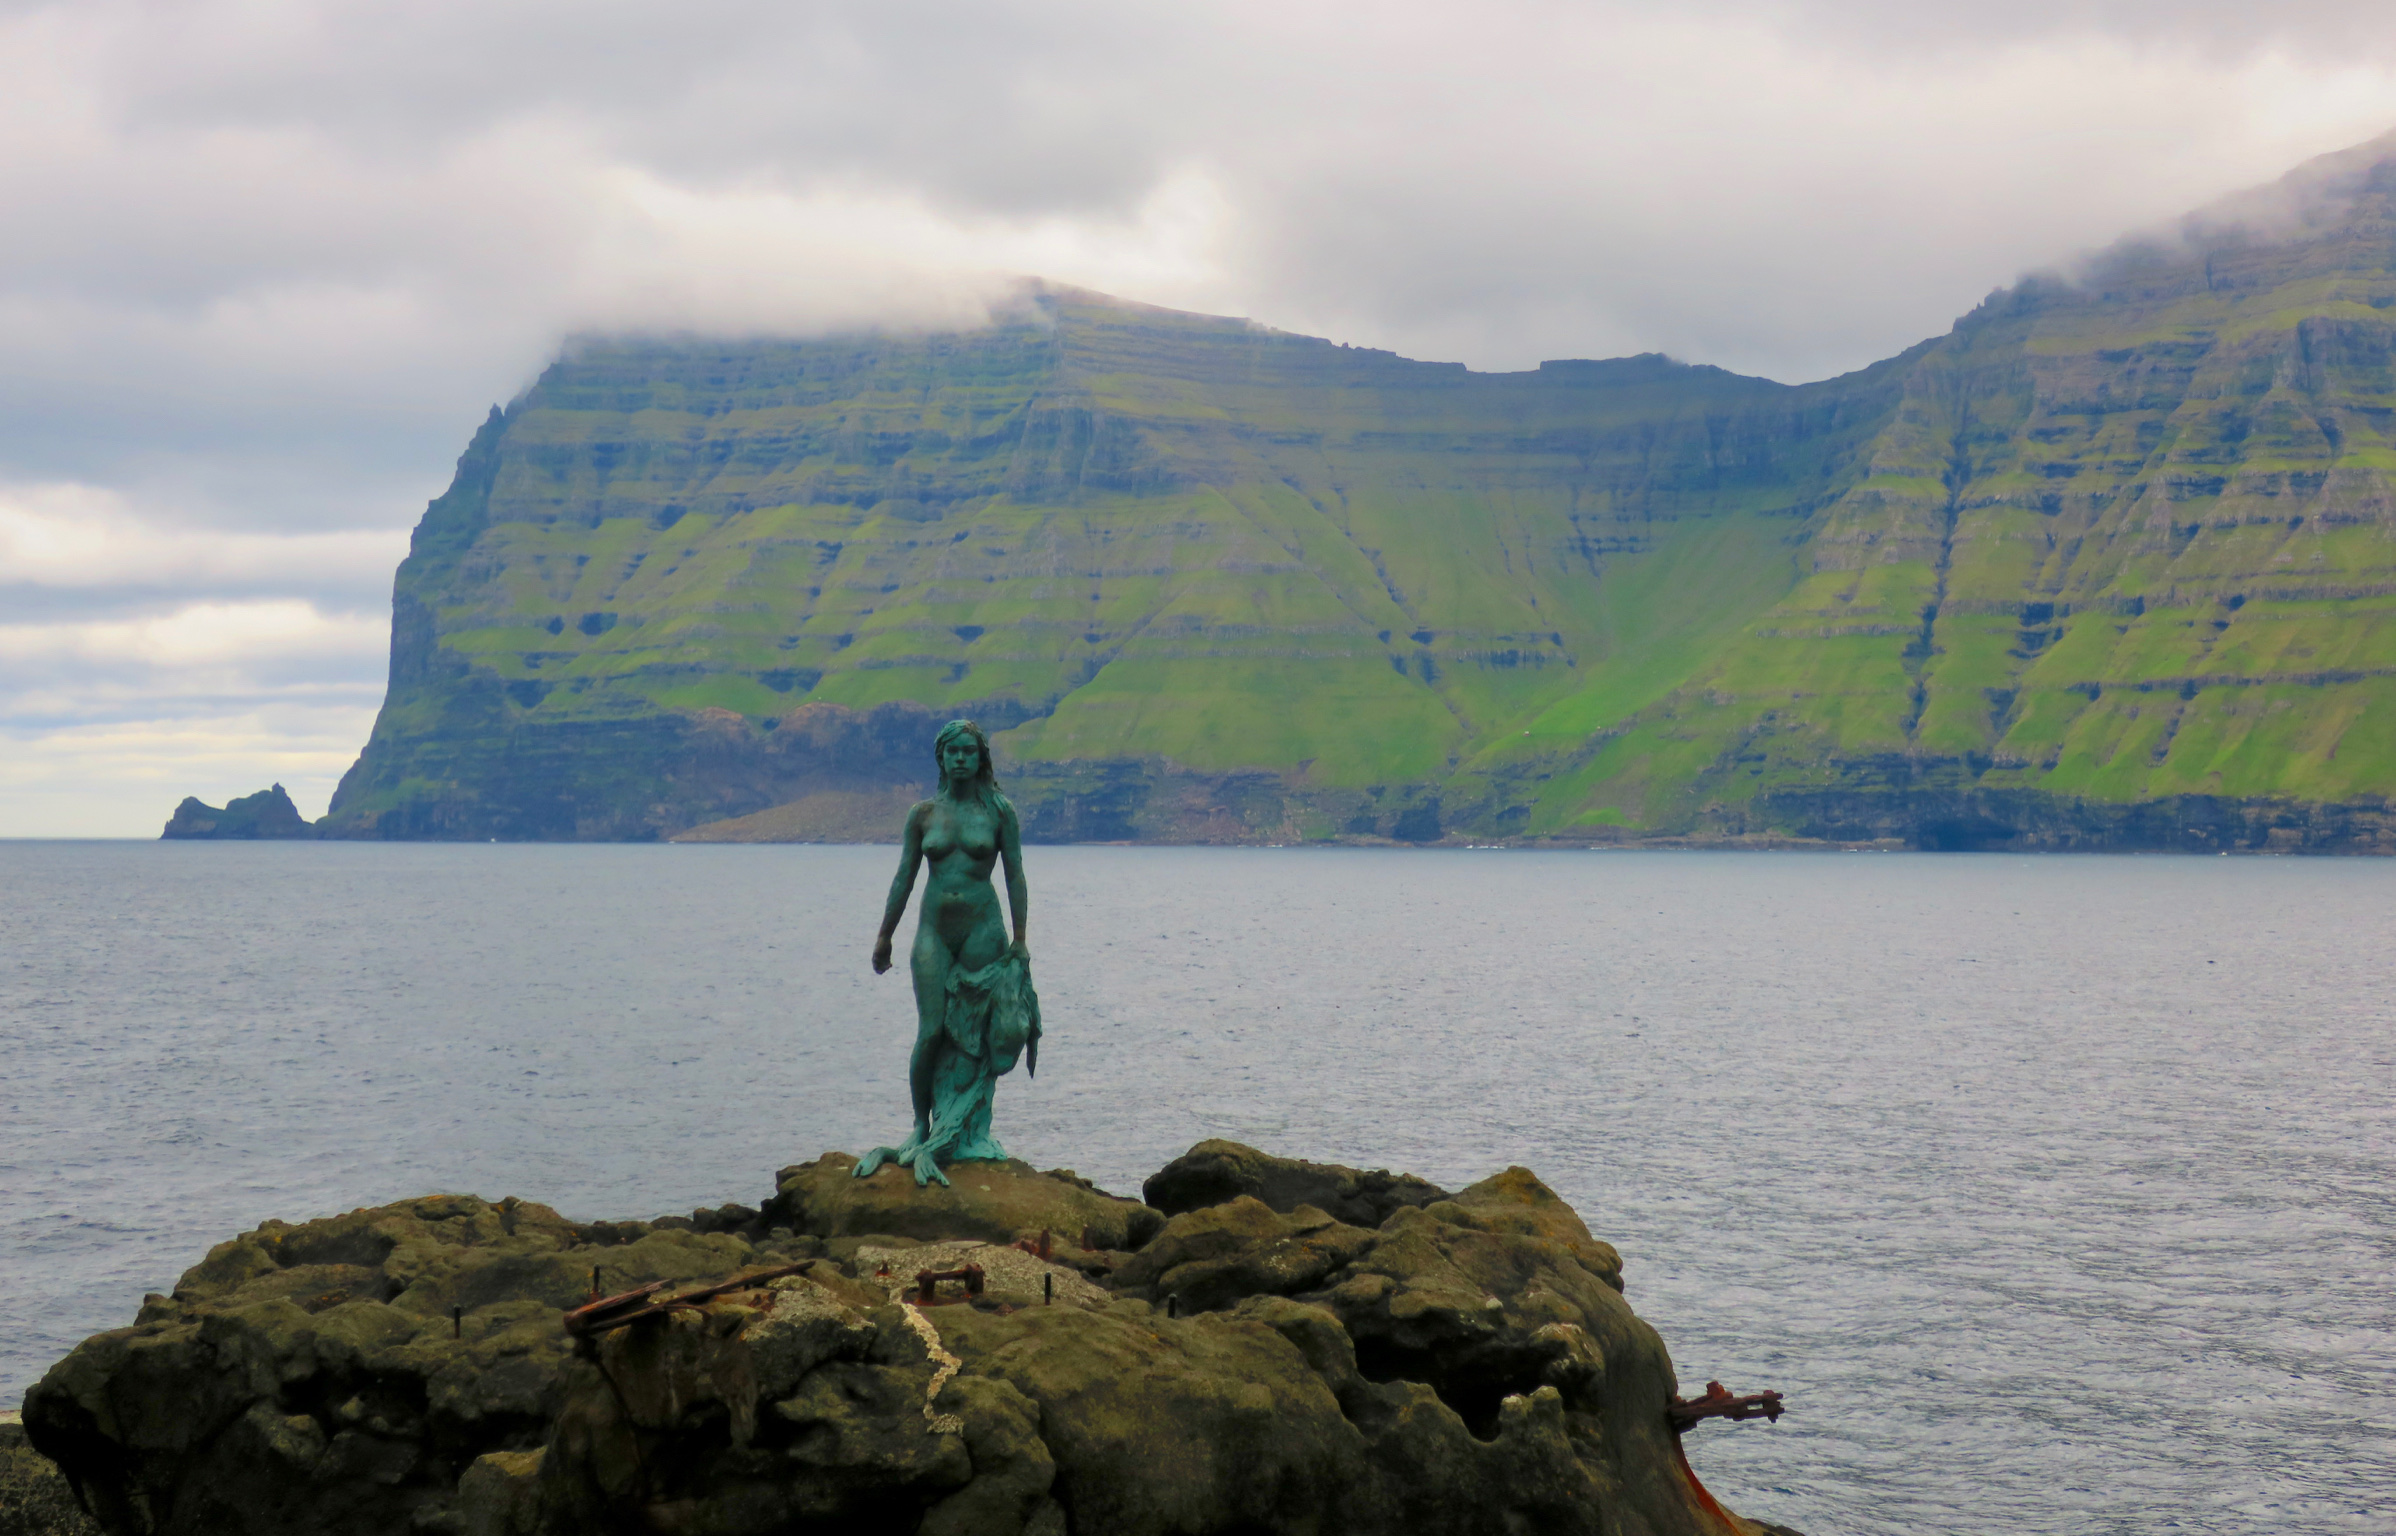
- Kalsoy - Mikladalur: This is one of those sites that’s hard to get info on ahead of time, so most people tend to just show up. In theory, one pays for their stay at Visit Norðoy in Klaksvik on the way in. The tent area is large, quiet, and has a great view of the village and fjords. The facilities are basic: toilet and shower unless you rent the camping house which has a kitchen. The Seal Woman Statue is a short walk from the campsite, along with a large bus shelter that has seating, outlets, and a vending machine. This was one of my favorite sites!

- Eysturoy - Gjógv: I had a real love-hate relationship with this site. On one hand, I adored the village. On the other hand, the camping space you get for the price is outrageous. Payment is handled through Gjáargarður Guesthouse and while there is space for both caravans and tents (tent space is majorly cramped), everyone is charged the 200 DKK ($30 USD) for a caravan. If you’re trying to be slick and camp without paying, fine - possible, but you’ll lack a key to access the toilets, showers, laundry and wifi password. Pro tip: buddy up with someone, split the cost and share the key for the facilities.

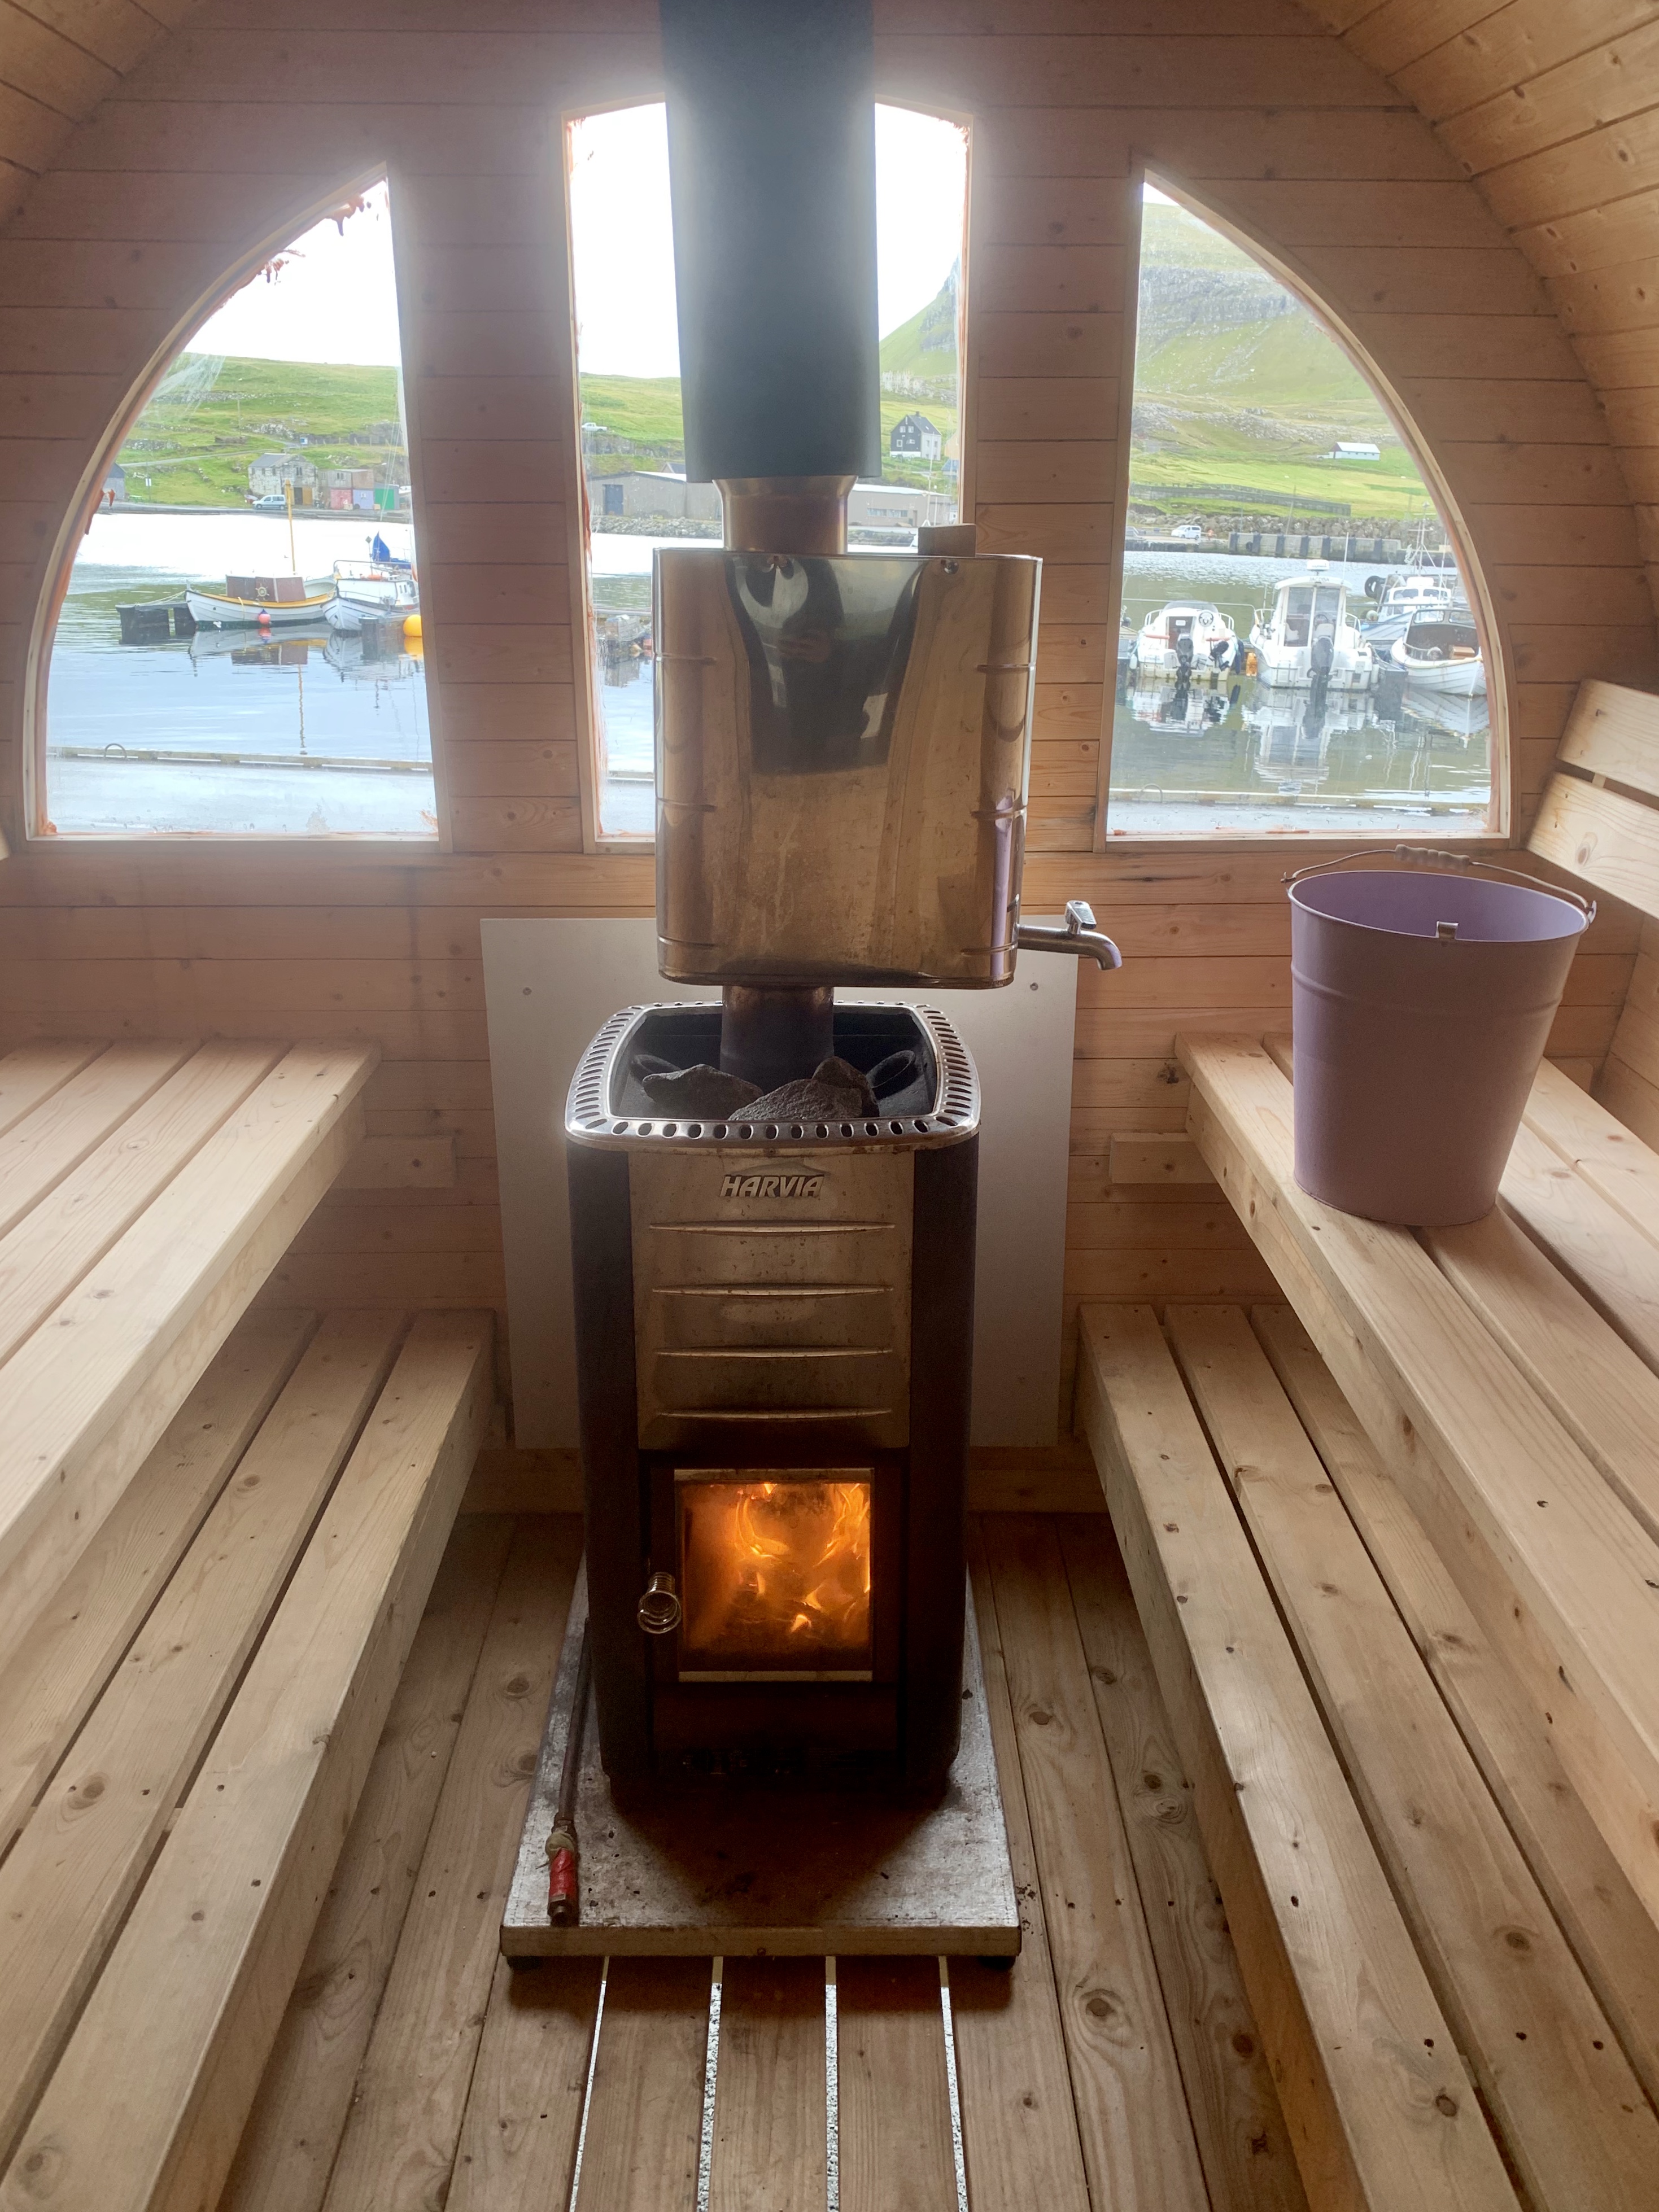
- Nólsoy - Nólsoy: Unless you do some digging, tent camping is not advertised for Nólsoy, but rest assured! There is a campsite, it is large (relatively speaking), picturesque, peaceful, and free. Definitely another favorite of mine. I had the entire site to myself, probably due in part to the poor advertising. As in any case, there’s a trade off: Nólsoy is free because there are no facilities, other than the public toilets a few minutes walk into the village. Otherwise, you are suggested to use the sea if you need a shower (they’ve got the cutest little beach) and there is a grocery store in the village along with a few cafes and restaurants - just be mindful of the limited hours of operation. Major pro tip: go to the visitor center and ask to use the sauna (45 DKK?)… and don’t you dare forget to jump in the sea.


While I didn’t get to stay here, I heard the Æðuvík campsite is one of the more peaceful and picturesque options. Plus, they’ve got a hot tub you can rent. Additionally I didn’t stay in Eiði but another traveler I met did, and she said it was like something out of a horror movie in terms of facilities. Finally, I ran into so many people who overlooked the details of the Klaksvik campsite… IT NO LONGER EXISTS. YOU CANNOT CAMP IN KLAKSVIK (for now)! A listing of all the campsites on Eysturoy with contact info for booking can be found here.
My itinerary packed as many hikes in as possible, anticipating that Mother Nature would have other things in store for me half the time. I think I experienced a great deal of luck, as only one of my attempts was truly thwarted by weather. I generally went for the classics, detailed below. These can all be found in great detail in the Visit Faroe Islands hiking guide, except for the Kallur Lighthouse hike and Niðan á Barm.
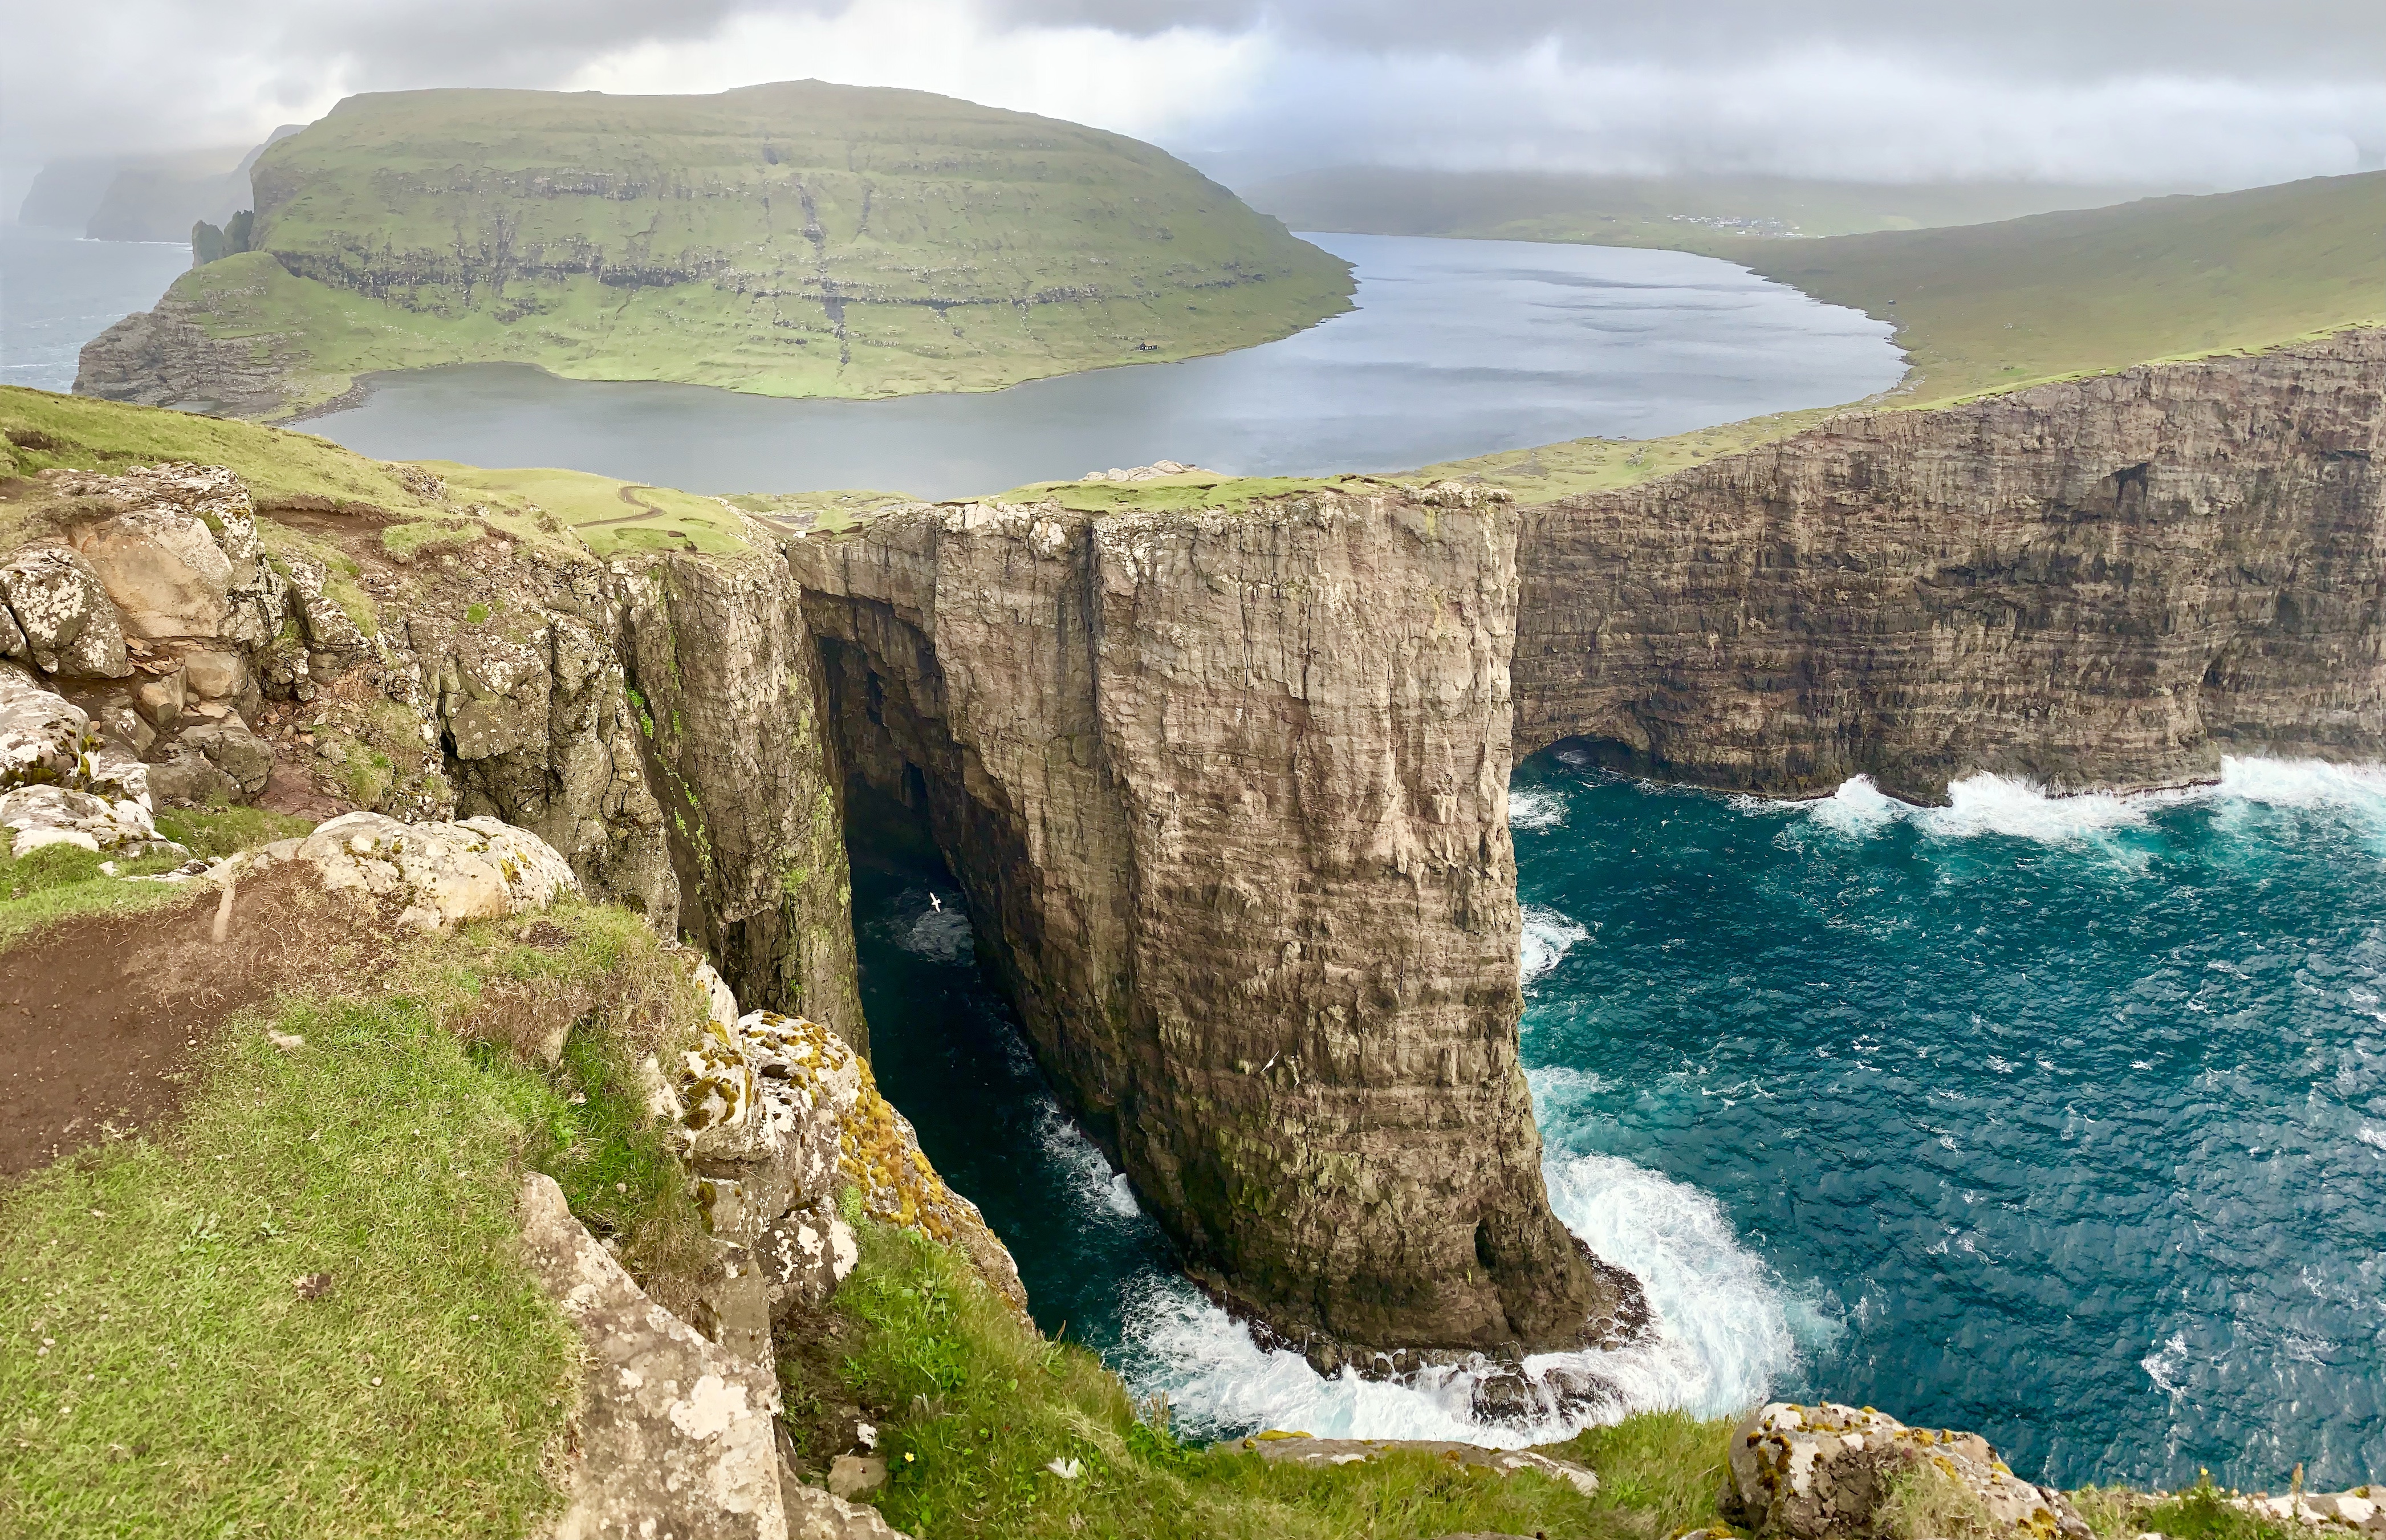

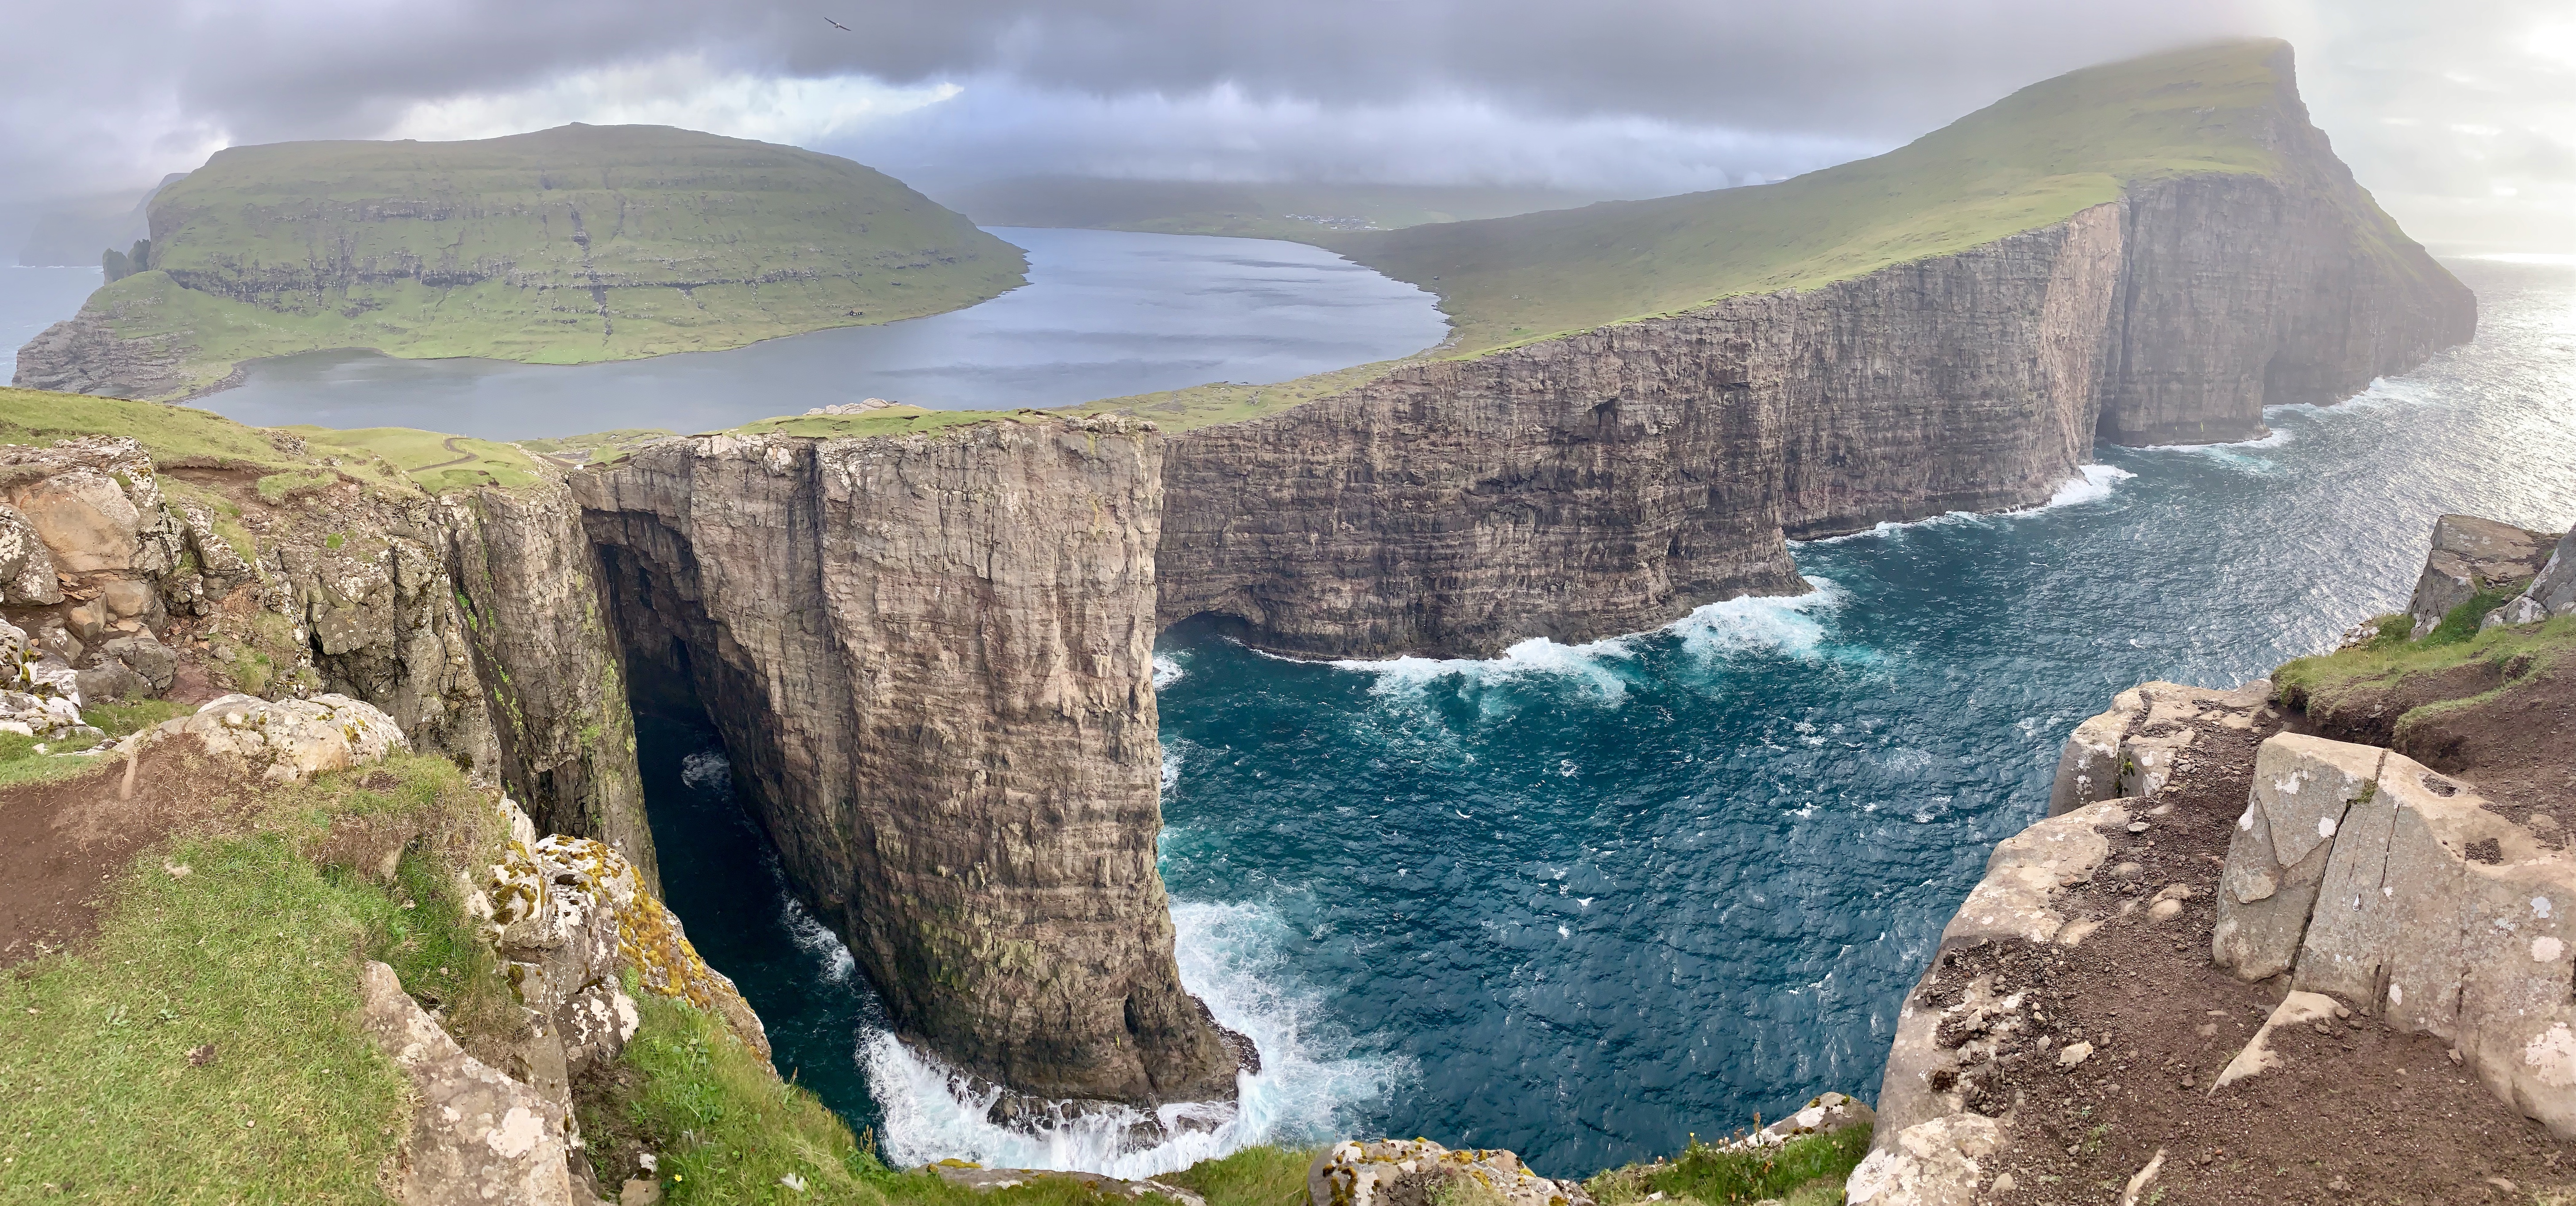
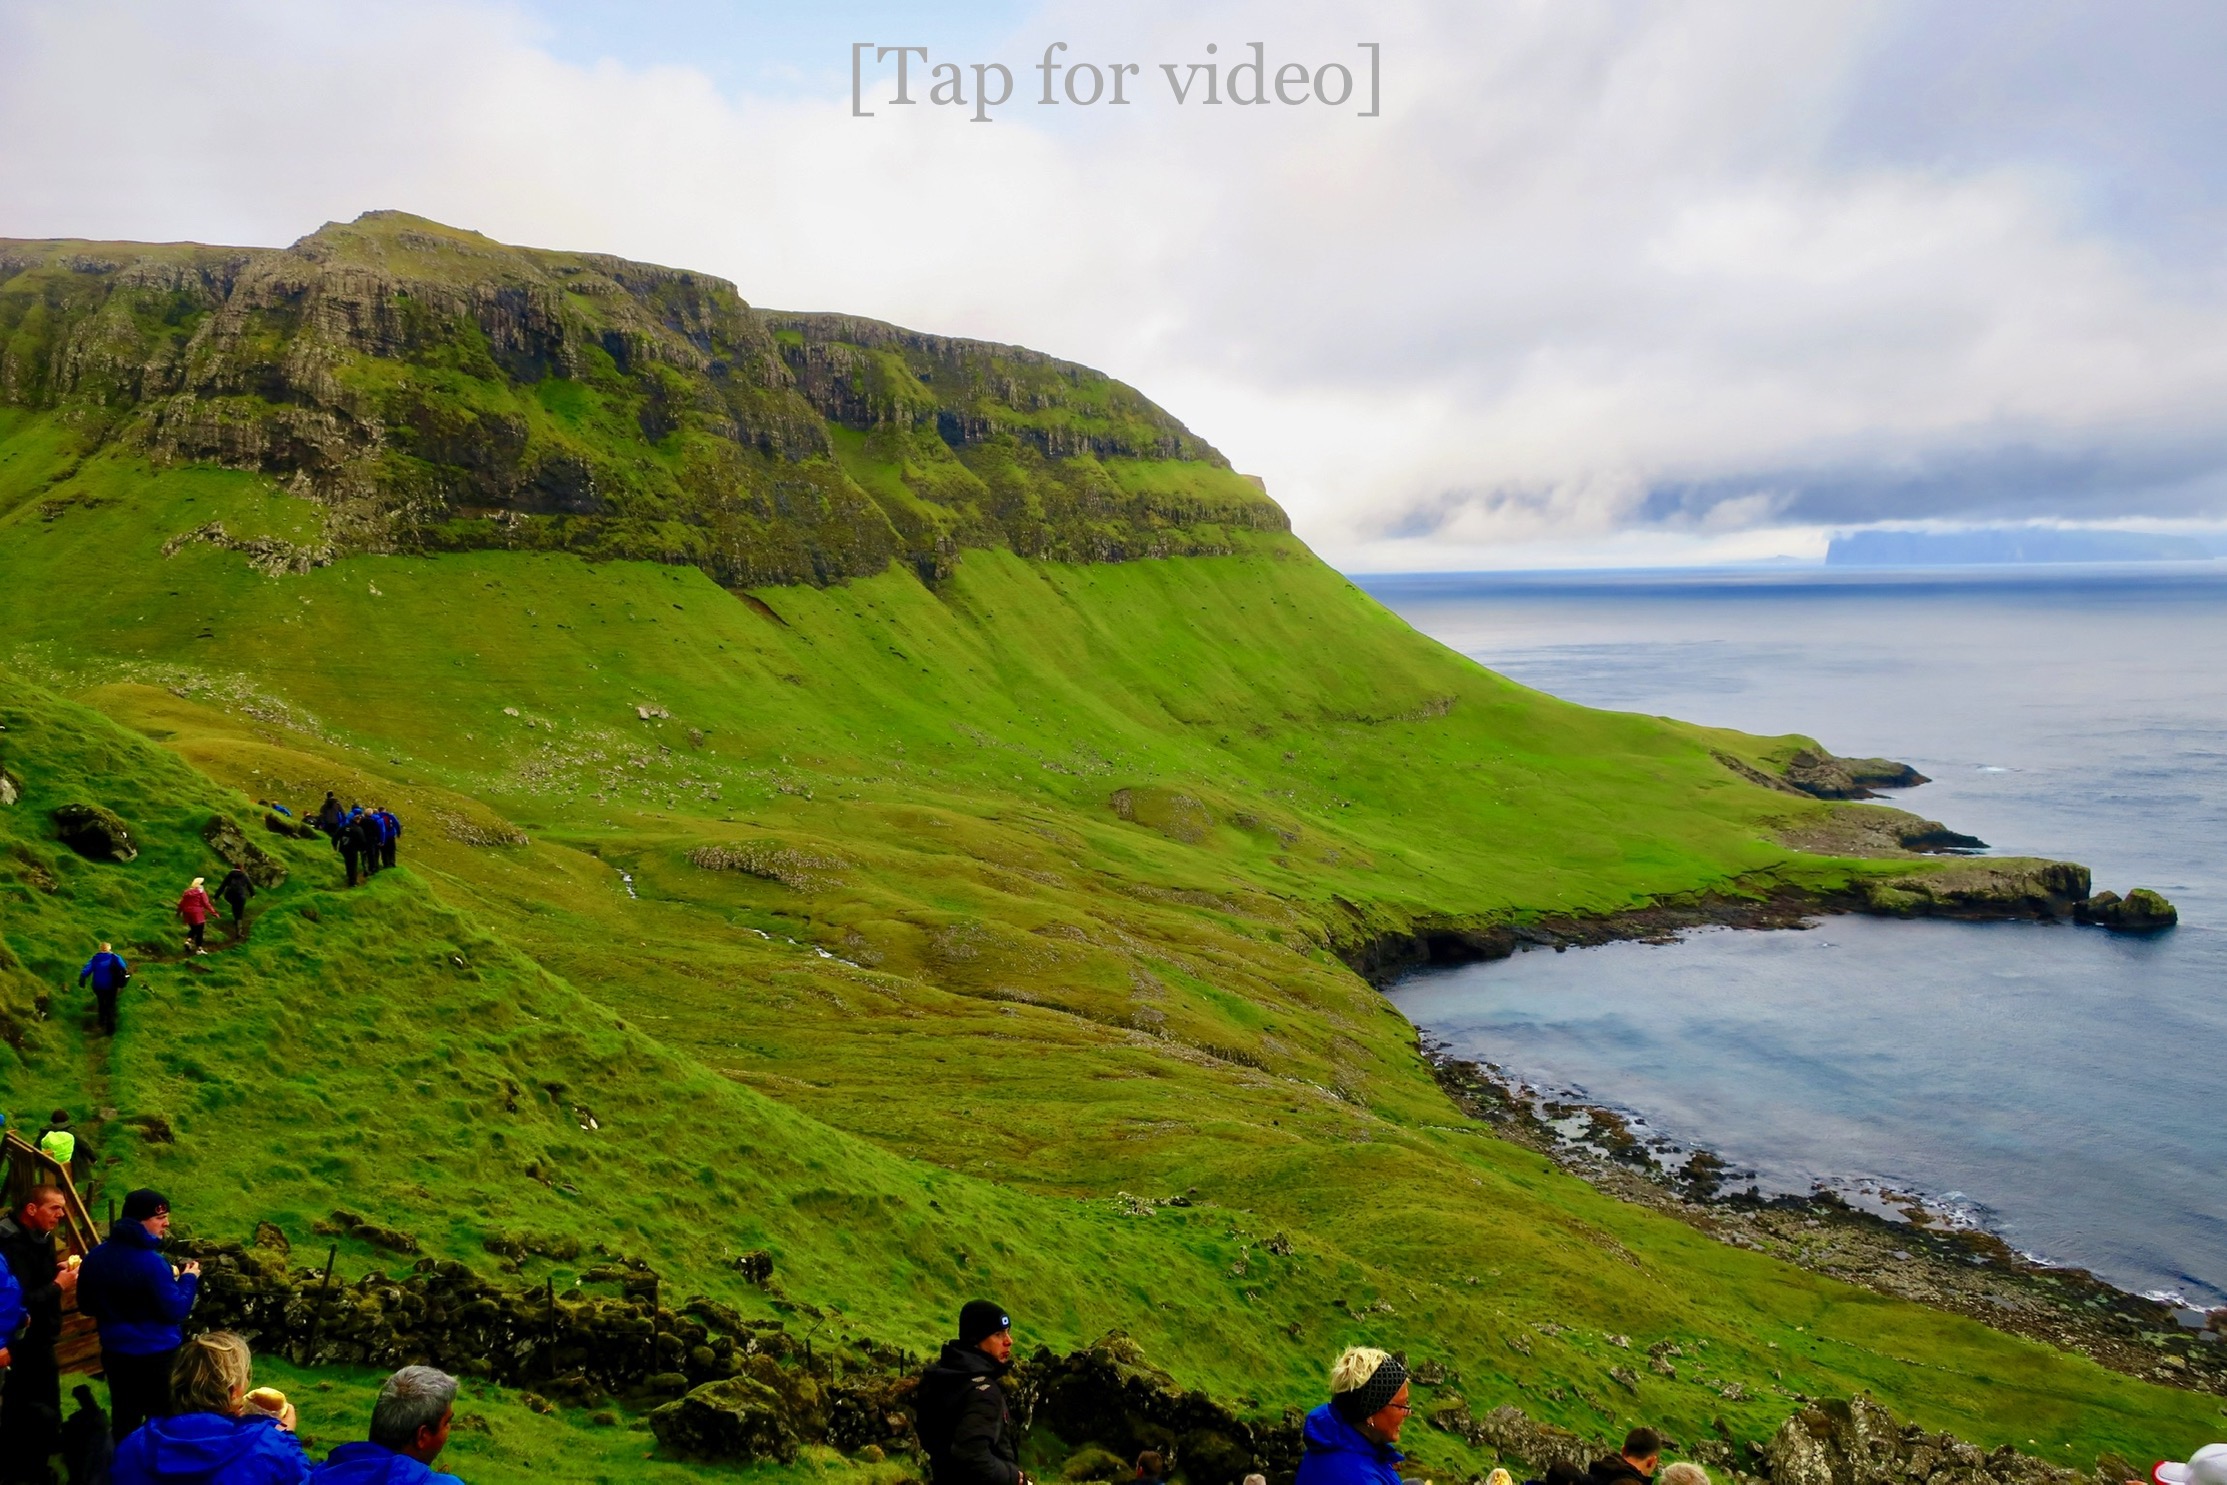
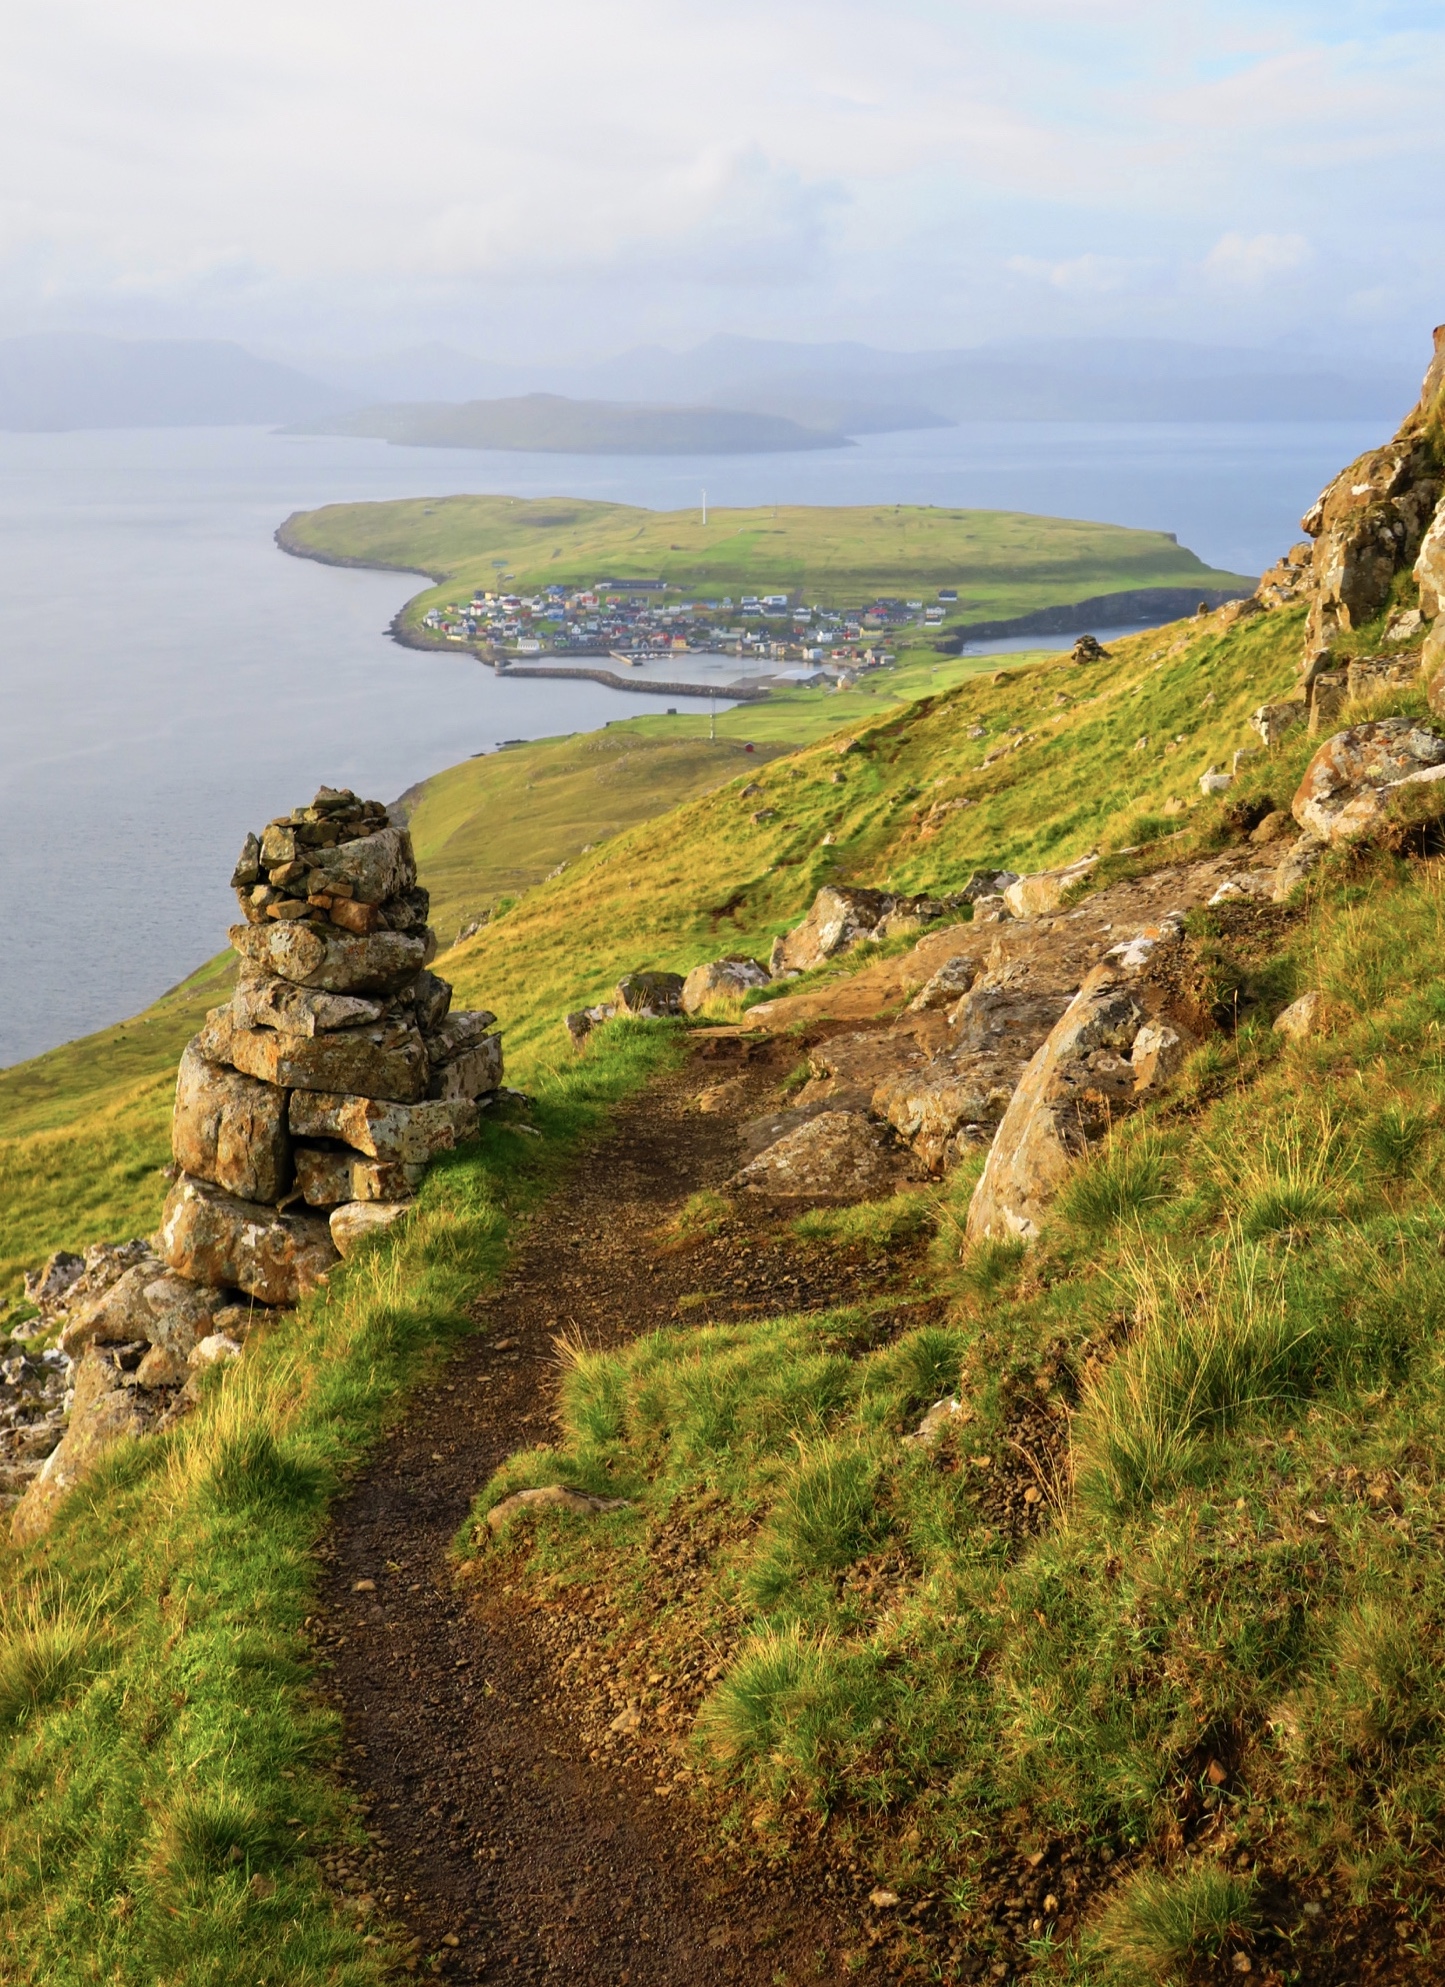
Vágar - Sørvágsvatn (5km/3mi RT): I don’t know if it was because this was my first hike of the trip, but my brain could not compute the beauty and essence of this place. Easily the most popular hike in the country, it’s got the price tag to boot. Reach the trailhead by traveling to the village of Miðvágur (bus route 300), and paying the 200 DKK (~$30 USD) hiking fee at the kiosk (only manned after 8am). Payment also includes a hot beverage and toilet access. It’s certainly a hefty fee, but worth it in my opinion. However it would have been nice to see that money being used by the landowner to make more trail improvements - it was nearly impossible to get through the steep mud at the end.

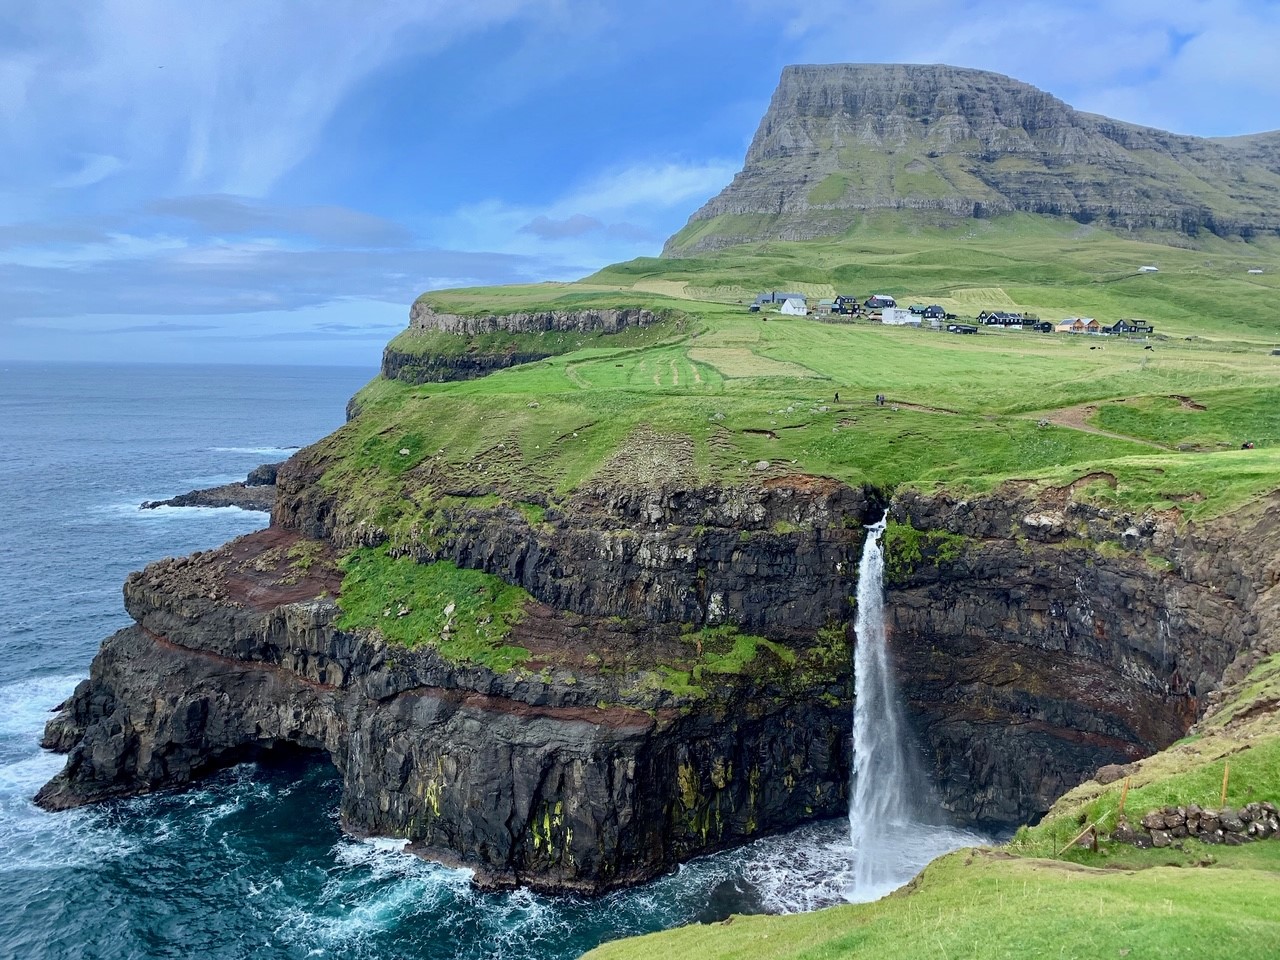
- Vágar - Múlafossur/Gásadalur (7km/4.5mi RT): After finishing the hike to Sørvágsvatn I caught a hitchhike to Bøur to make the hike to Gásadalur (even though, one can drive there now). The closest one can get by bus is to Sørvágur on the 300. The route consists of crossing over a steep mountain and into the valley, and is rated as difficult. Travel in one direction is about 2.5 hours so it’s important to consider the forecast before setting out. The trailhead is located just before the tunnel to the left. Exhausted from hiking with my pack all day, I caught a hitchhike out of Gásadalur which only took a few minutes.

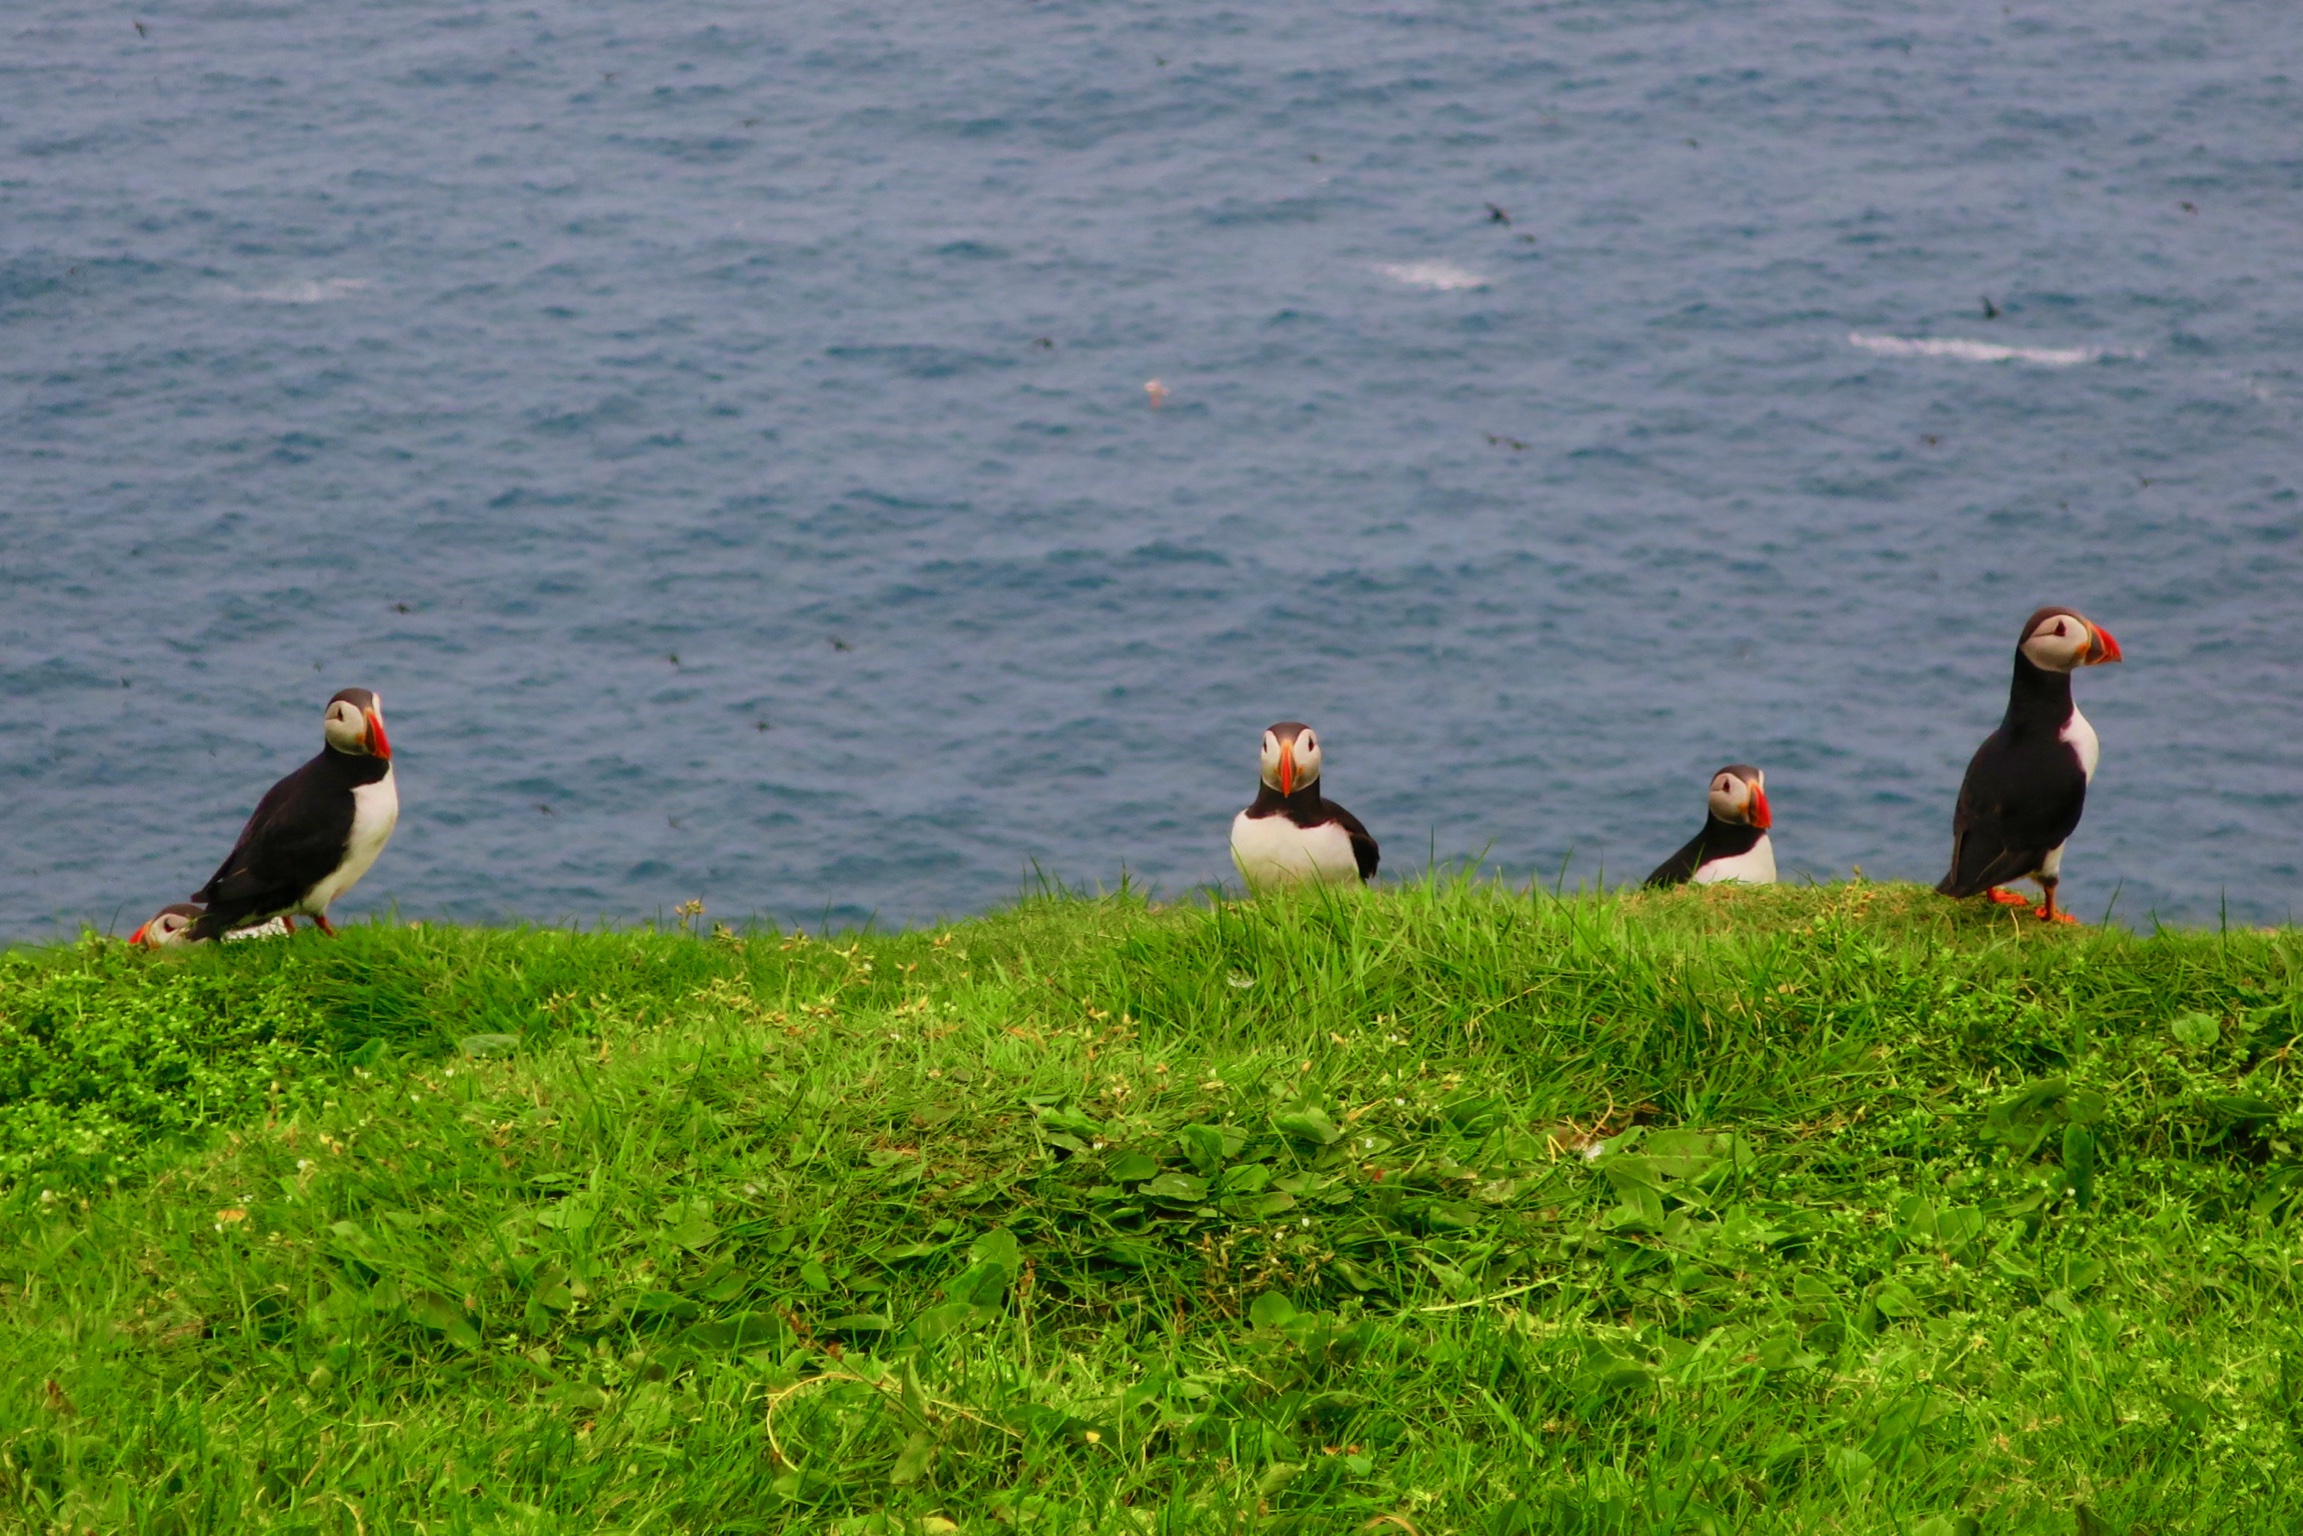

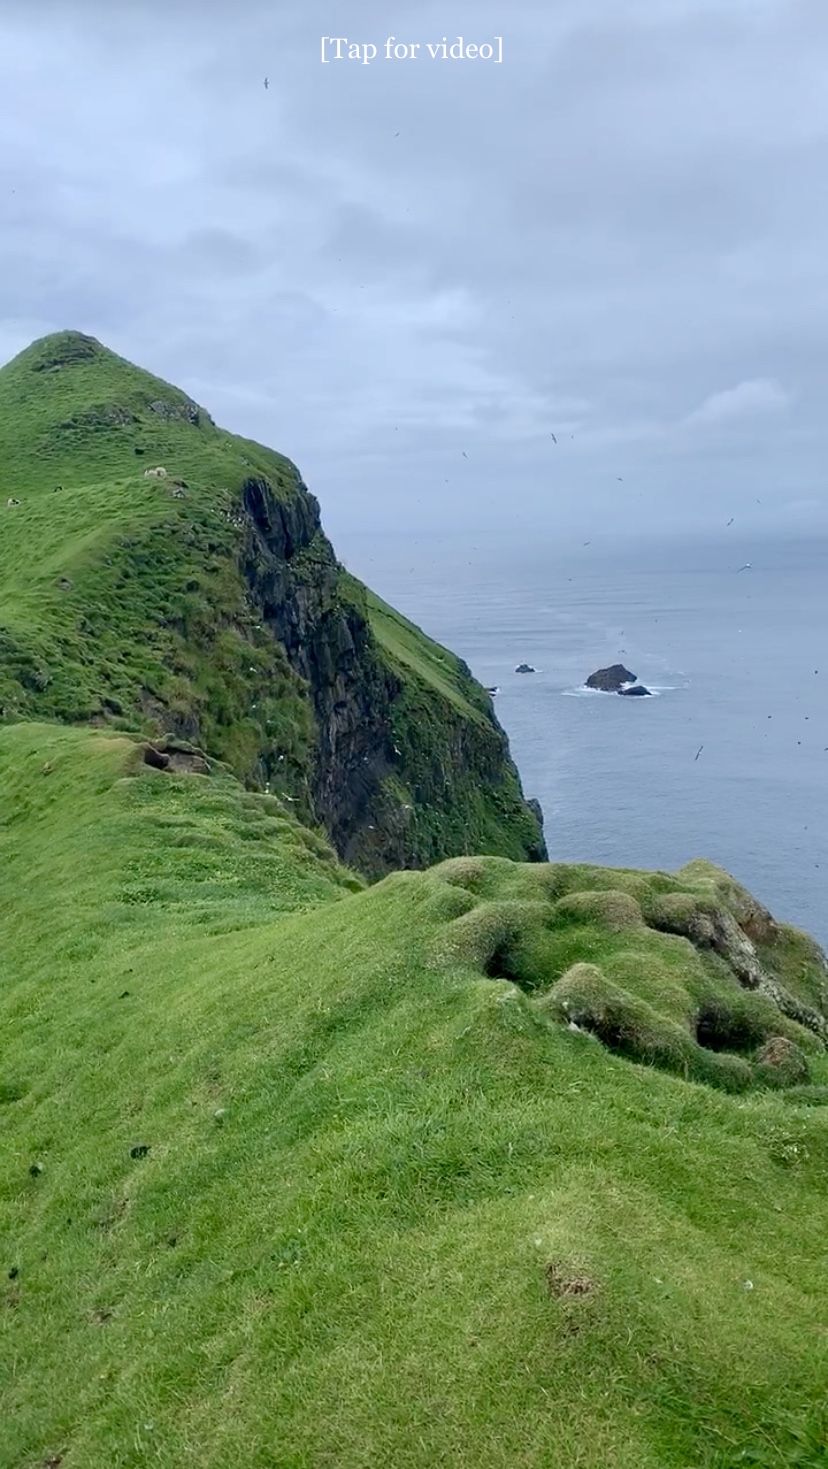
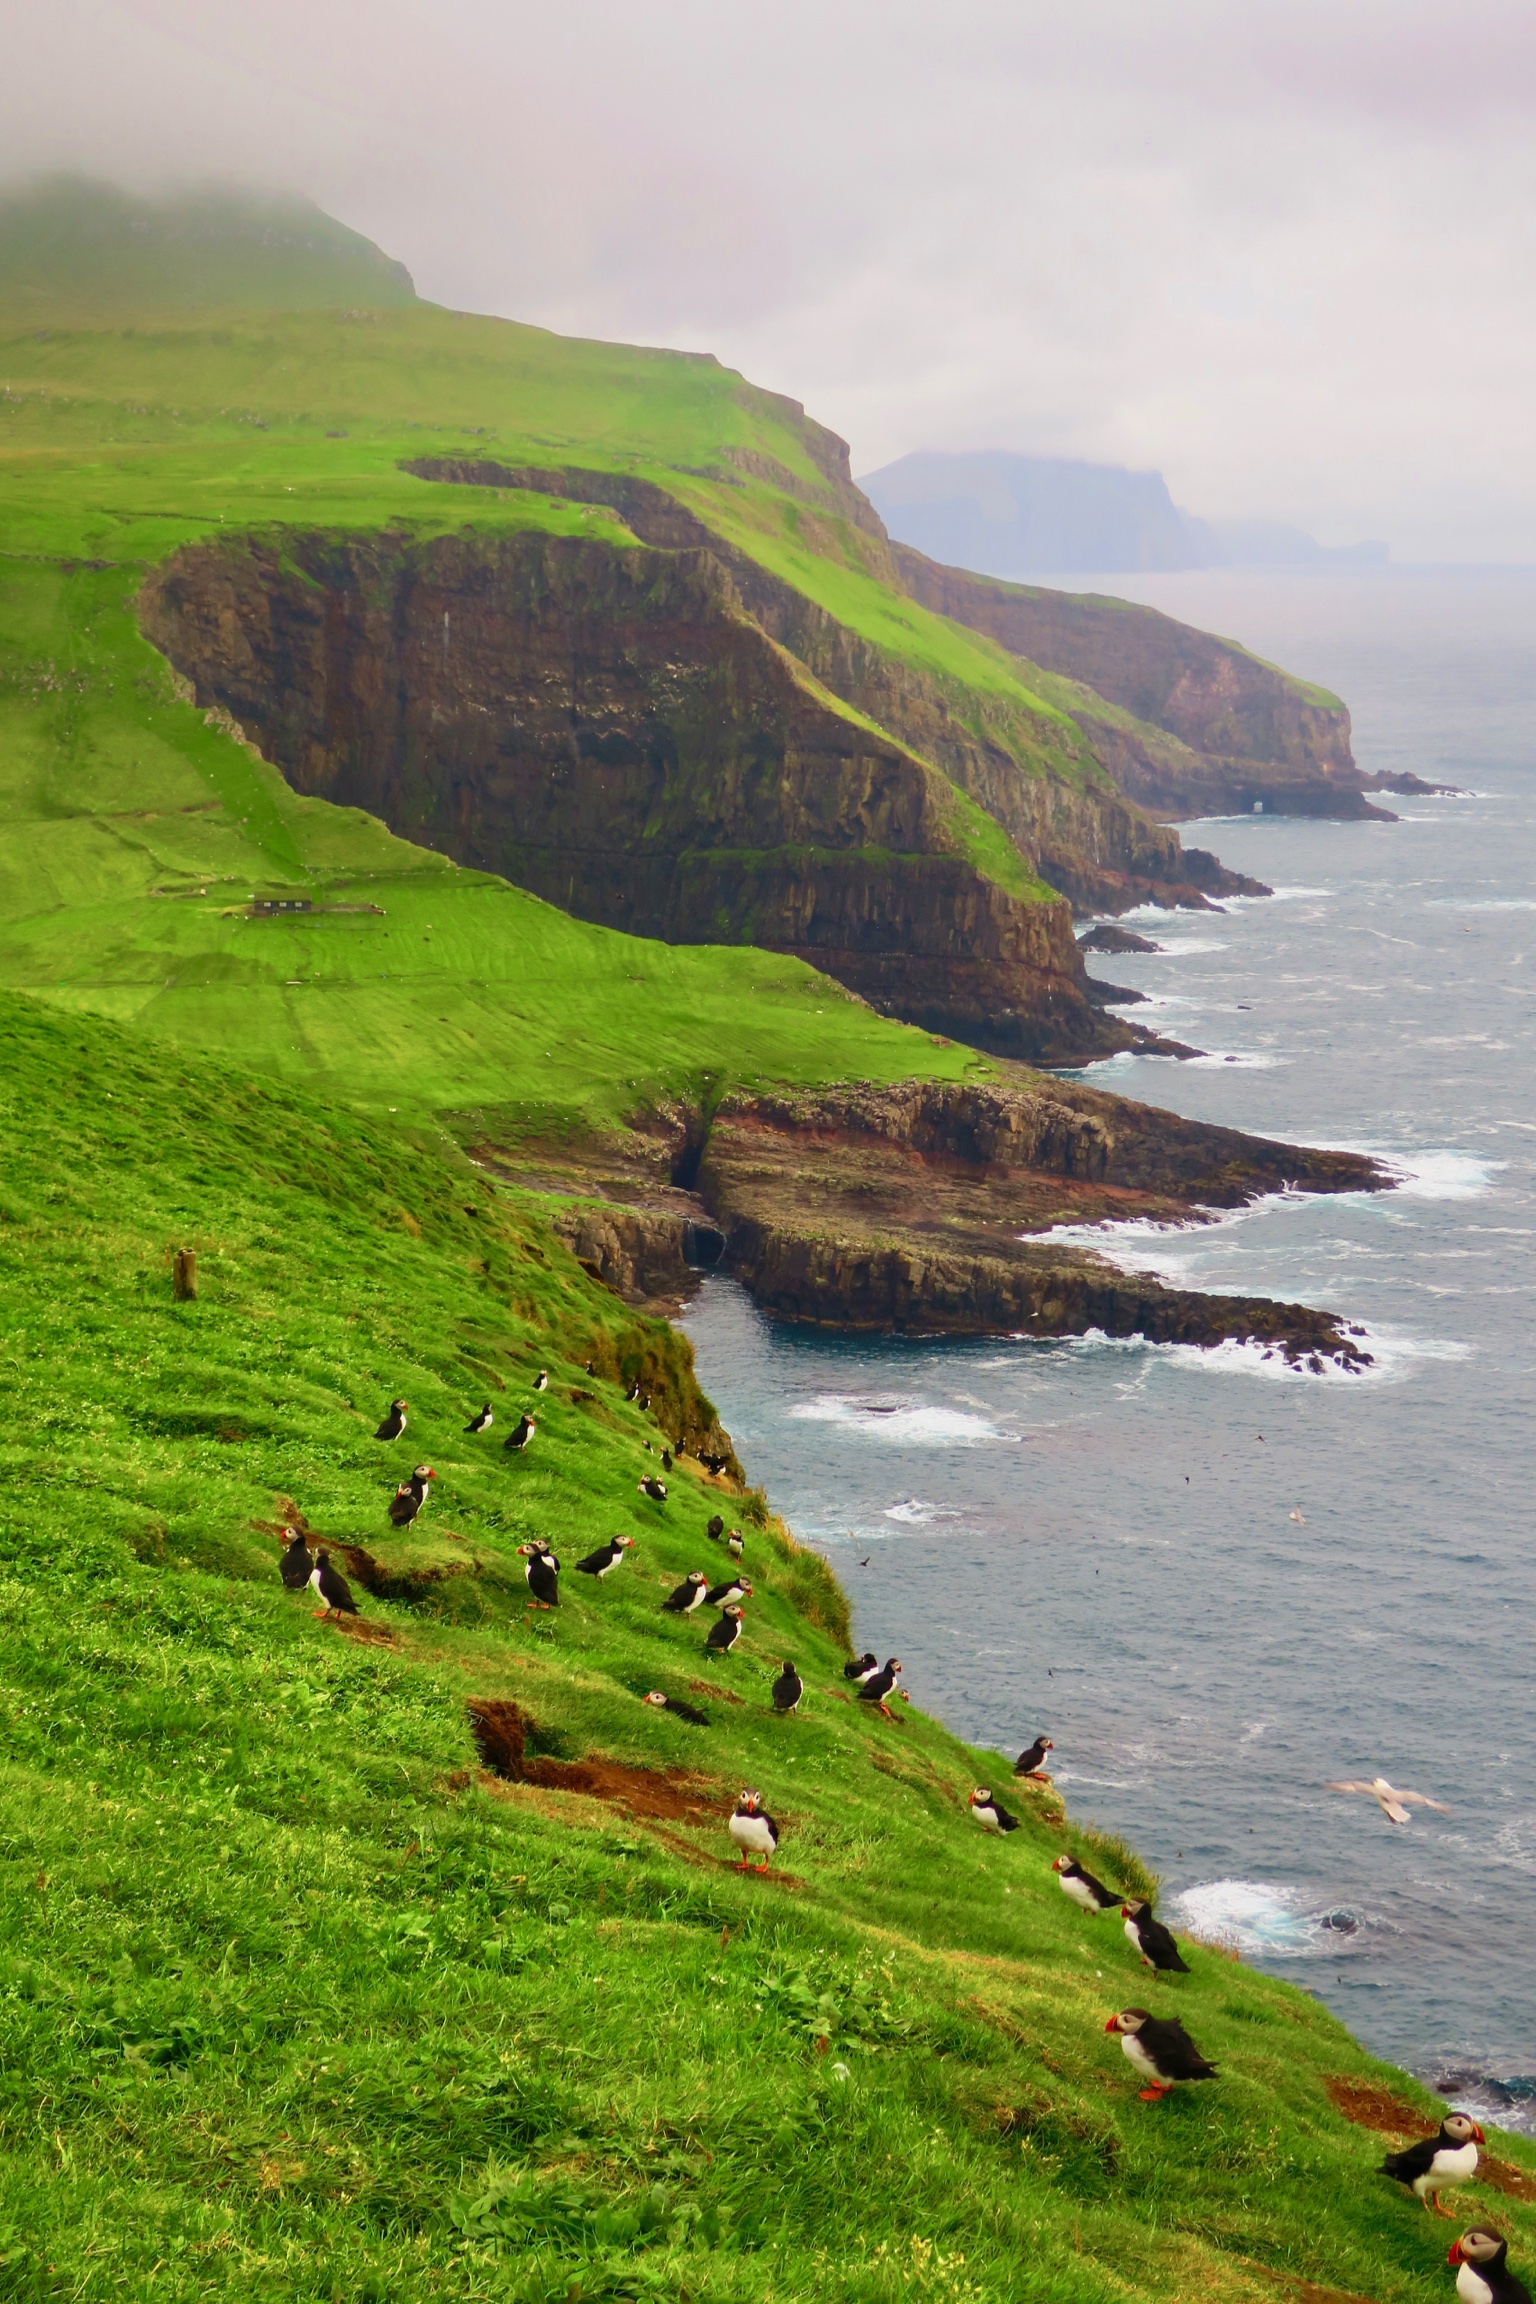
Mykines - Mykineshólmur (7km/4.5mi RT): If you’re lucky enough to get to Mykines, this hike to see the puffins and seabird colonies is surely on your agenda. This is another hike with a fee (100 DKK ~$15 USD) and can be paid online. Walk towards the west end of the village to locate the trail. The initial ascent is a bit steep but the hike as a whole is moderate. Definitely a great one to take slow and appreciate the raw beauty of Mykines and the swarms of birds. It’s imperative to stay on trail here as it’s surrounded by nesting puffins - whose population is sadly dwindling.
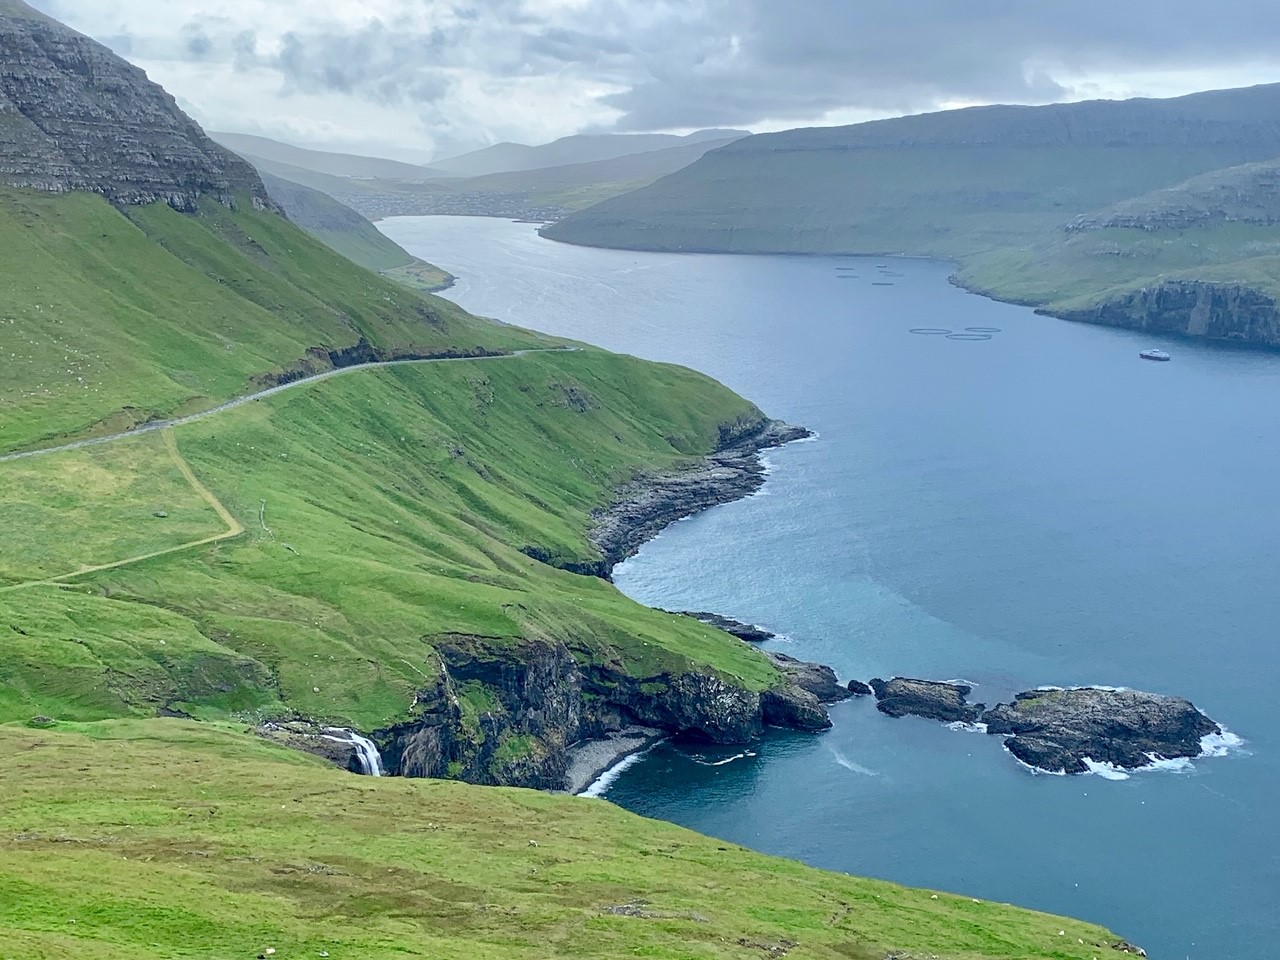
Suðuroy - Hvannhagi (6km/4mi loop): This was the one hike I didn’t originally plan, but weather pushed me to the much shorter Hvannhagi hike instead of the Suðuroy north to south hike. After disembarking the ferry, jump on the bus to Tvøroyri and walk west down Ovari Vegur (road) until it turns to trail. In not atrocious weather I imagine it’s generally a moderate hike, but a shit storm of rain, fog and wind made it rather difficult. I was fortunate enough to run into a guided group that let me walk with them, otherwise I probably wouldn’t have made the entire journey. After the steep descent just before Hvannhagi, one can either return the same way or continue the loop which eventually meets up with the inbound trail. Note that continuing the loop requires some scrambling and the trail isn’t well marked.


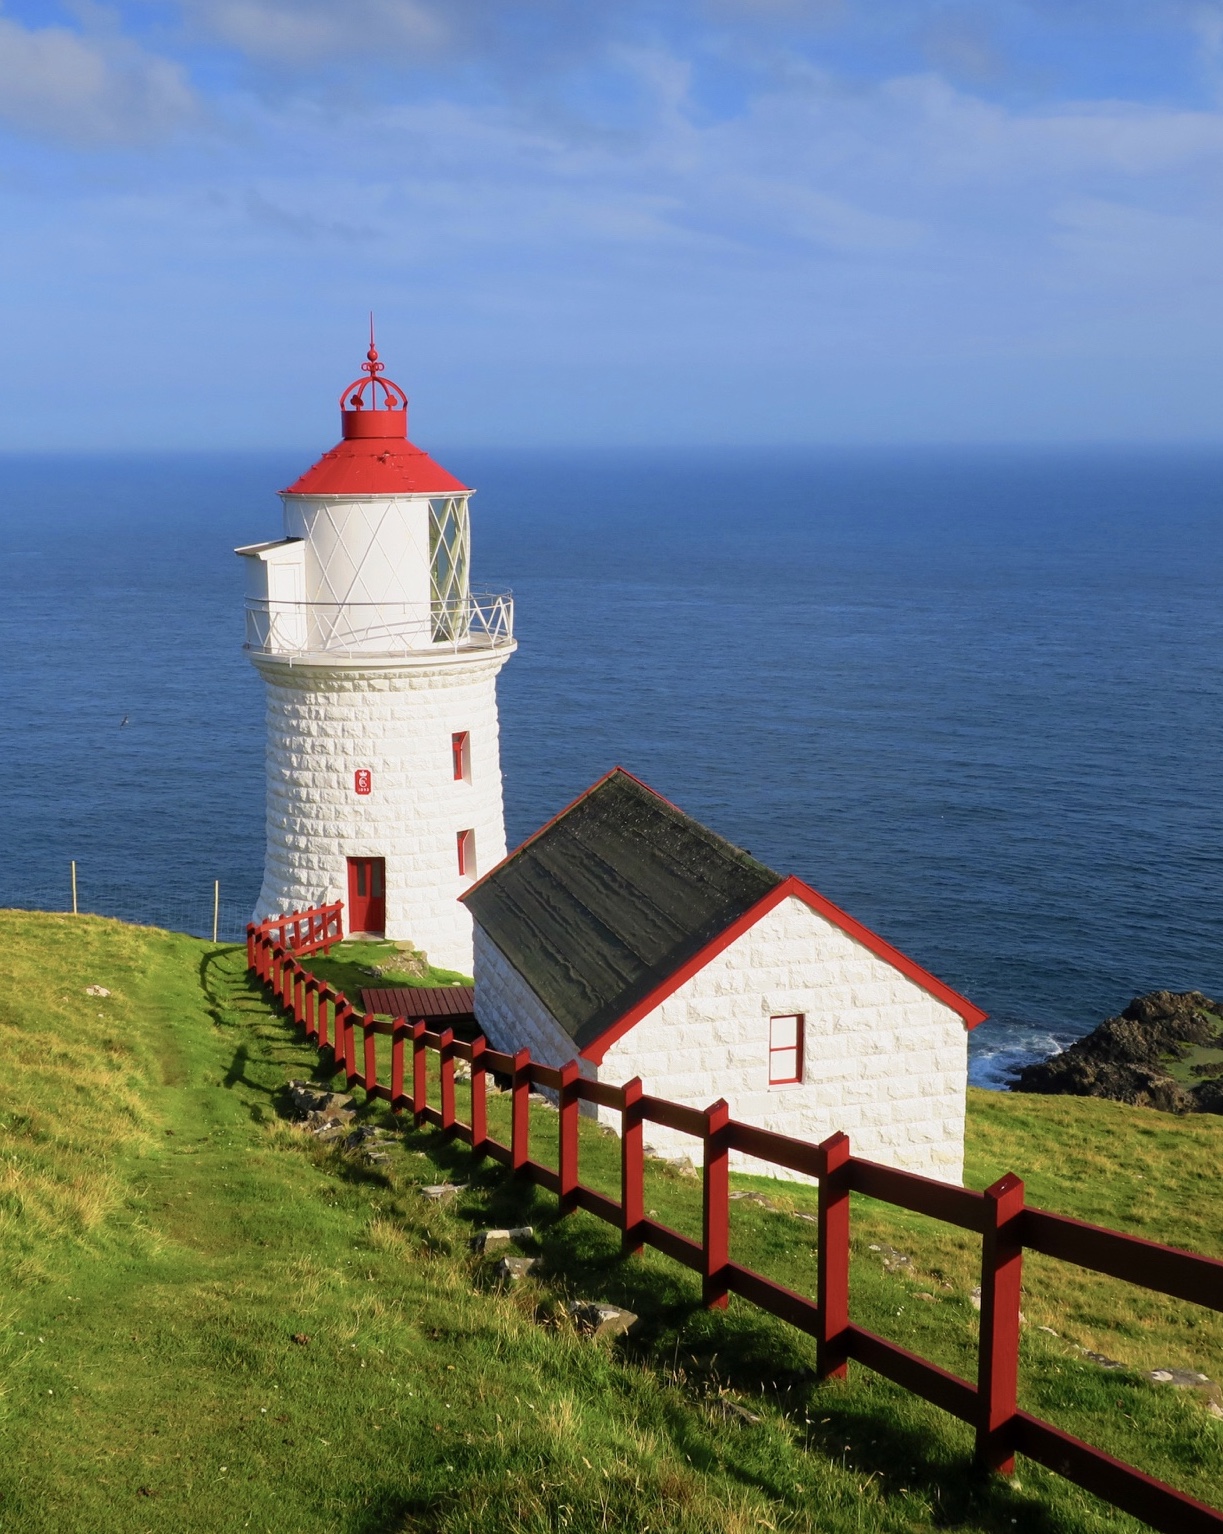
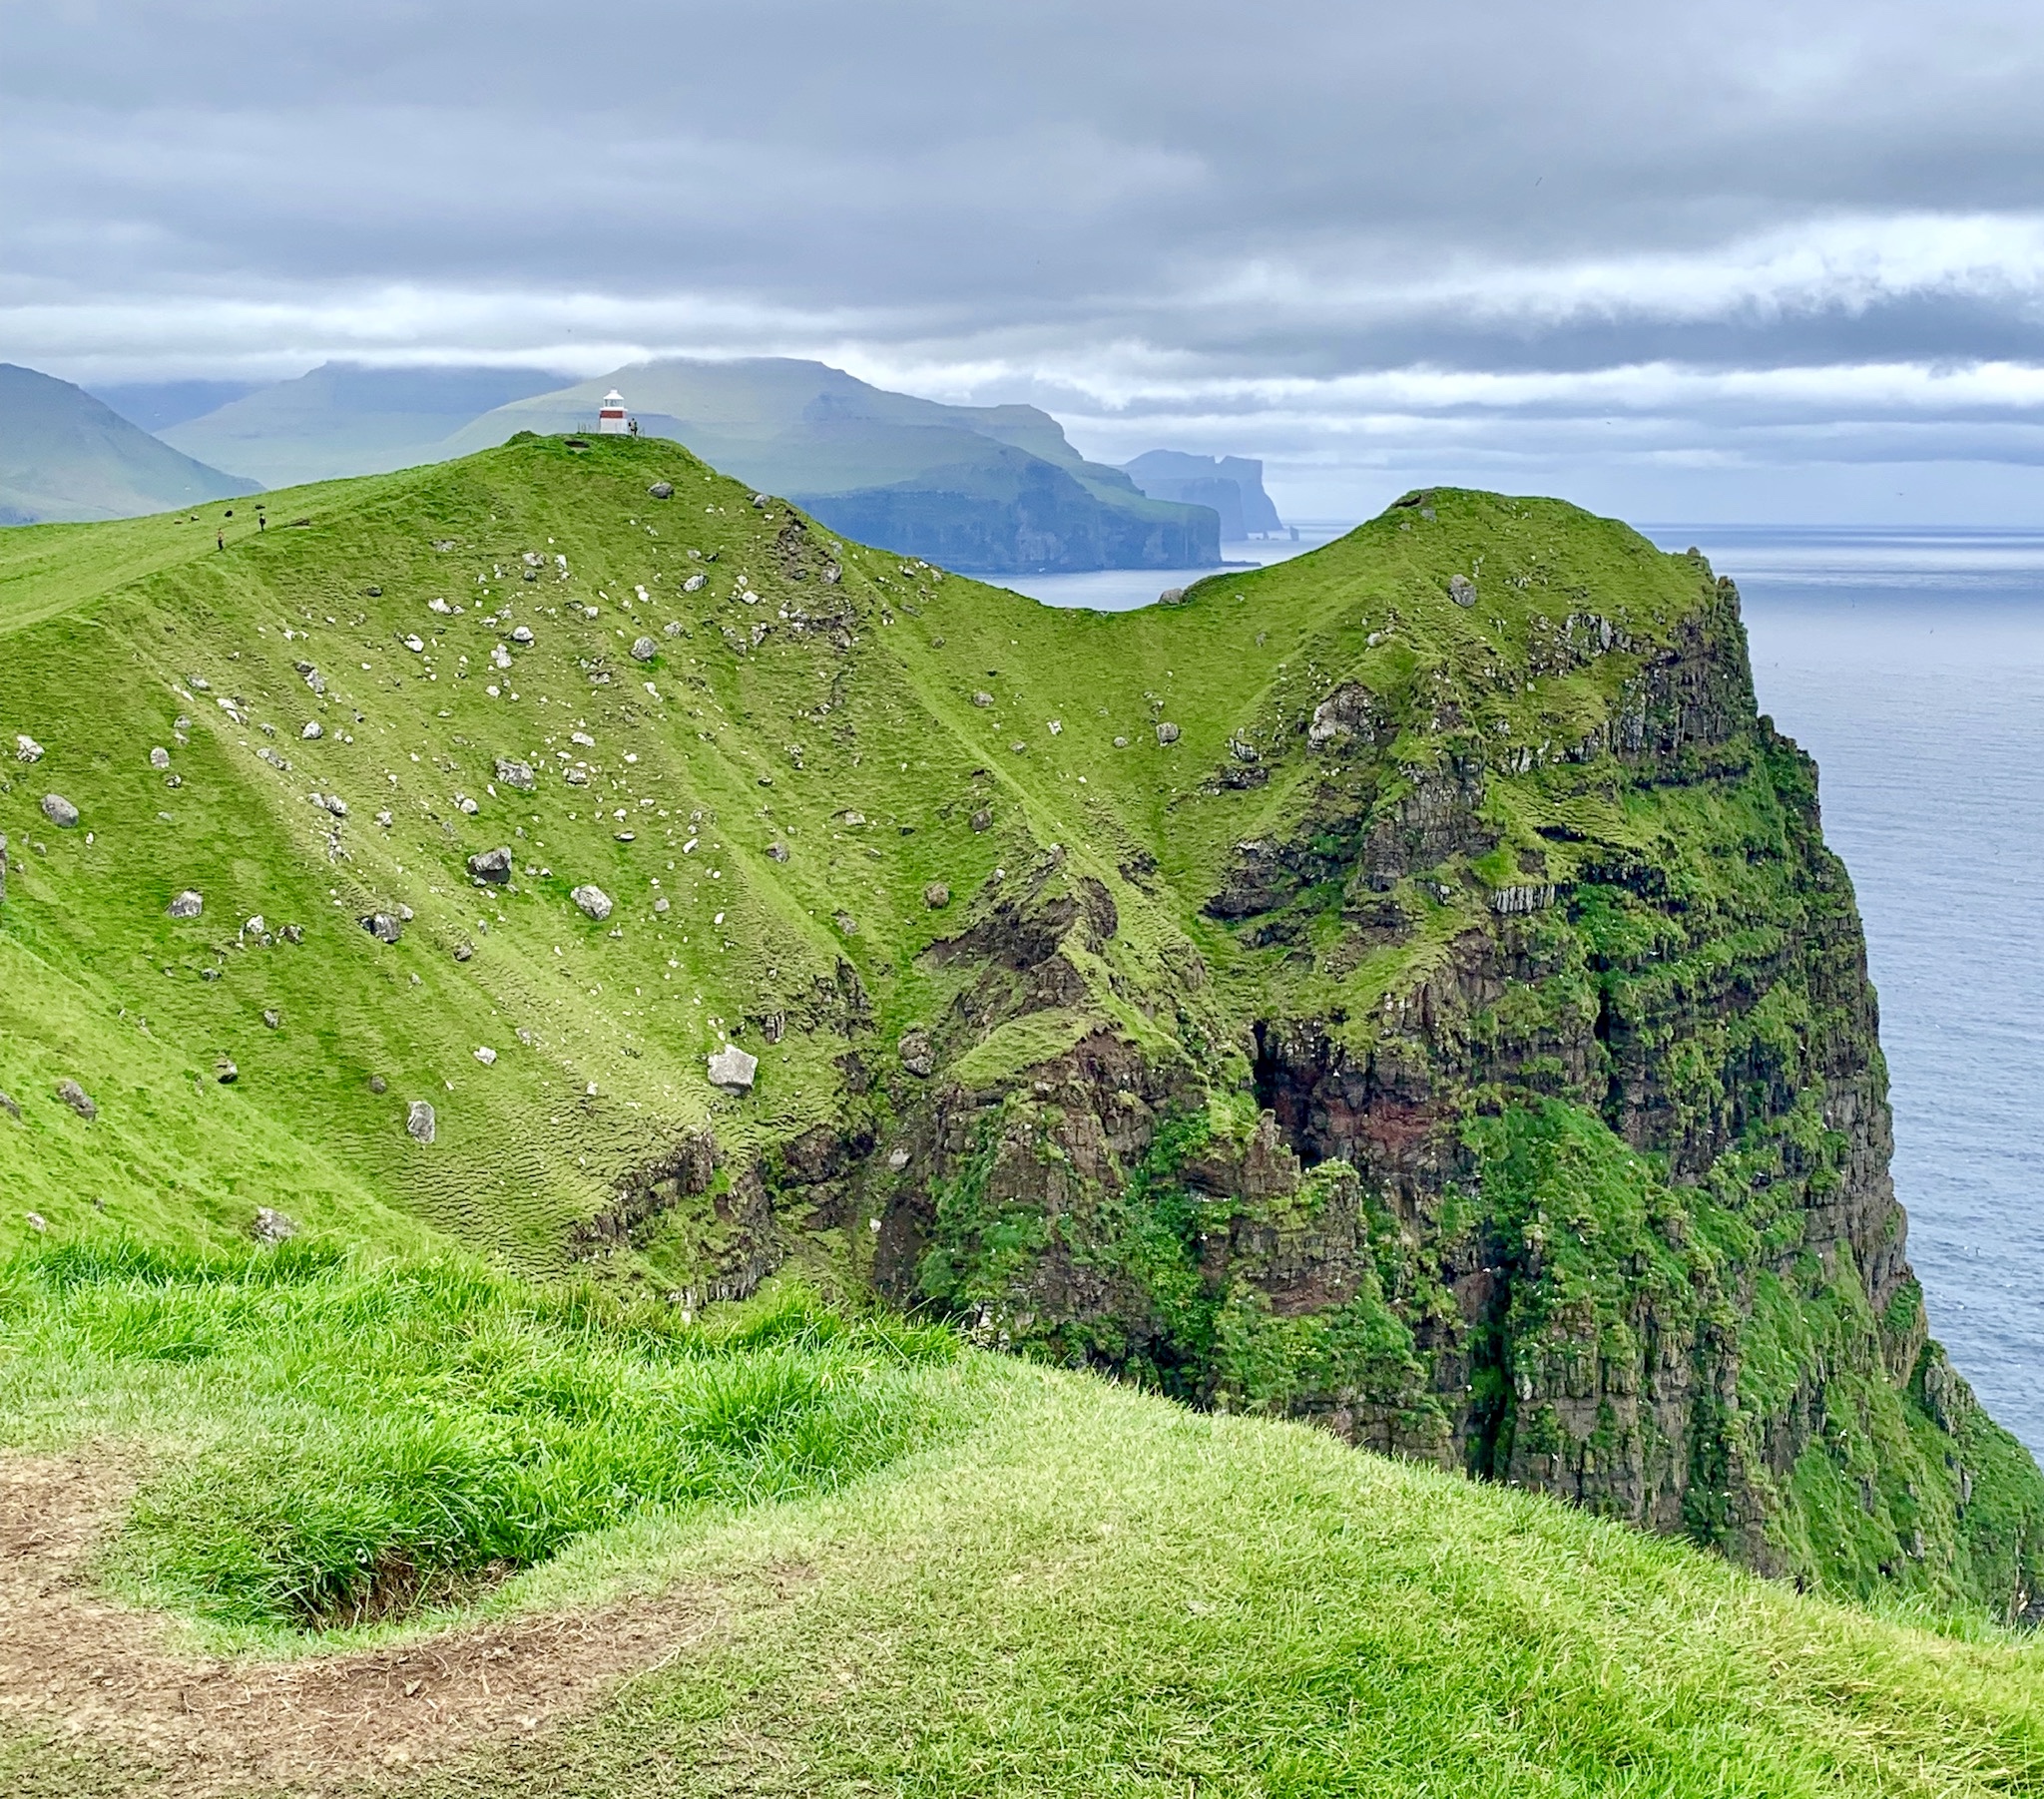
Kalsoy - Kallur Lighthouse (5km/3mi RT): It’s not the most convenient to get to the tiny northern islands, but the hike to Kallur Lighthouse is one of several attractions that make it worth the journey. From Tórshavn, take bus 400 to Klaksvik, then ferry 56 to Syðradalur and finally bus 506 to Trøllanes. The trail starts at the west end of the tiny village. After the initial ascent, it’s a fairly easy hike to the lighthouse. The tricky part is trying to identify the ‘right’ trail after passing the large cairns. Whether you end up on the real trail, or a sheep trail (as I did), it doesn’t matter much as you’ll likely be going in the right direction either way. There are some short offshoot trails to explore once you reach the lighthouse - the views from here are pretty spectacular! From here I recommend jumping back on the 506 and stopping in, or spending the night, in the nearby village, Mikladalur.


Eysturoy - Niðan á Barm (3km/2mi RT): This isn’t a widely documented hike, but it was still a lovely consolation prize after timing, weather and exhaustion kept me from reaching Slættaratindur once I made it to Gjógv. You’ll find the trailhead boasting a money collection box at the northwest side of the village. The landowner asks for 50 DKK (~$7 USD), which I found quite fair for the amount of work that has been put into the trail. (It’s rather steep, much of it has wood or carved steps). It gets extremely windy midway through and most people seemed to turn around, but carrying on is well worth it for the serene cliffs at the end. One can choose to return down the same way, or make it into a loop hike.

Nólsoy - Borðan (13km/8mi RT): I feel like Nólsoy is woefully under appreciated due to its lack of massive sea cliffs. For a longer leisure hike, head to Nólsoy and make the hike to Borðan, which covers the length of the southern half of the island. The trail starts to left of the farm house at the end of Korndalsgøta road. This journey is all about slowing down and taking it all in, from the tall grasses to the squish of the mud under your feet. It’s true… most of the terrain is exceptionally squishy and wet. Borðan is uninhabited now, but the old lighthouse is still happy to greet you when you arrive.


Essentials:
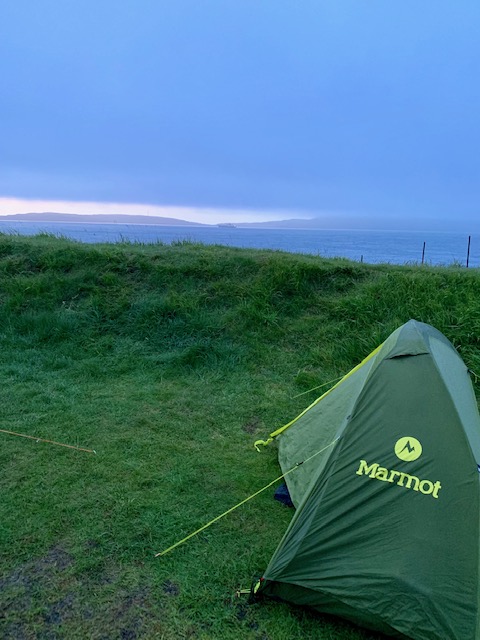
Rain jacket:A DAMN GOOD rain jacket: Black Diamond Liquid Point jacket (I’m now a firm believer in Goretex)- Sturdy AF tent: Marmot Tungsten 1P 3S tent
- Pack: Black Diamond Onyx 57 liter pack
- Waterproof pack cover: Osprey pack cover (large) (This was a last minute purchase and damn, am I glad I did).
- Sleeping bag: Big Agnes Lulu 15 synthetic integrated sleeping bag
- Sleeping pad: Klymit insulated inflatable + camp pillow (okay… nobody needs a camp pillow)
- Camp Stove: MSR Pocket Rocket 2 + UGAS fuel
- Warm base layer: Columbia omni-heat leggings and long sleeve shirt
- Water repellent pants: Columbia omni-shield pants (special shoutout to the Saturday trail pant)
- Waterproof boots: Columbia Newton Ridge boot
- Warm hat: I used a wool headband which was good for summer. Half the time it was just useful to keep my hair from blowing all over the place!
- Camp towel: any small quick drying towel will do
- Wool socks: REI midweight wool socks
Worth considering:
- Headlamp: Petzl Tikka
- Dry bags for clothes and electronics: Columbia PFG dry bags (move this up to essential if you haven’t got a pack cover)
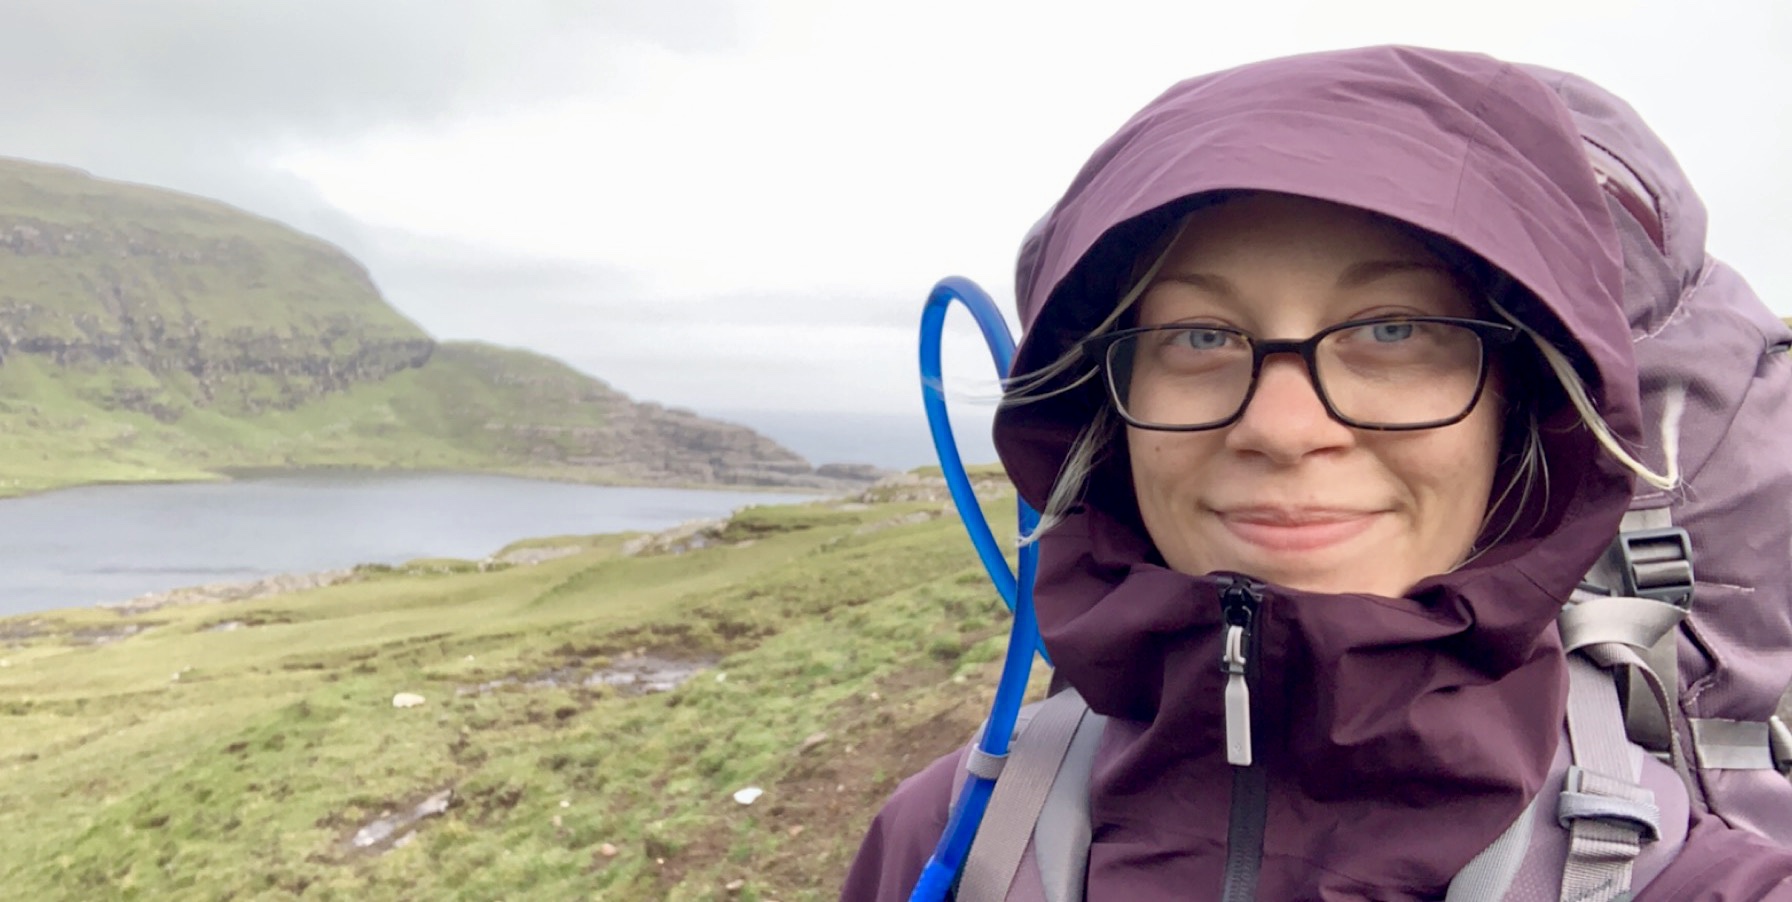
- Hydration bladder: Camelbak 3L reservoir
- Camp/shower shoes: Chacos ZX/2 sport sandals
- Power bank: 10000 mAh solar charger (Ironic, I know…)
- Waterproof gloves: Sealskinz (only found these useful for setting up camp in the rain)
- Sock liners: Injinji wool liners (I was really skeptical and reluctant to pay $12 for sock liners but my feet were still healing from blisters on a prior trip so it seemed like a good choice… It ended up being a stellar choice, these things are a godsend!)
Wish I had brought:
- Hiking poles: Would have been nice for descending wet, muddy mountains whilst wearing my pack
- Country map with transit routes + marked camping spots
- Map of bus routes
- 2019 tourist guide
- Village maps for the northern islands
- High resolution village map
- Visit Faroes camping guide